A Look Inside my Teacher-Author Home Office Makeover
Confession Time!
Ever since I left the classroom back in 2011, I’ve always felt a little sad during the back to school season. I miss the excitement of back to school prep and the anticipation of that first day.
But - I get the most jealous when I see everyone post their classroom pictures on social media and blogs showing off their new classroom makeovers. I don’t like to brag, buuuuut - classroom decor is kinda my jam - dare I say - my favorite part about being a teacher?
A little over a year ago my family moved across town to be closer to my husband’s work. One of the biggest items on our house wish-list was an office just for me. Luckily we found the perfect house that included a room in the back of the house absolutely perfect for my office. It was just off the mud room and separate from the rest of the house. Since we moved in May of 2018, my “office” has become a play room, a catch-all room, a “put it in the office and we’ll deal with it later” room. Sigh.
But, this summer I took back my office and put up the "Do NOT Enter” sign (not really, but some days….).
I sent the hubby and kids away for the day and FINALLY created my home office in the way we intended it when we bought the house. And, since everyone has been sharing their lovely classroom photos, I’ve decided to share photos of my teacher-author home office makeover!
Enjoy!
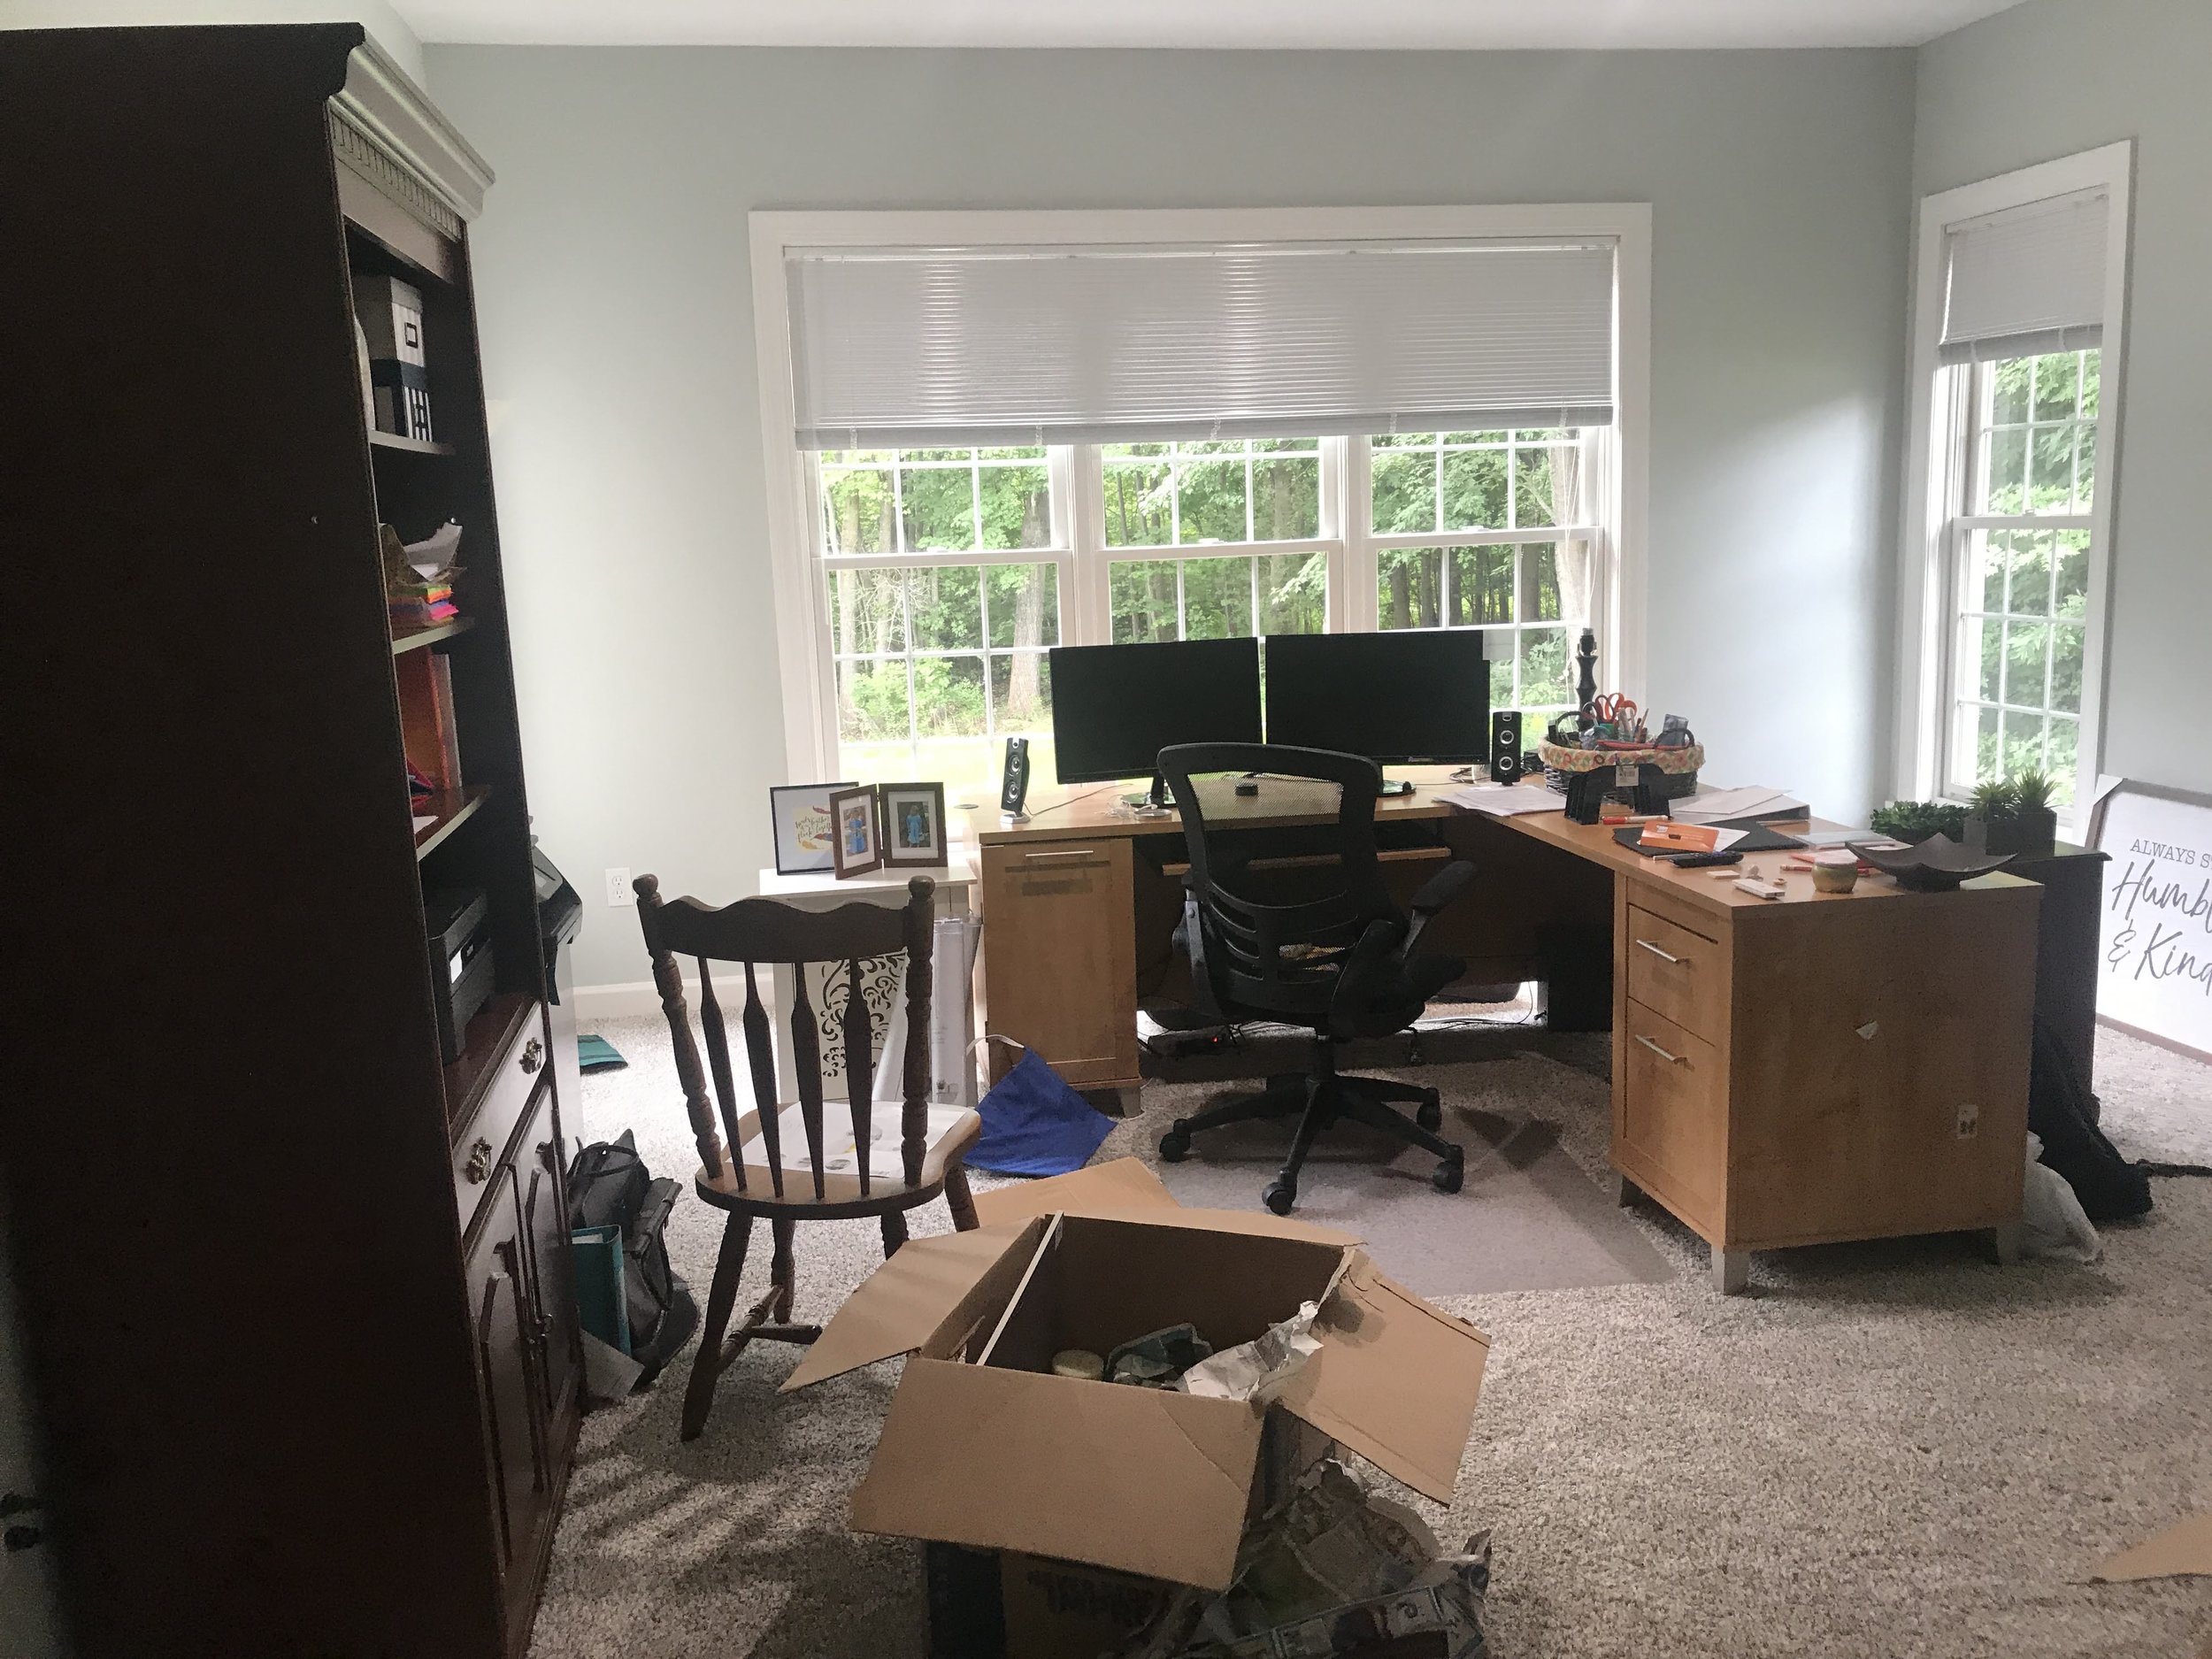
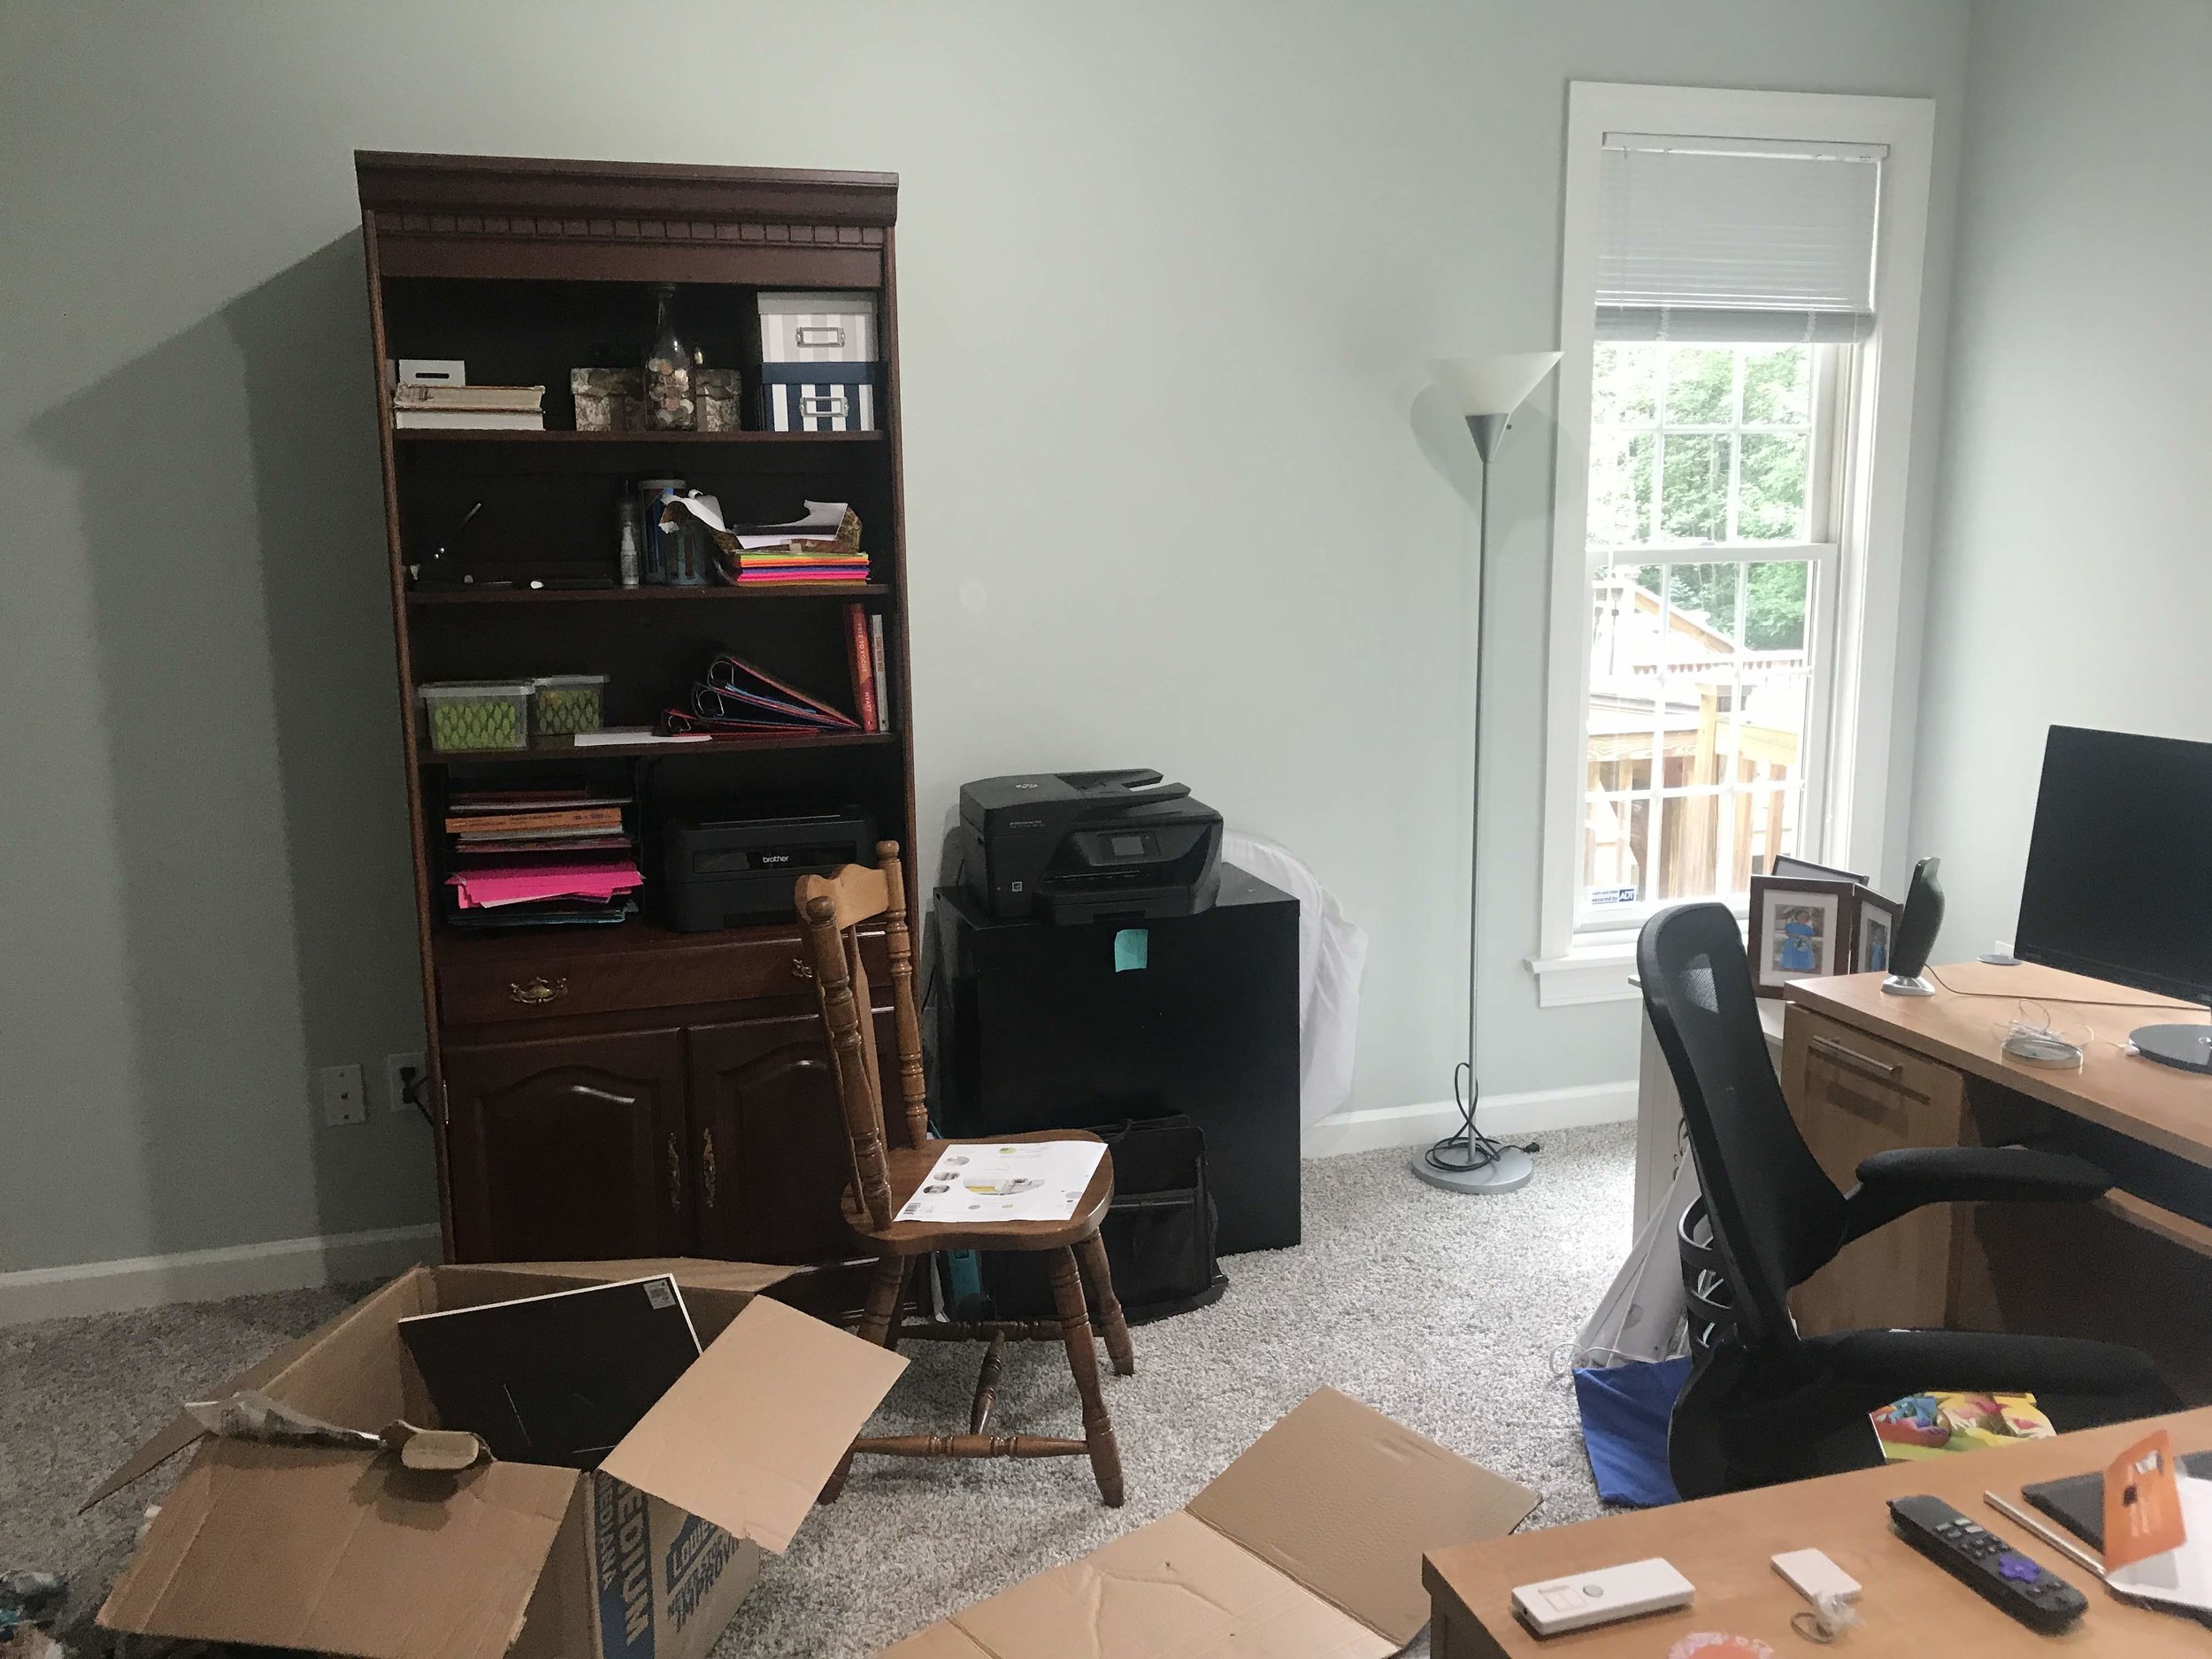
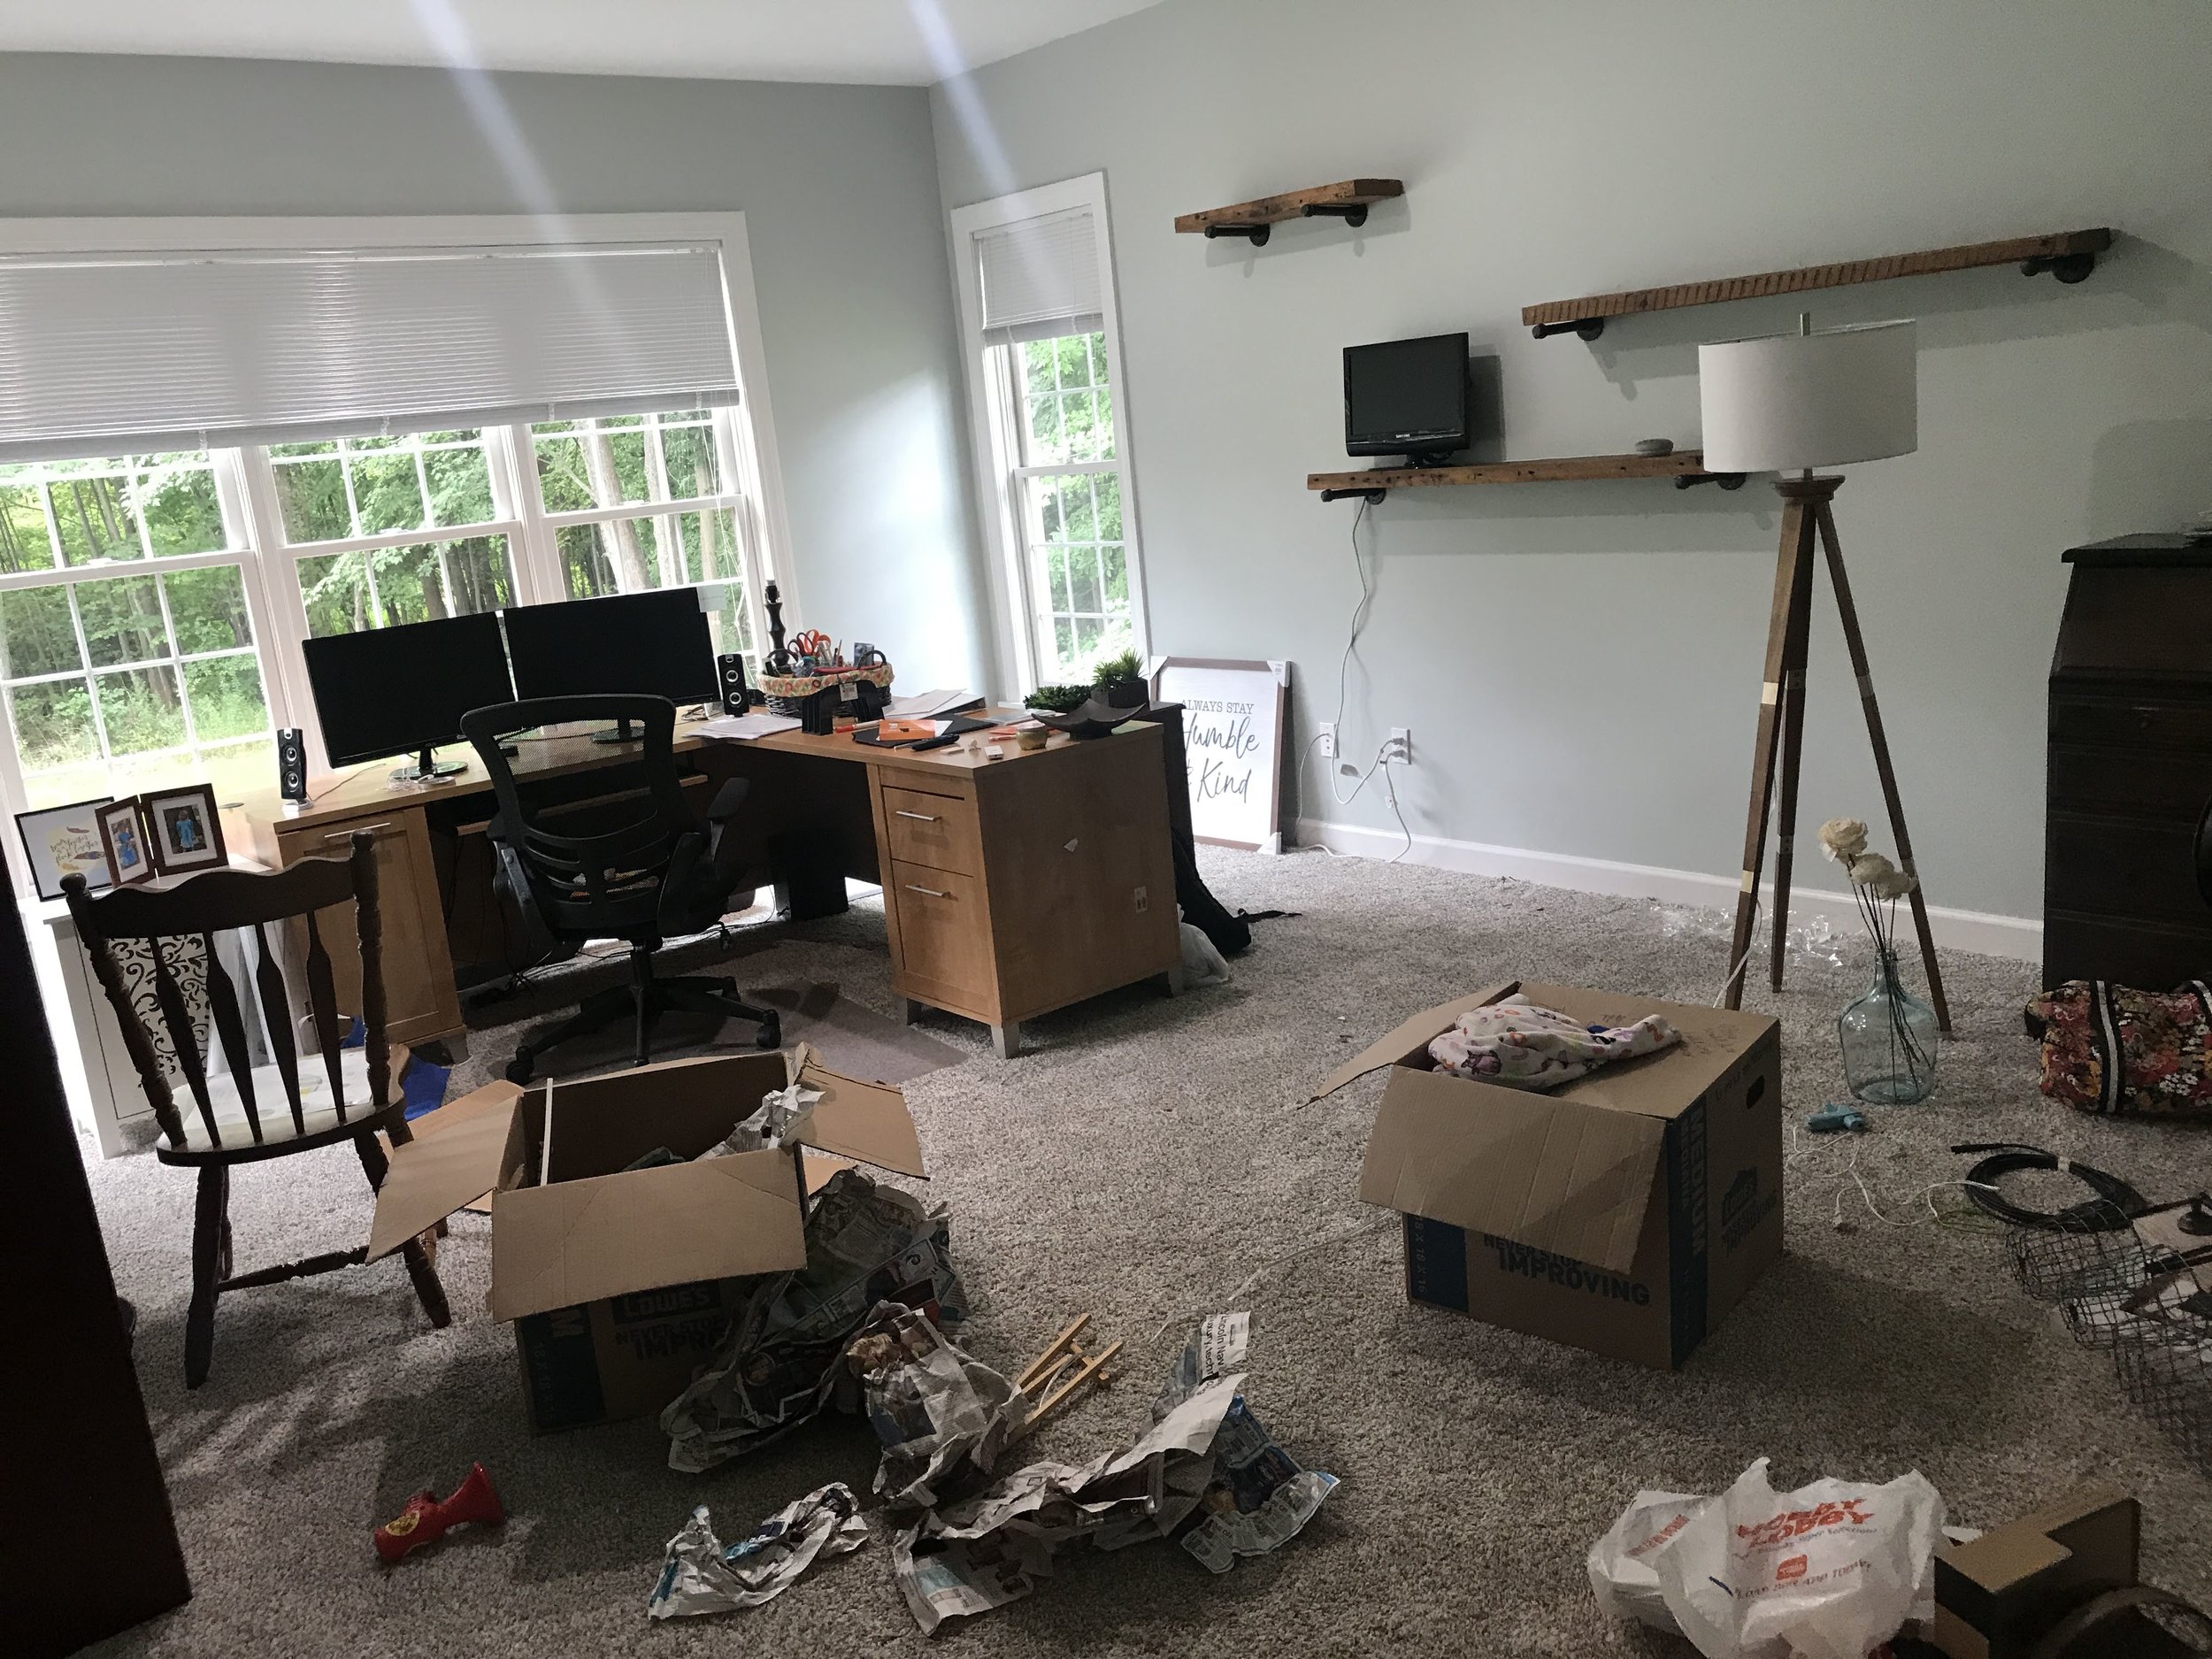
before
Of course, I forgot to take true “before” pictures until after I already started the process, but you get the idea. :)
After
Enjoy the after pics!
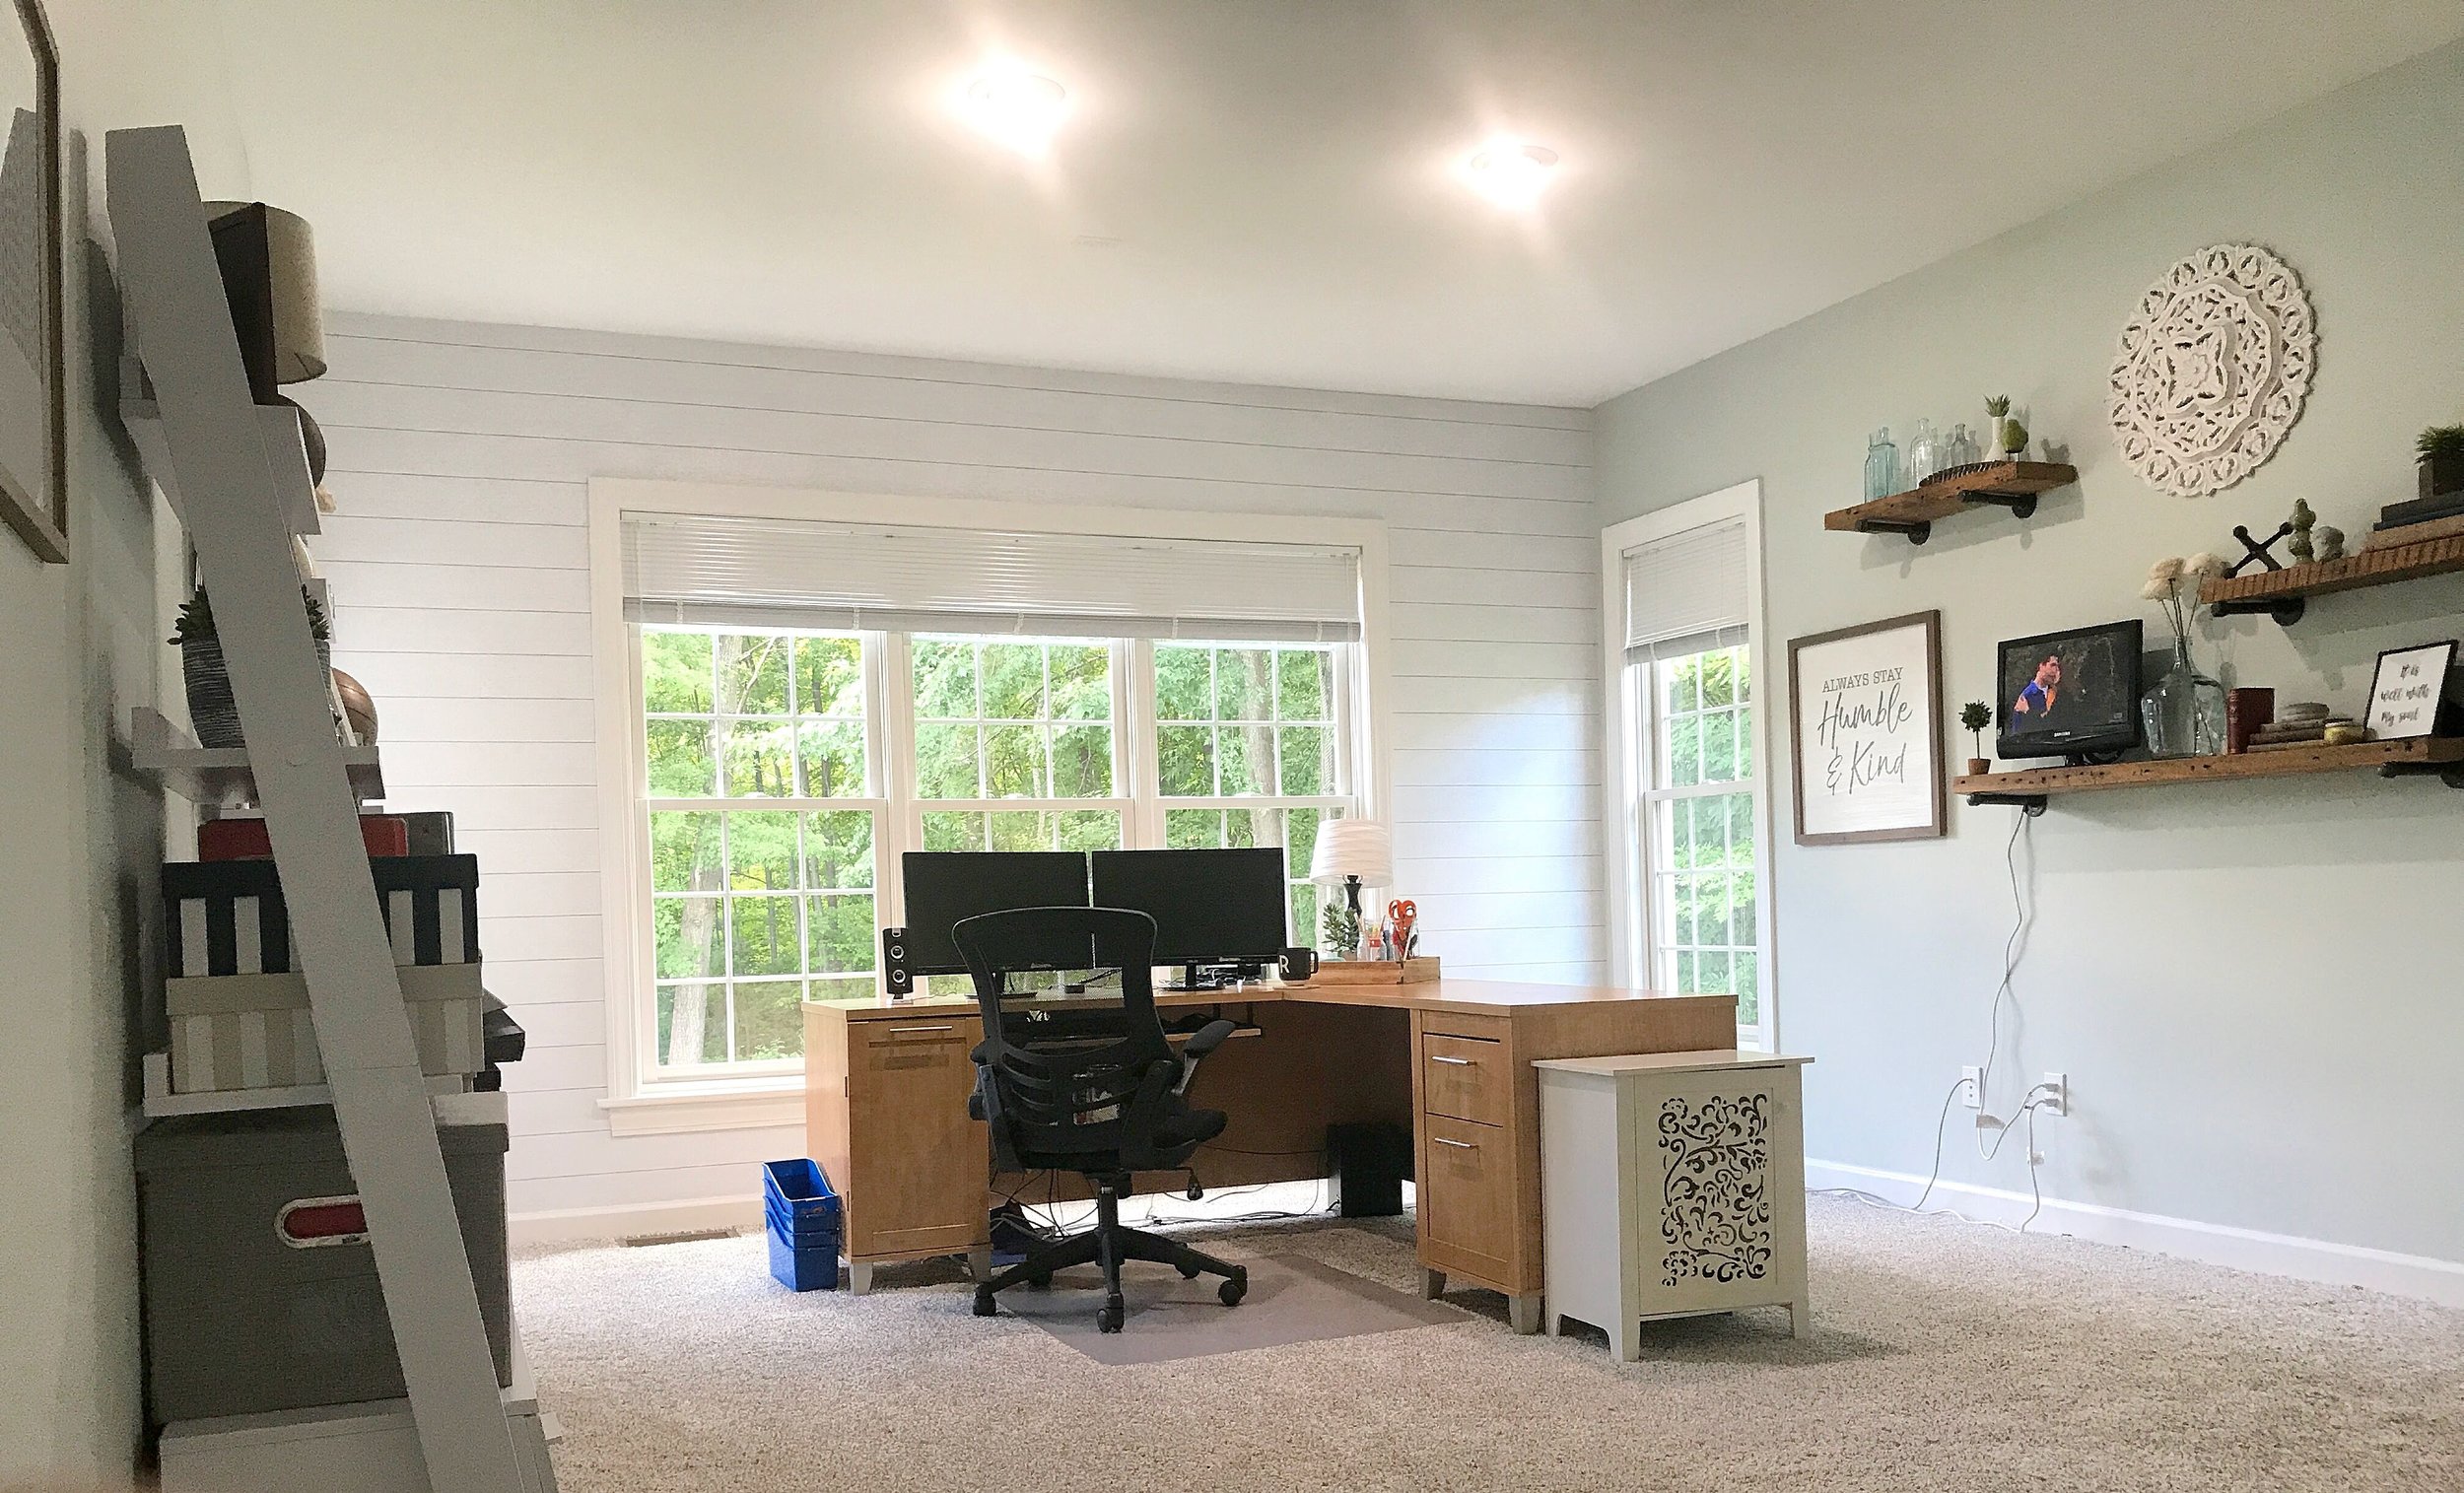
Can you spot the Friends episode playing on the TV? Whoops - forgot to turn it off before taking pictures, but now you have a little insider detail as to what plays on the TV while I work all day :)
Did I fool you with the ship-lap around the window? It’s actually wallpaper from Target!! I’m super happy with how it turned out. It’s actually textured wallpaper to feel like real ship-lap. I even fooled a friend who came over to see the office and she thought it was real before I told her! Putting it up took a bit of patience and careful attention to make sure the lines of the paper matched up, but once it was up, I was thrilled with the final product!
Eventually, I’ll add curtains to soften the window.

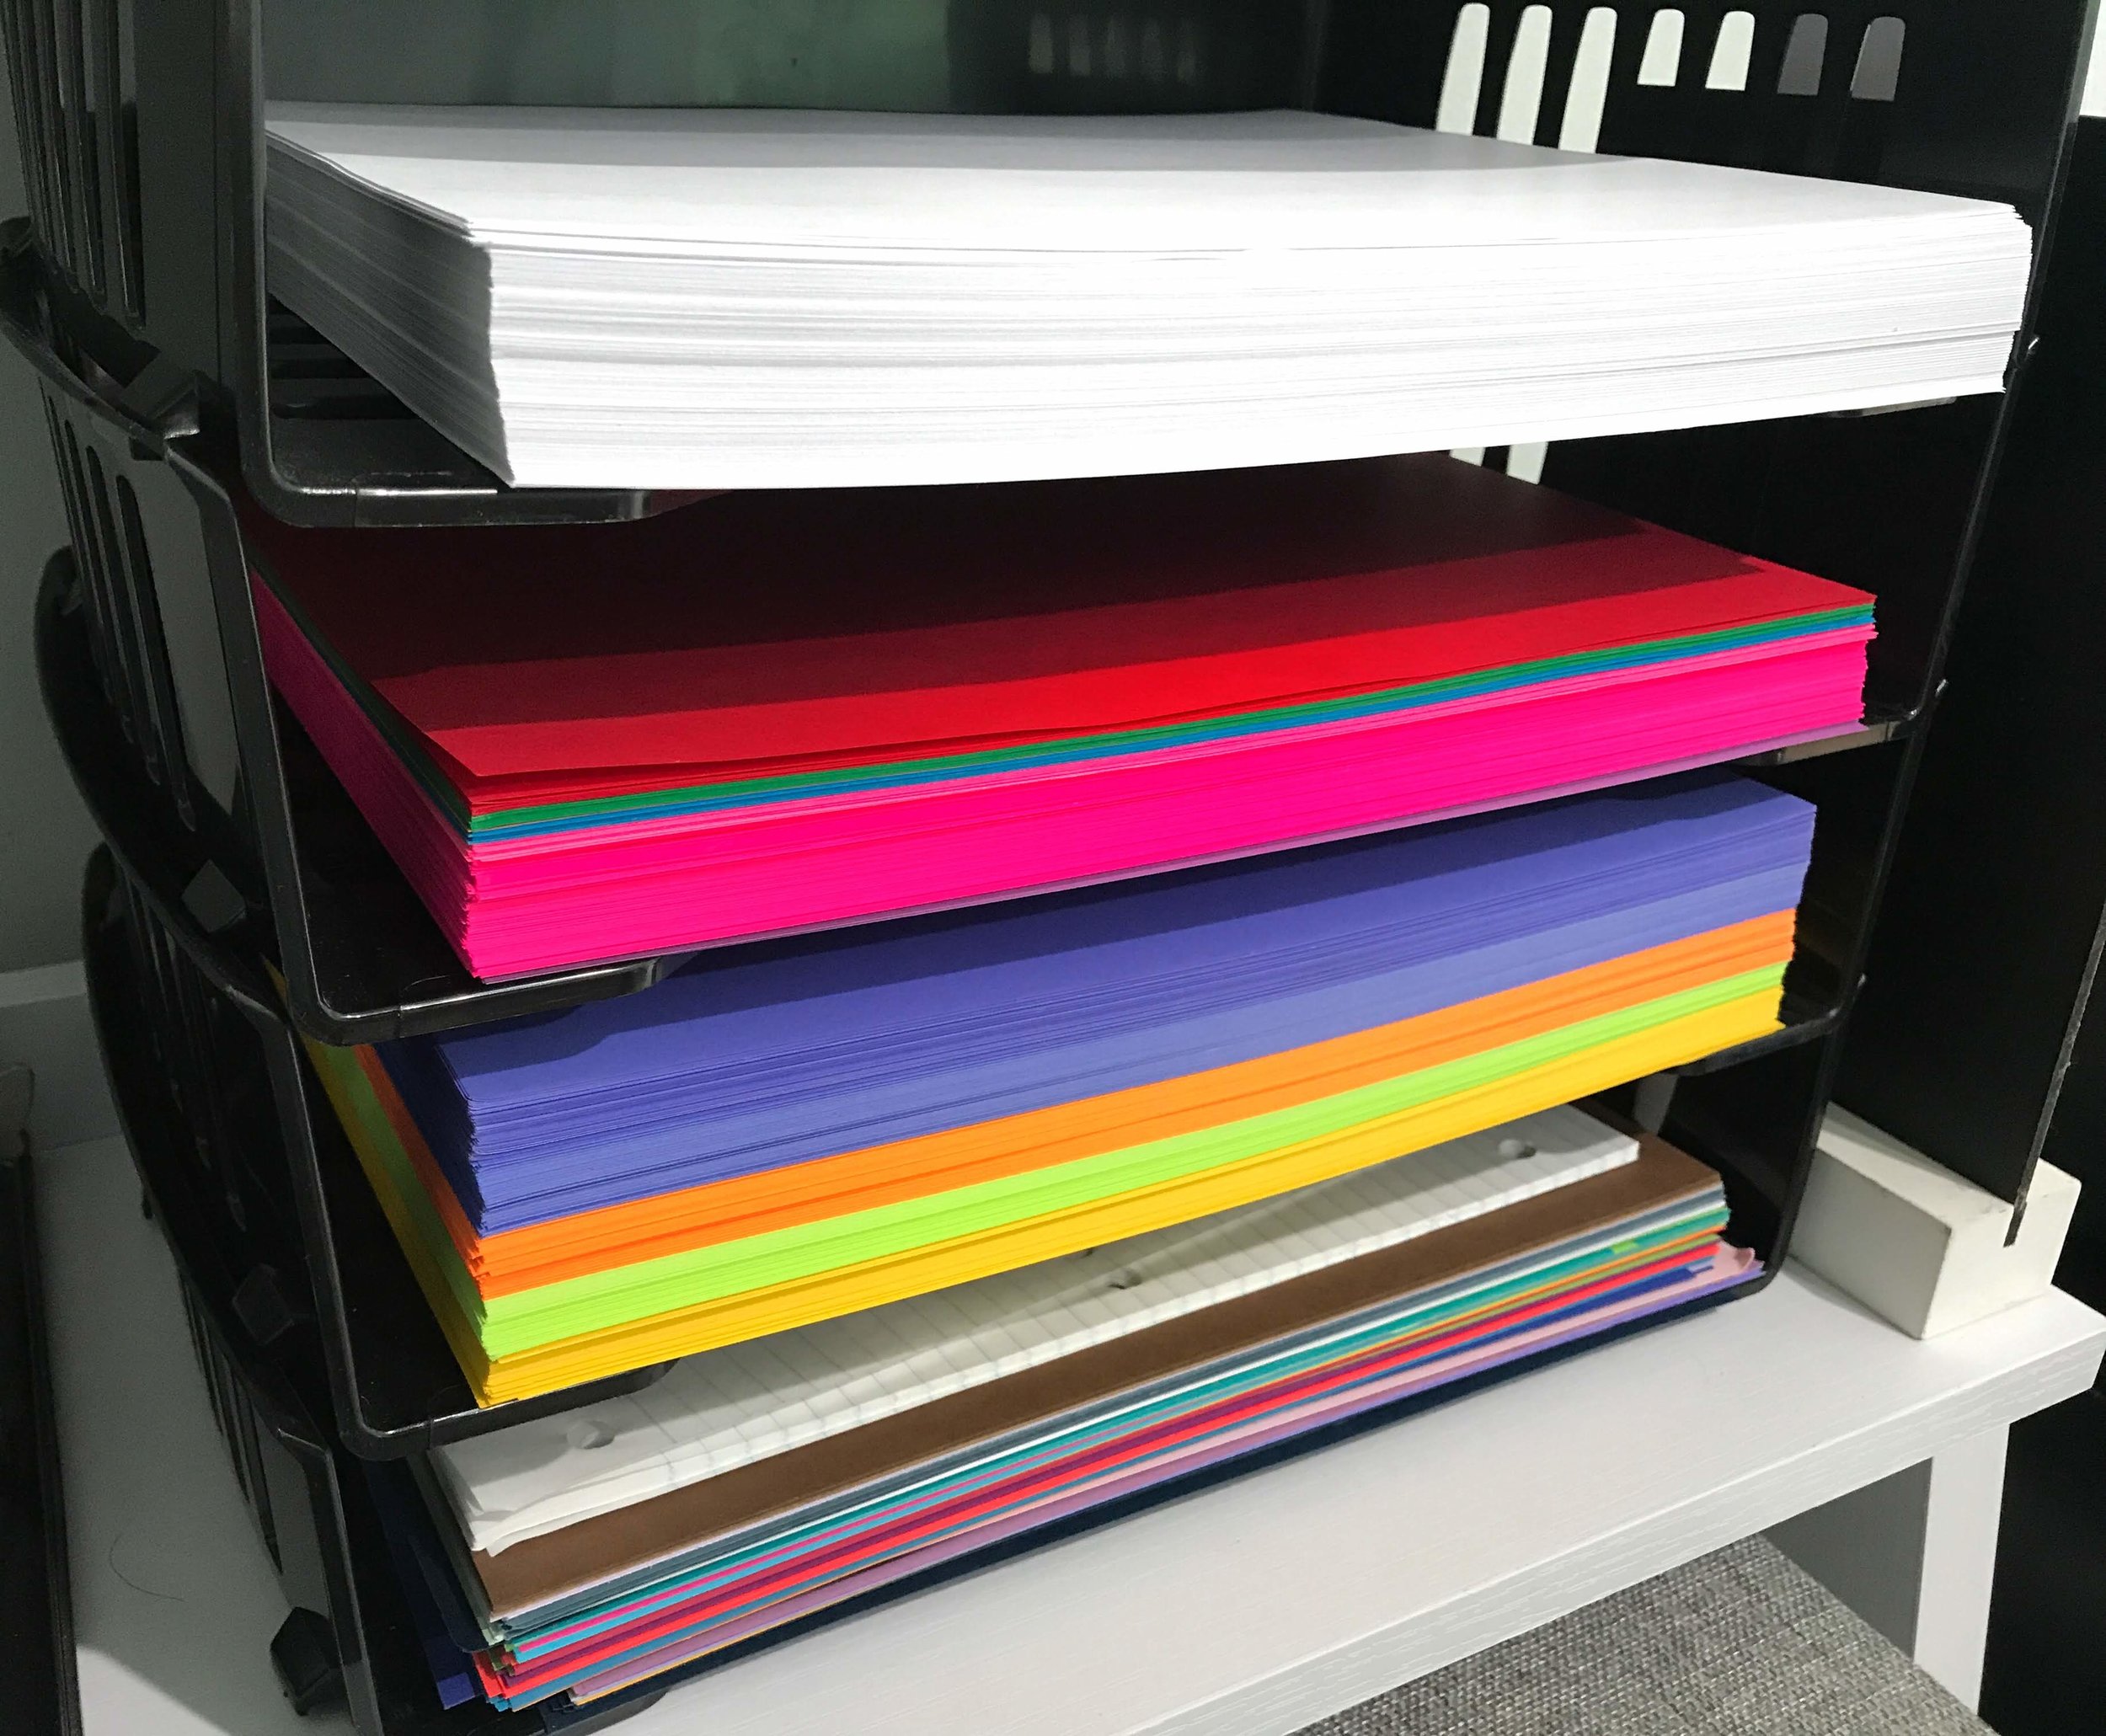
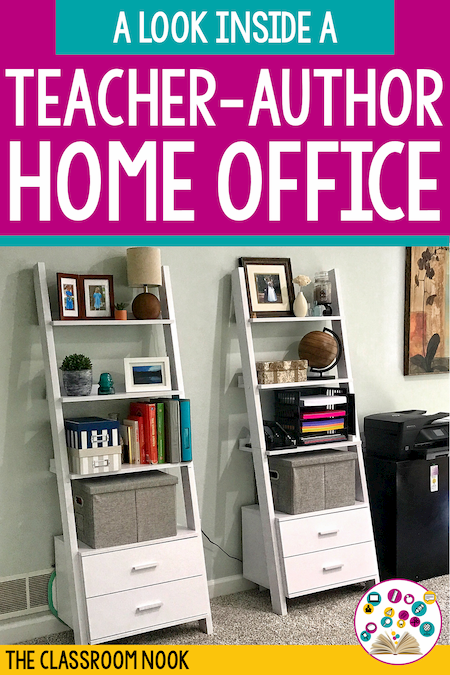
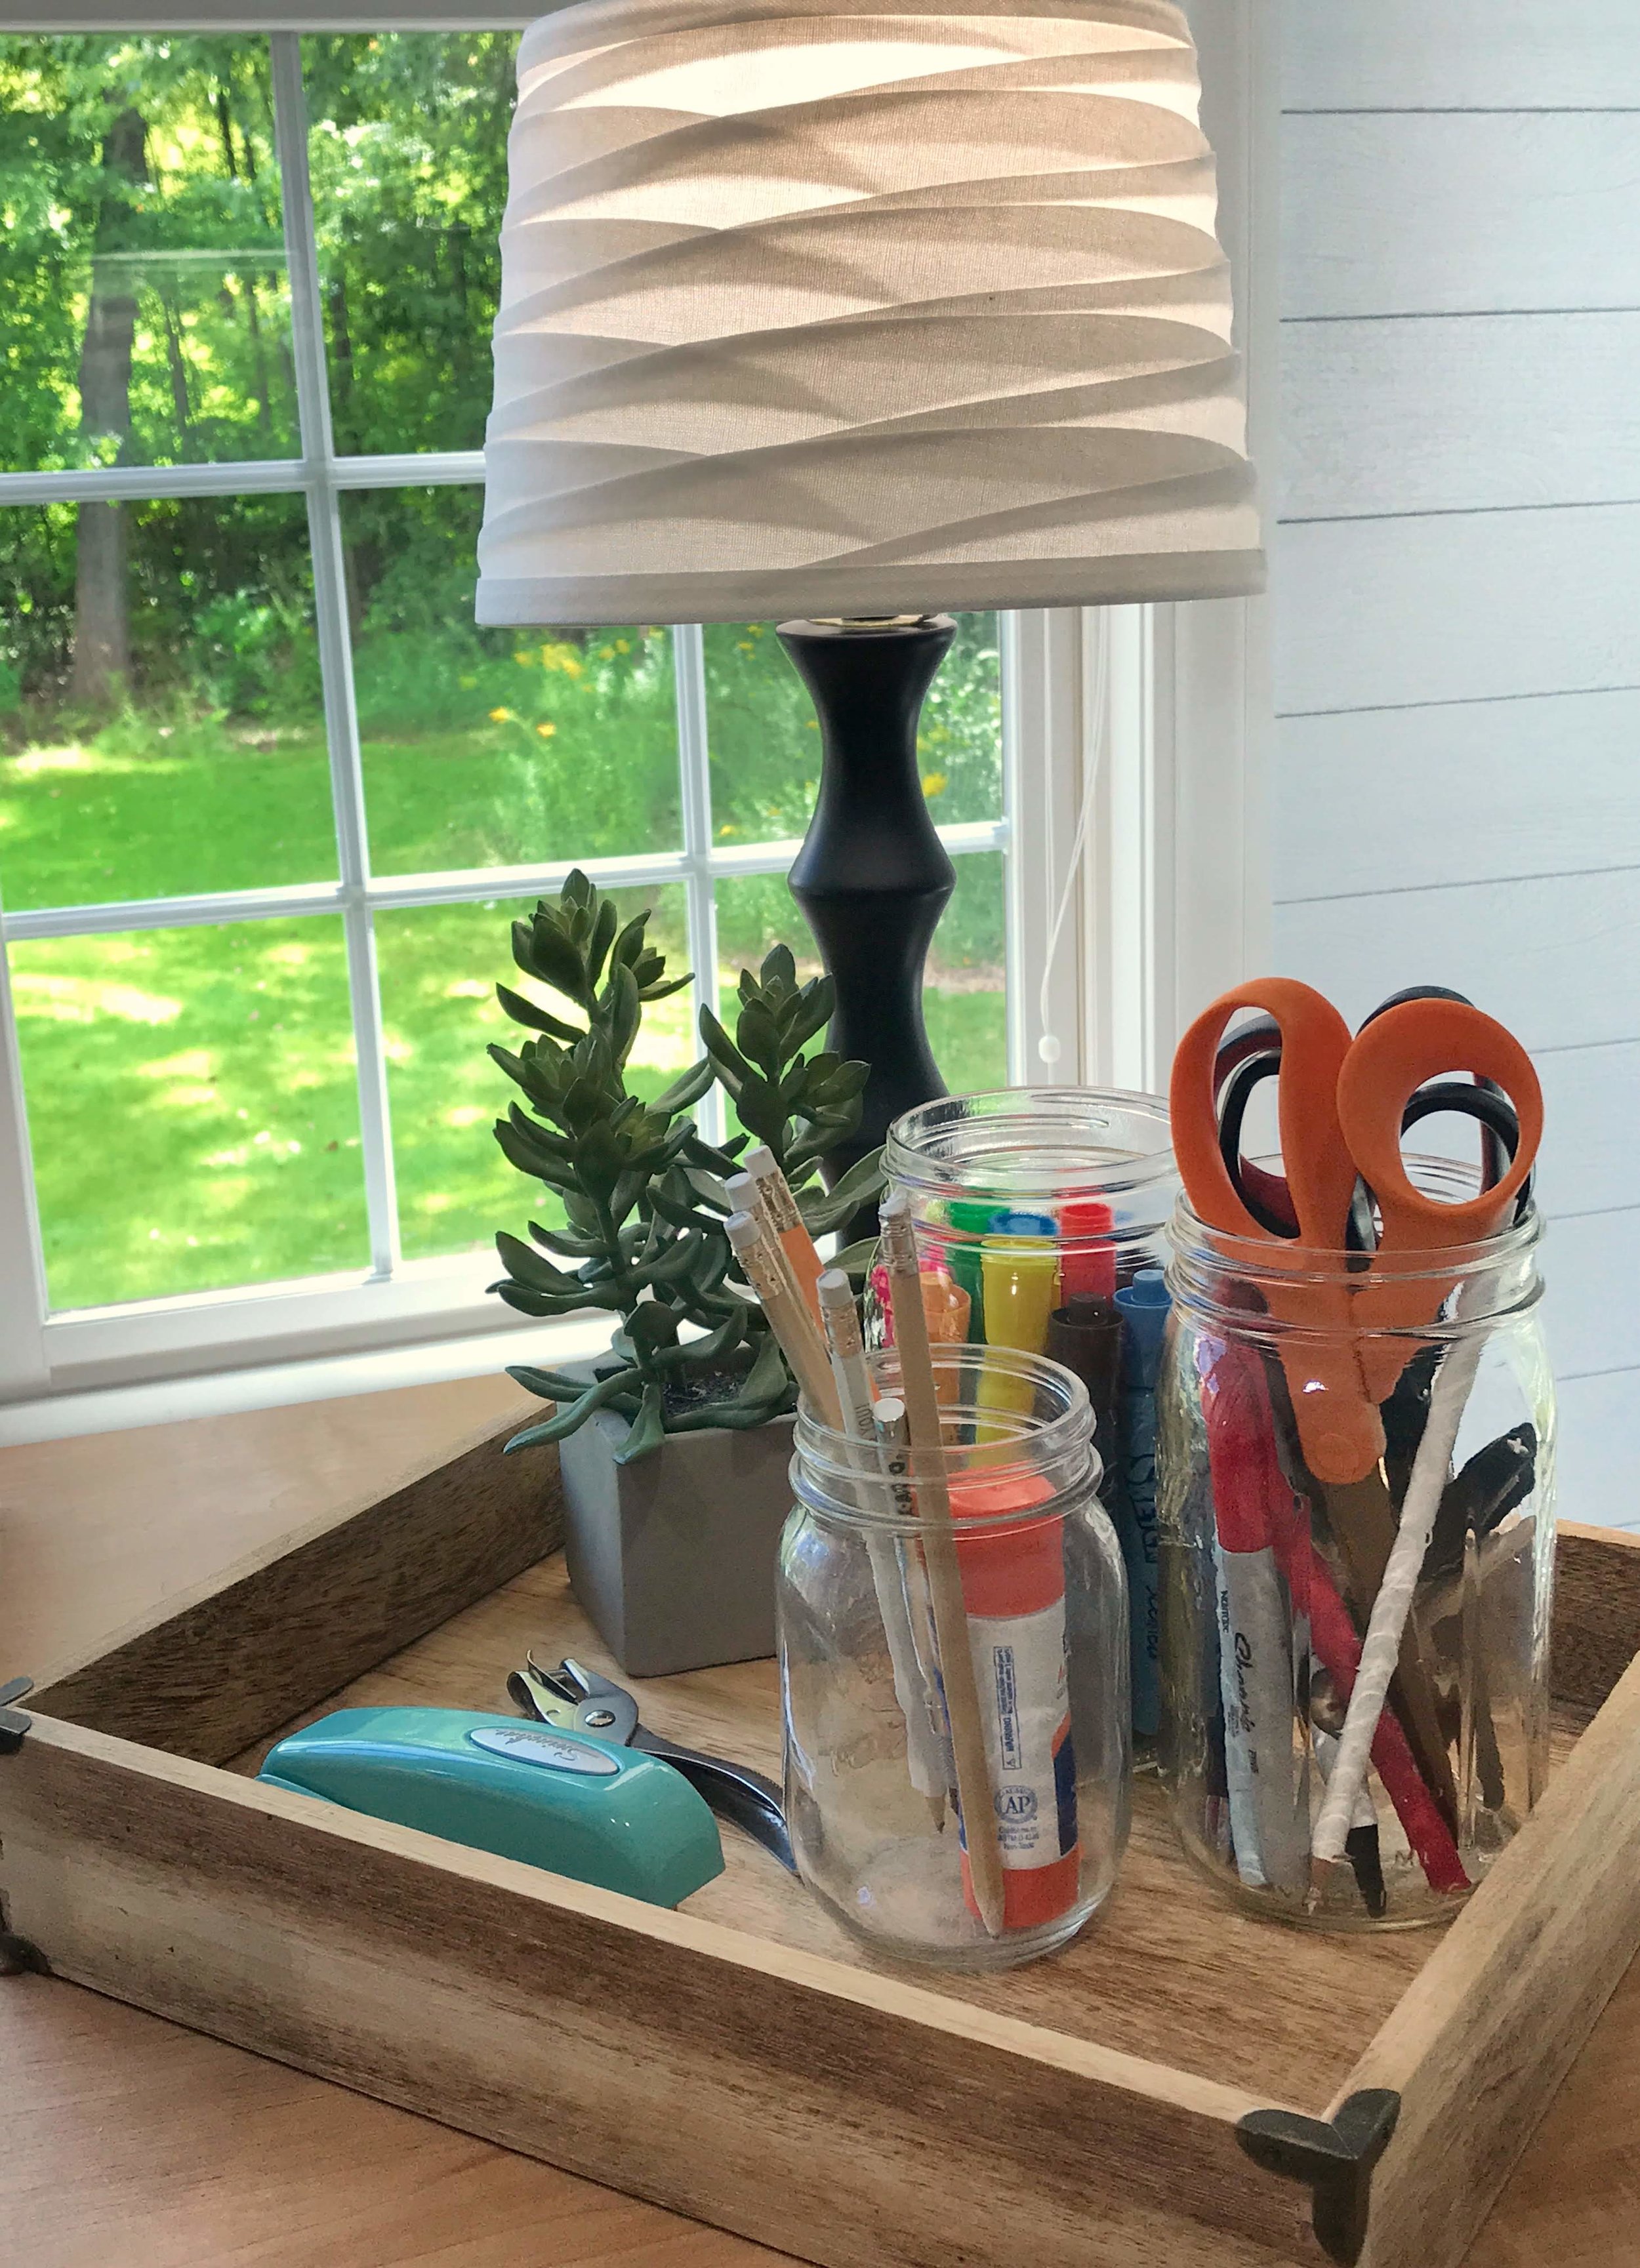
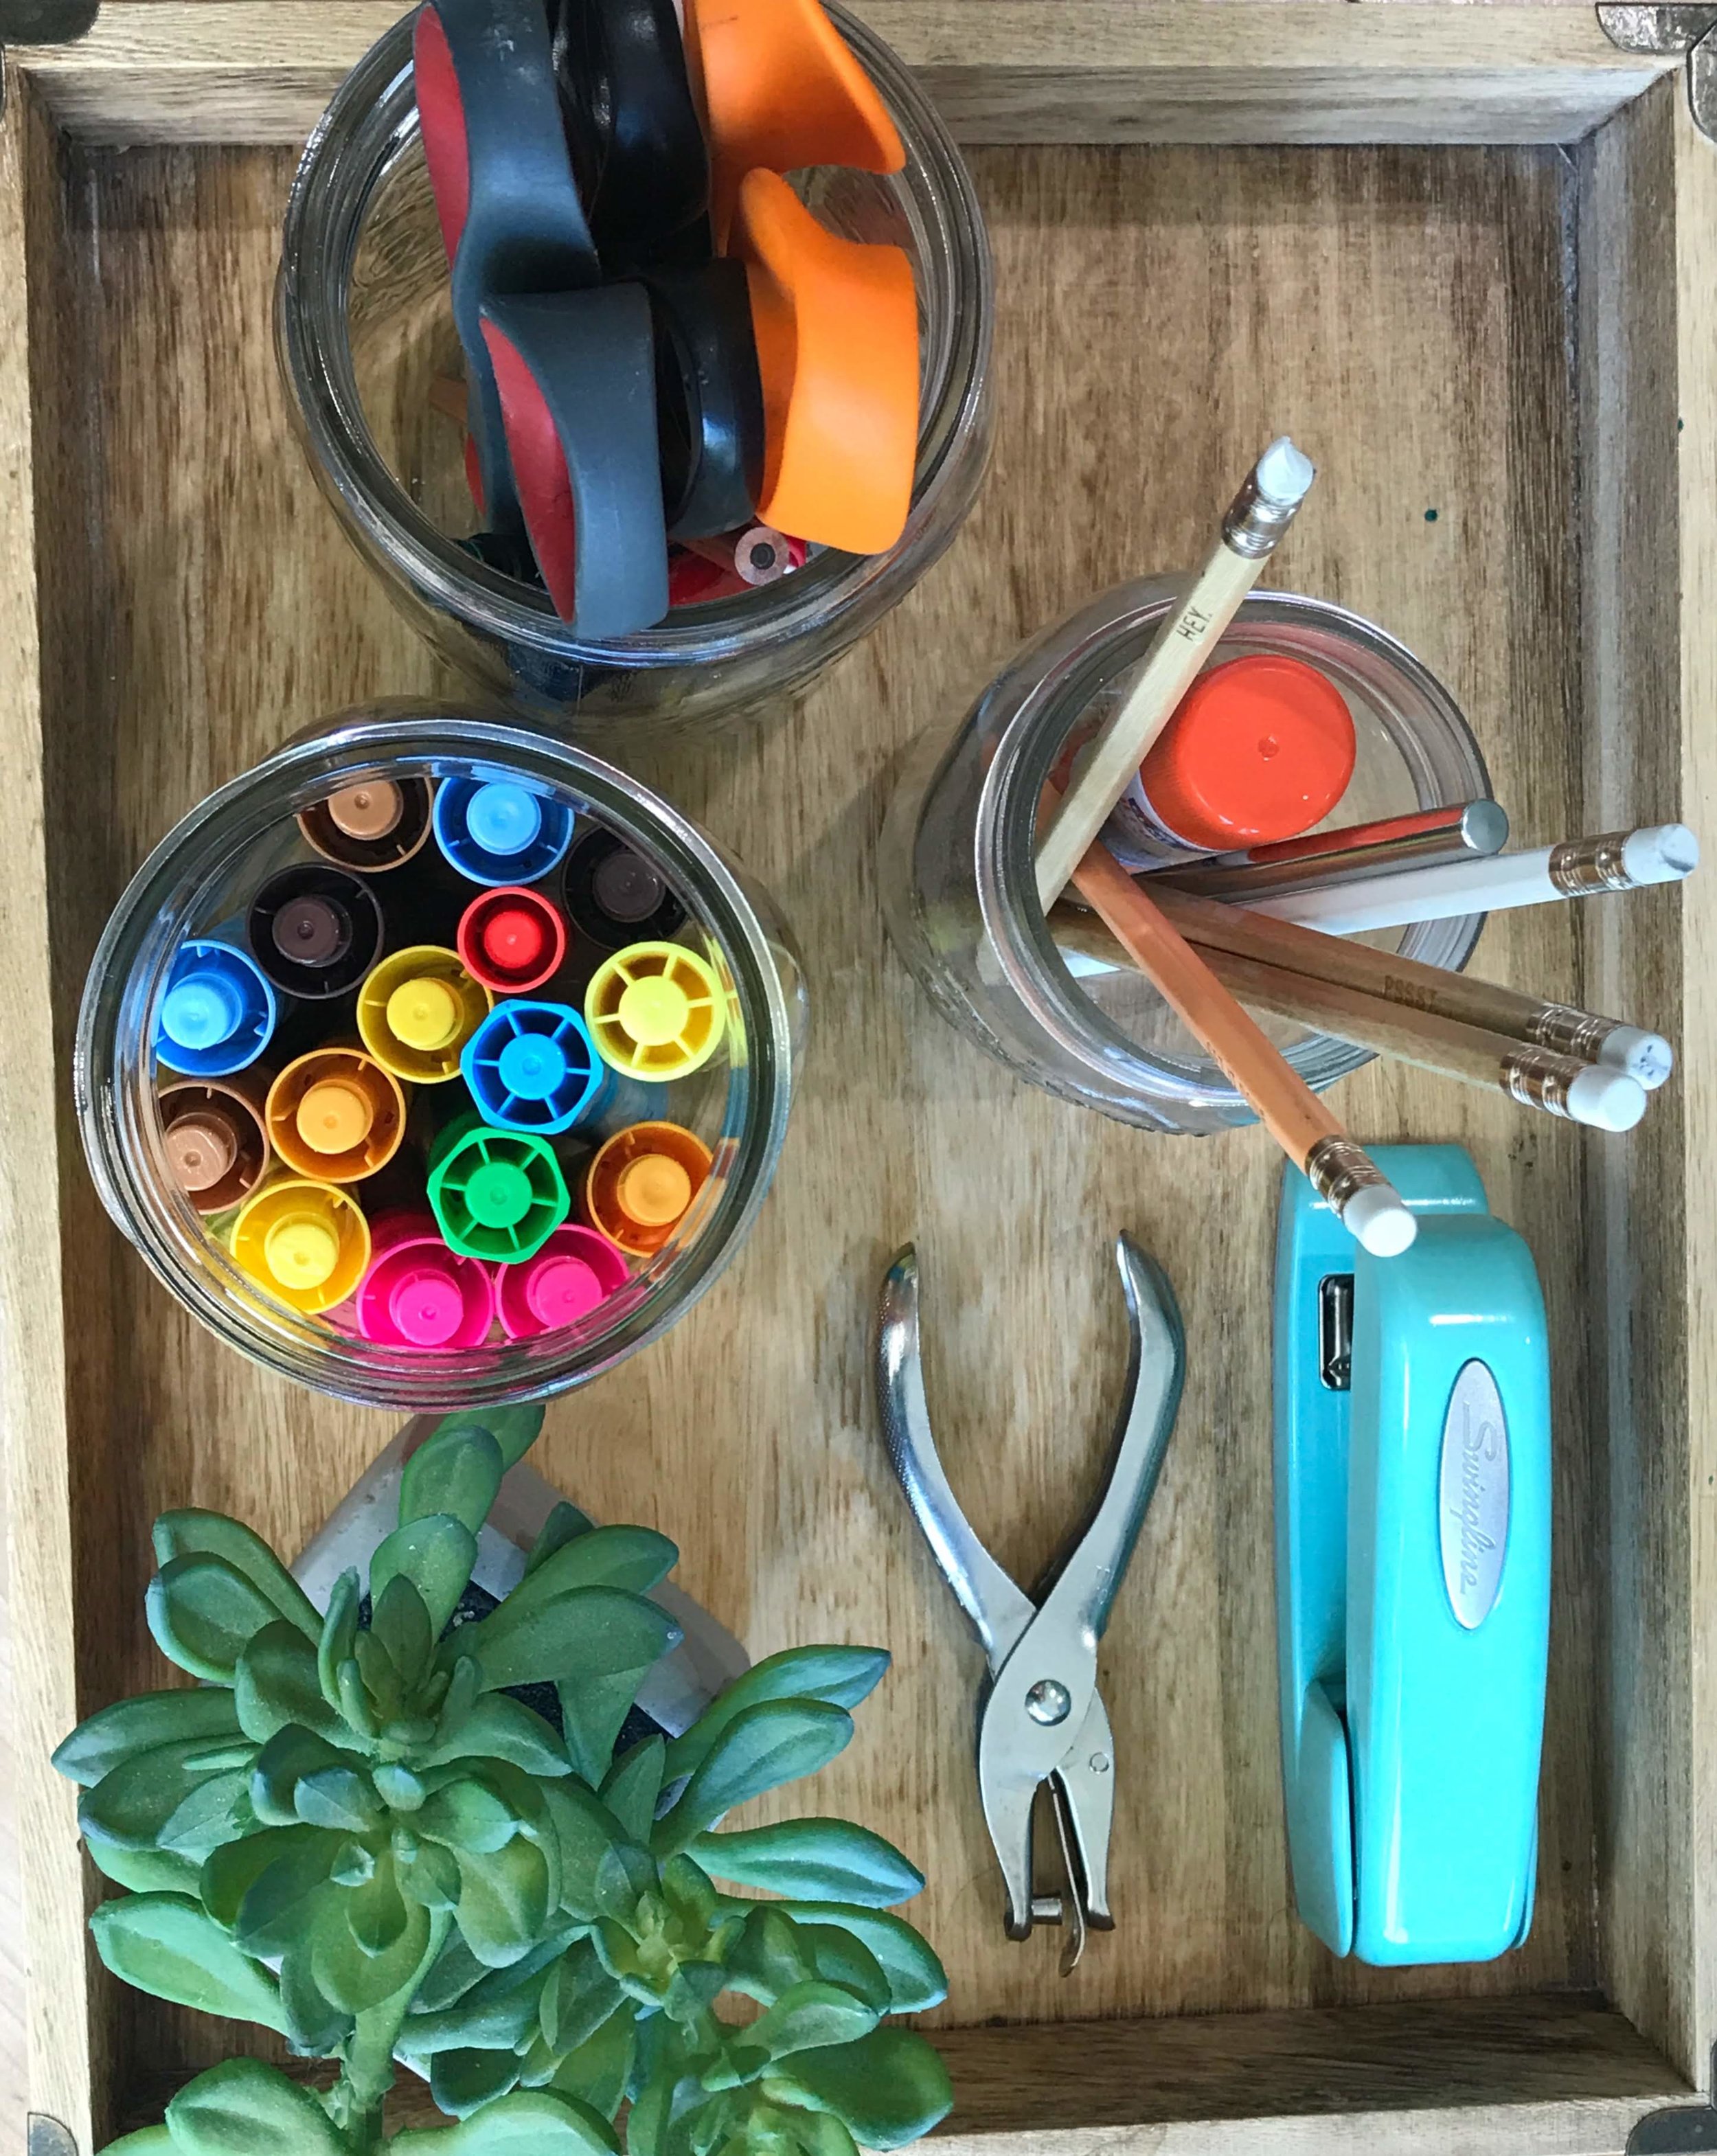
I was impressed with the white book shelves I bought off amazon. The drawers open and close very smoothly, the shelves are sturdy, and I love all the open space to use for decorated pieces as well as practical supplies I need for work like the gray file storage bins, books, and the printing paper organizer.

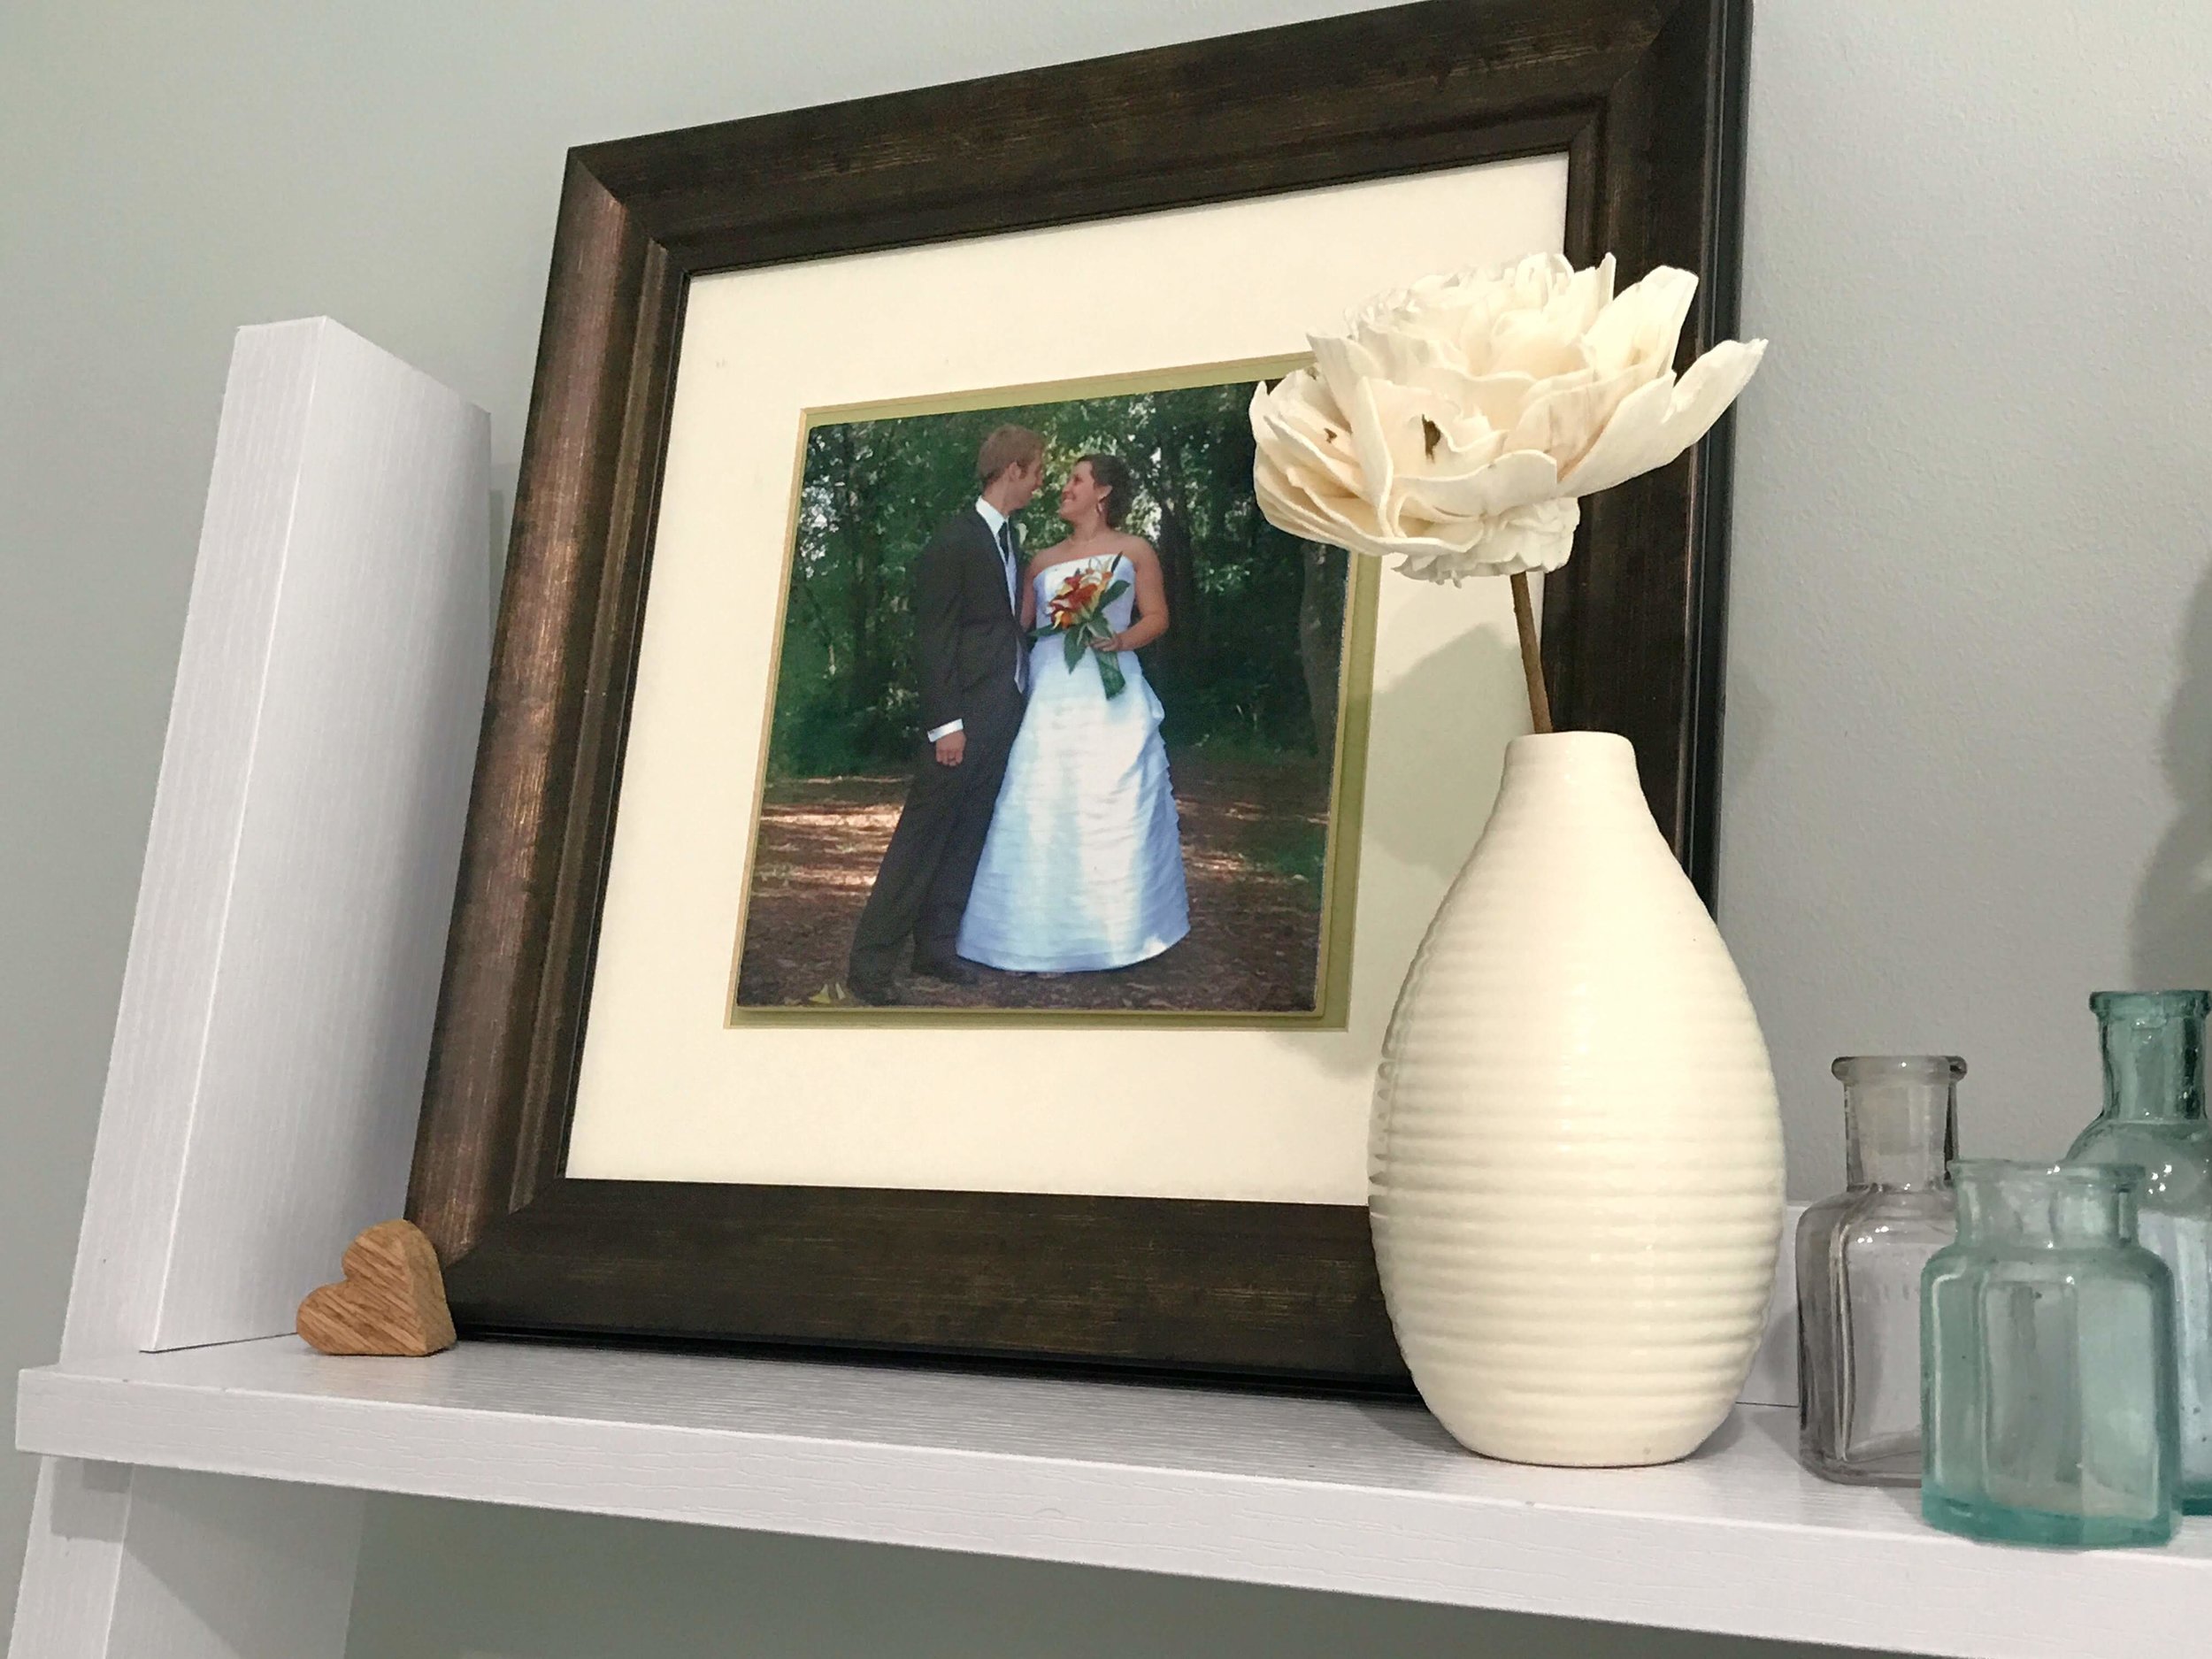
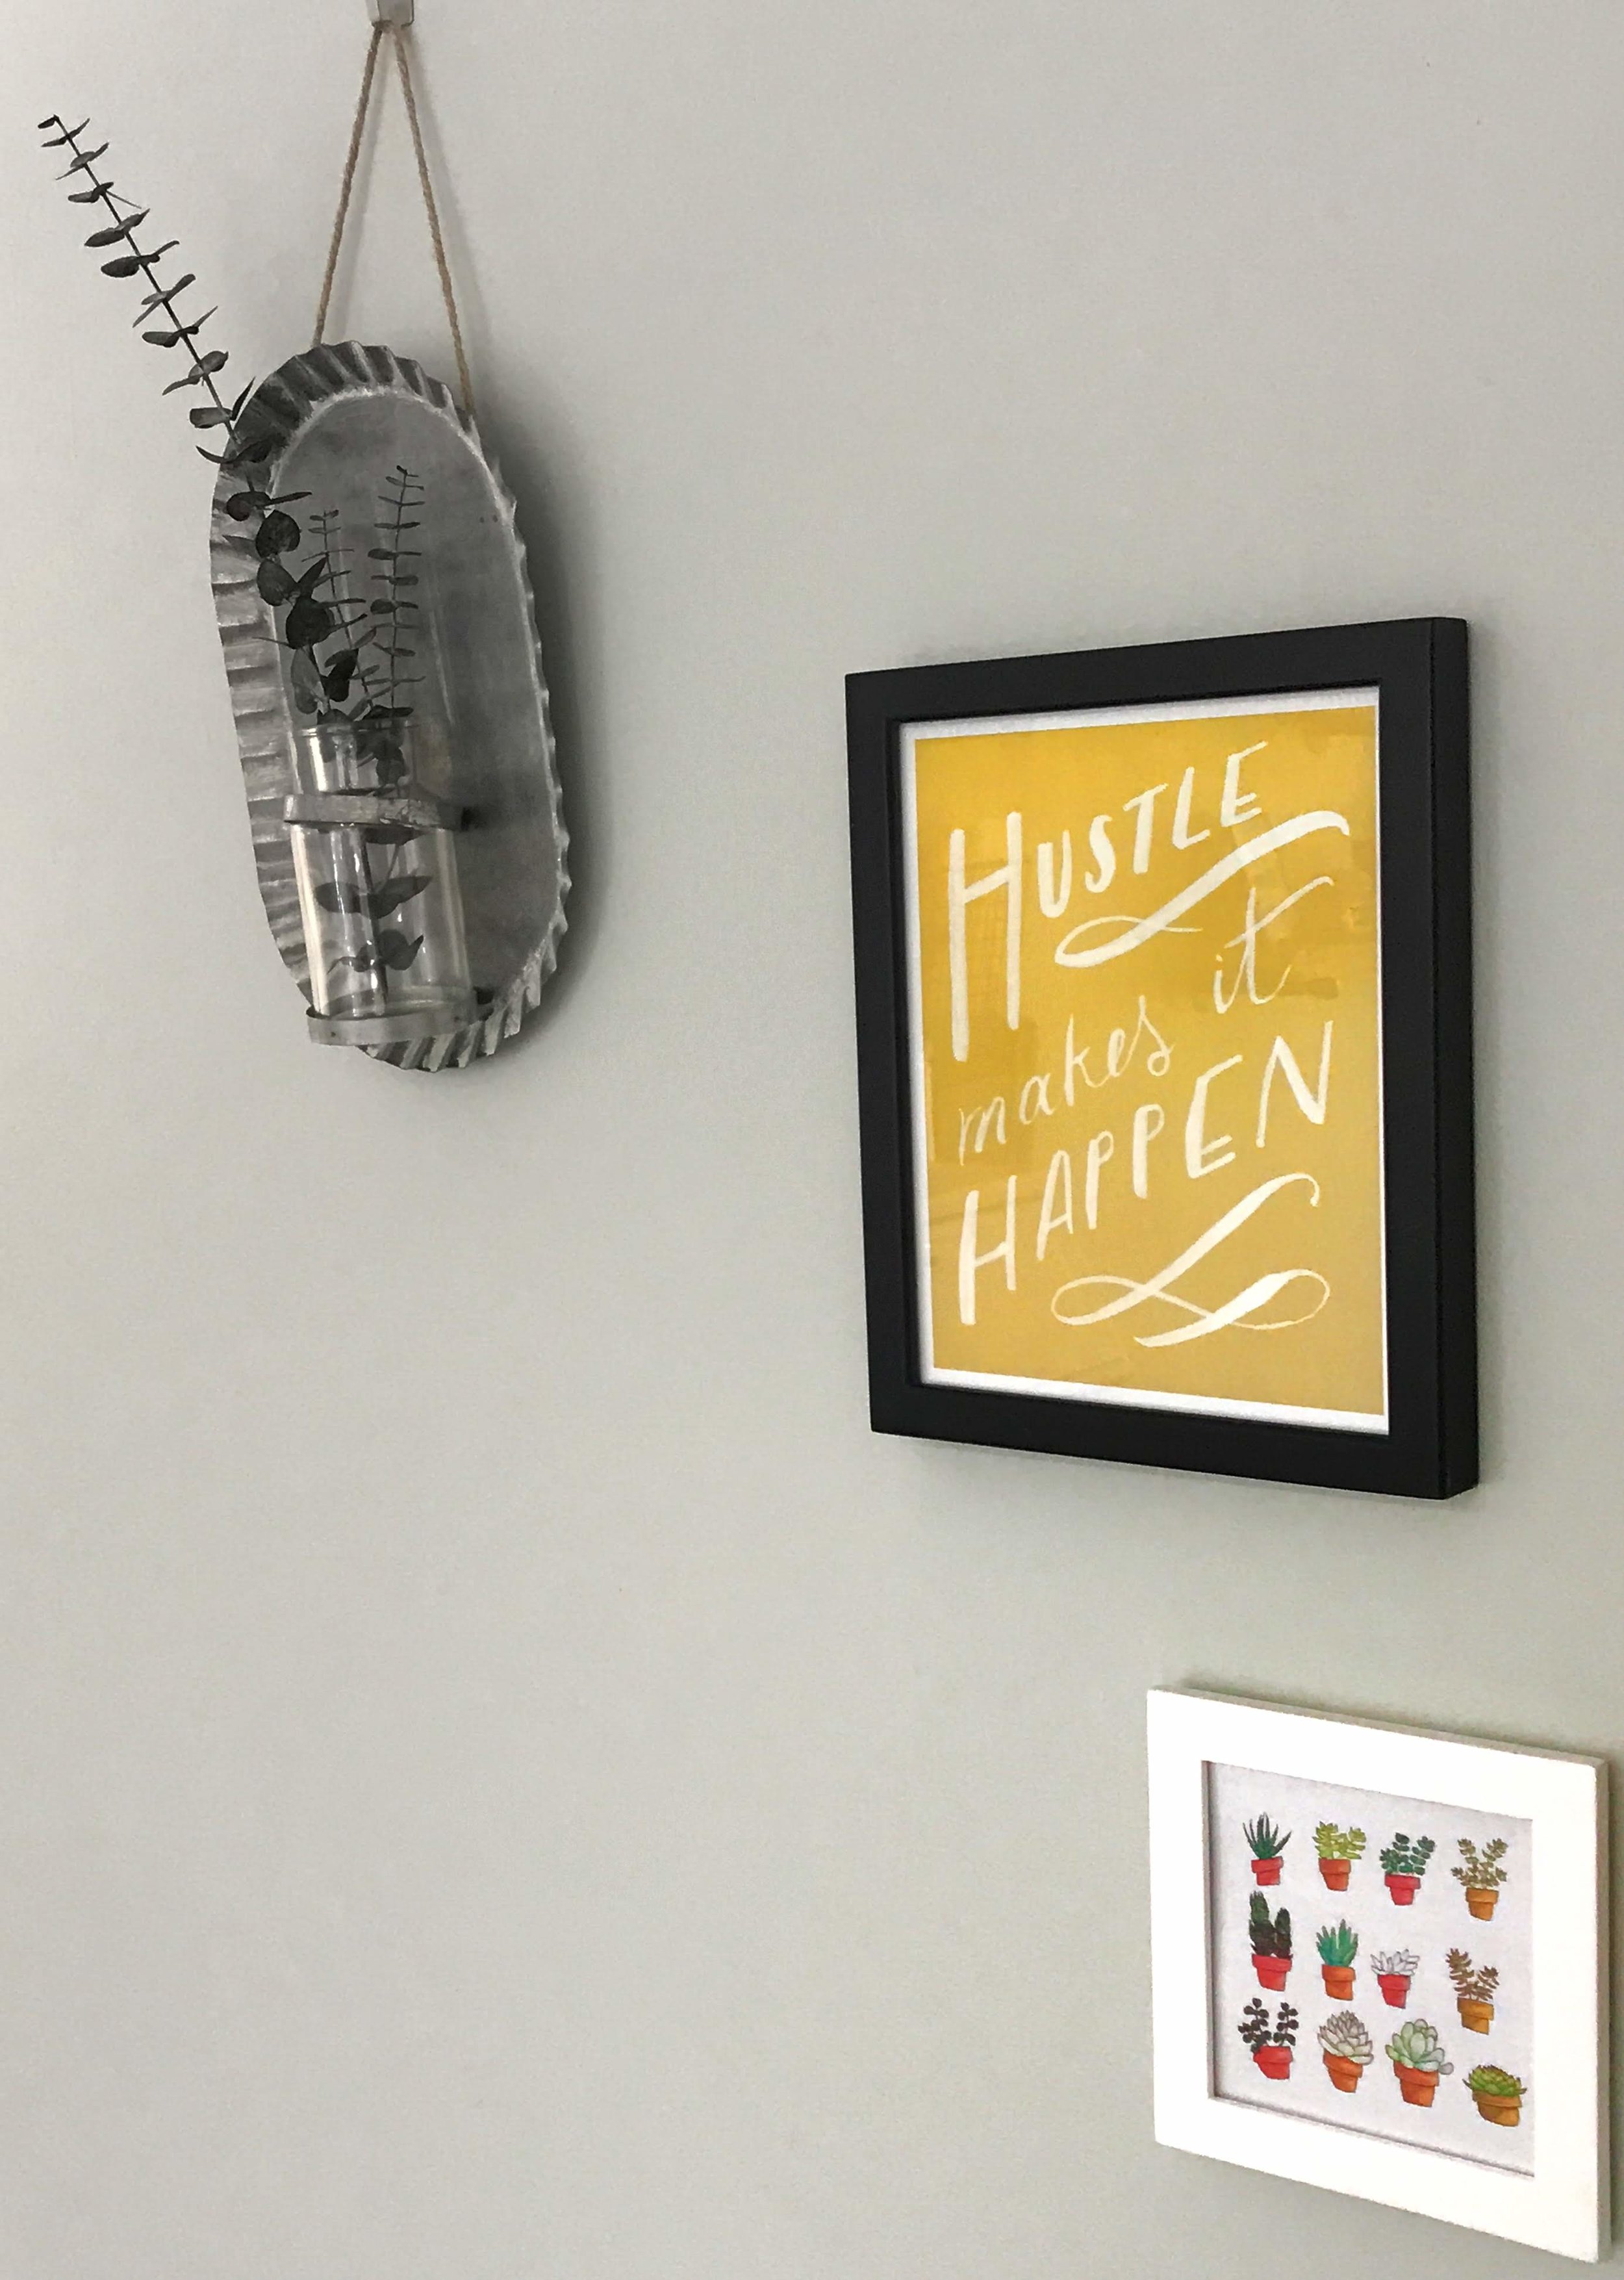
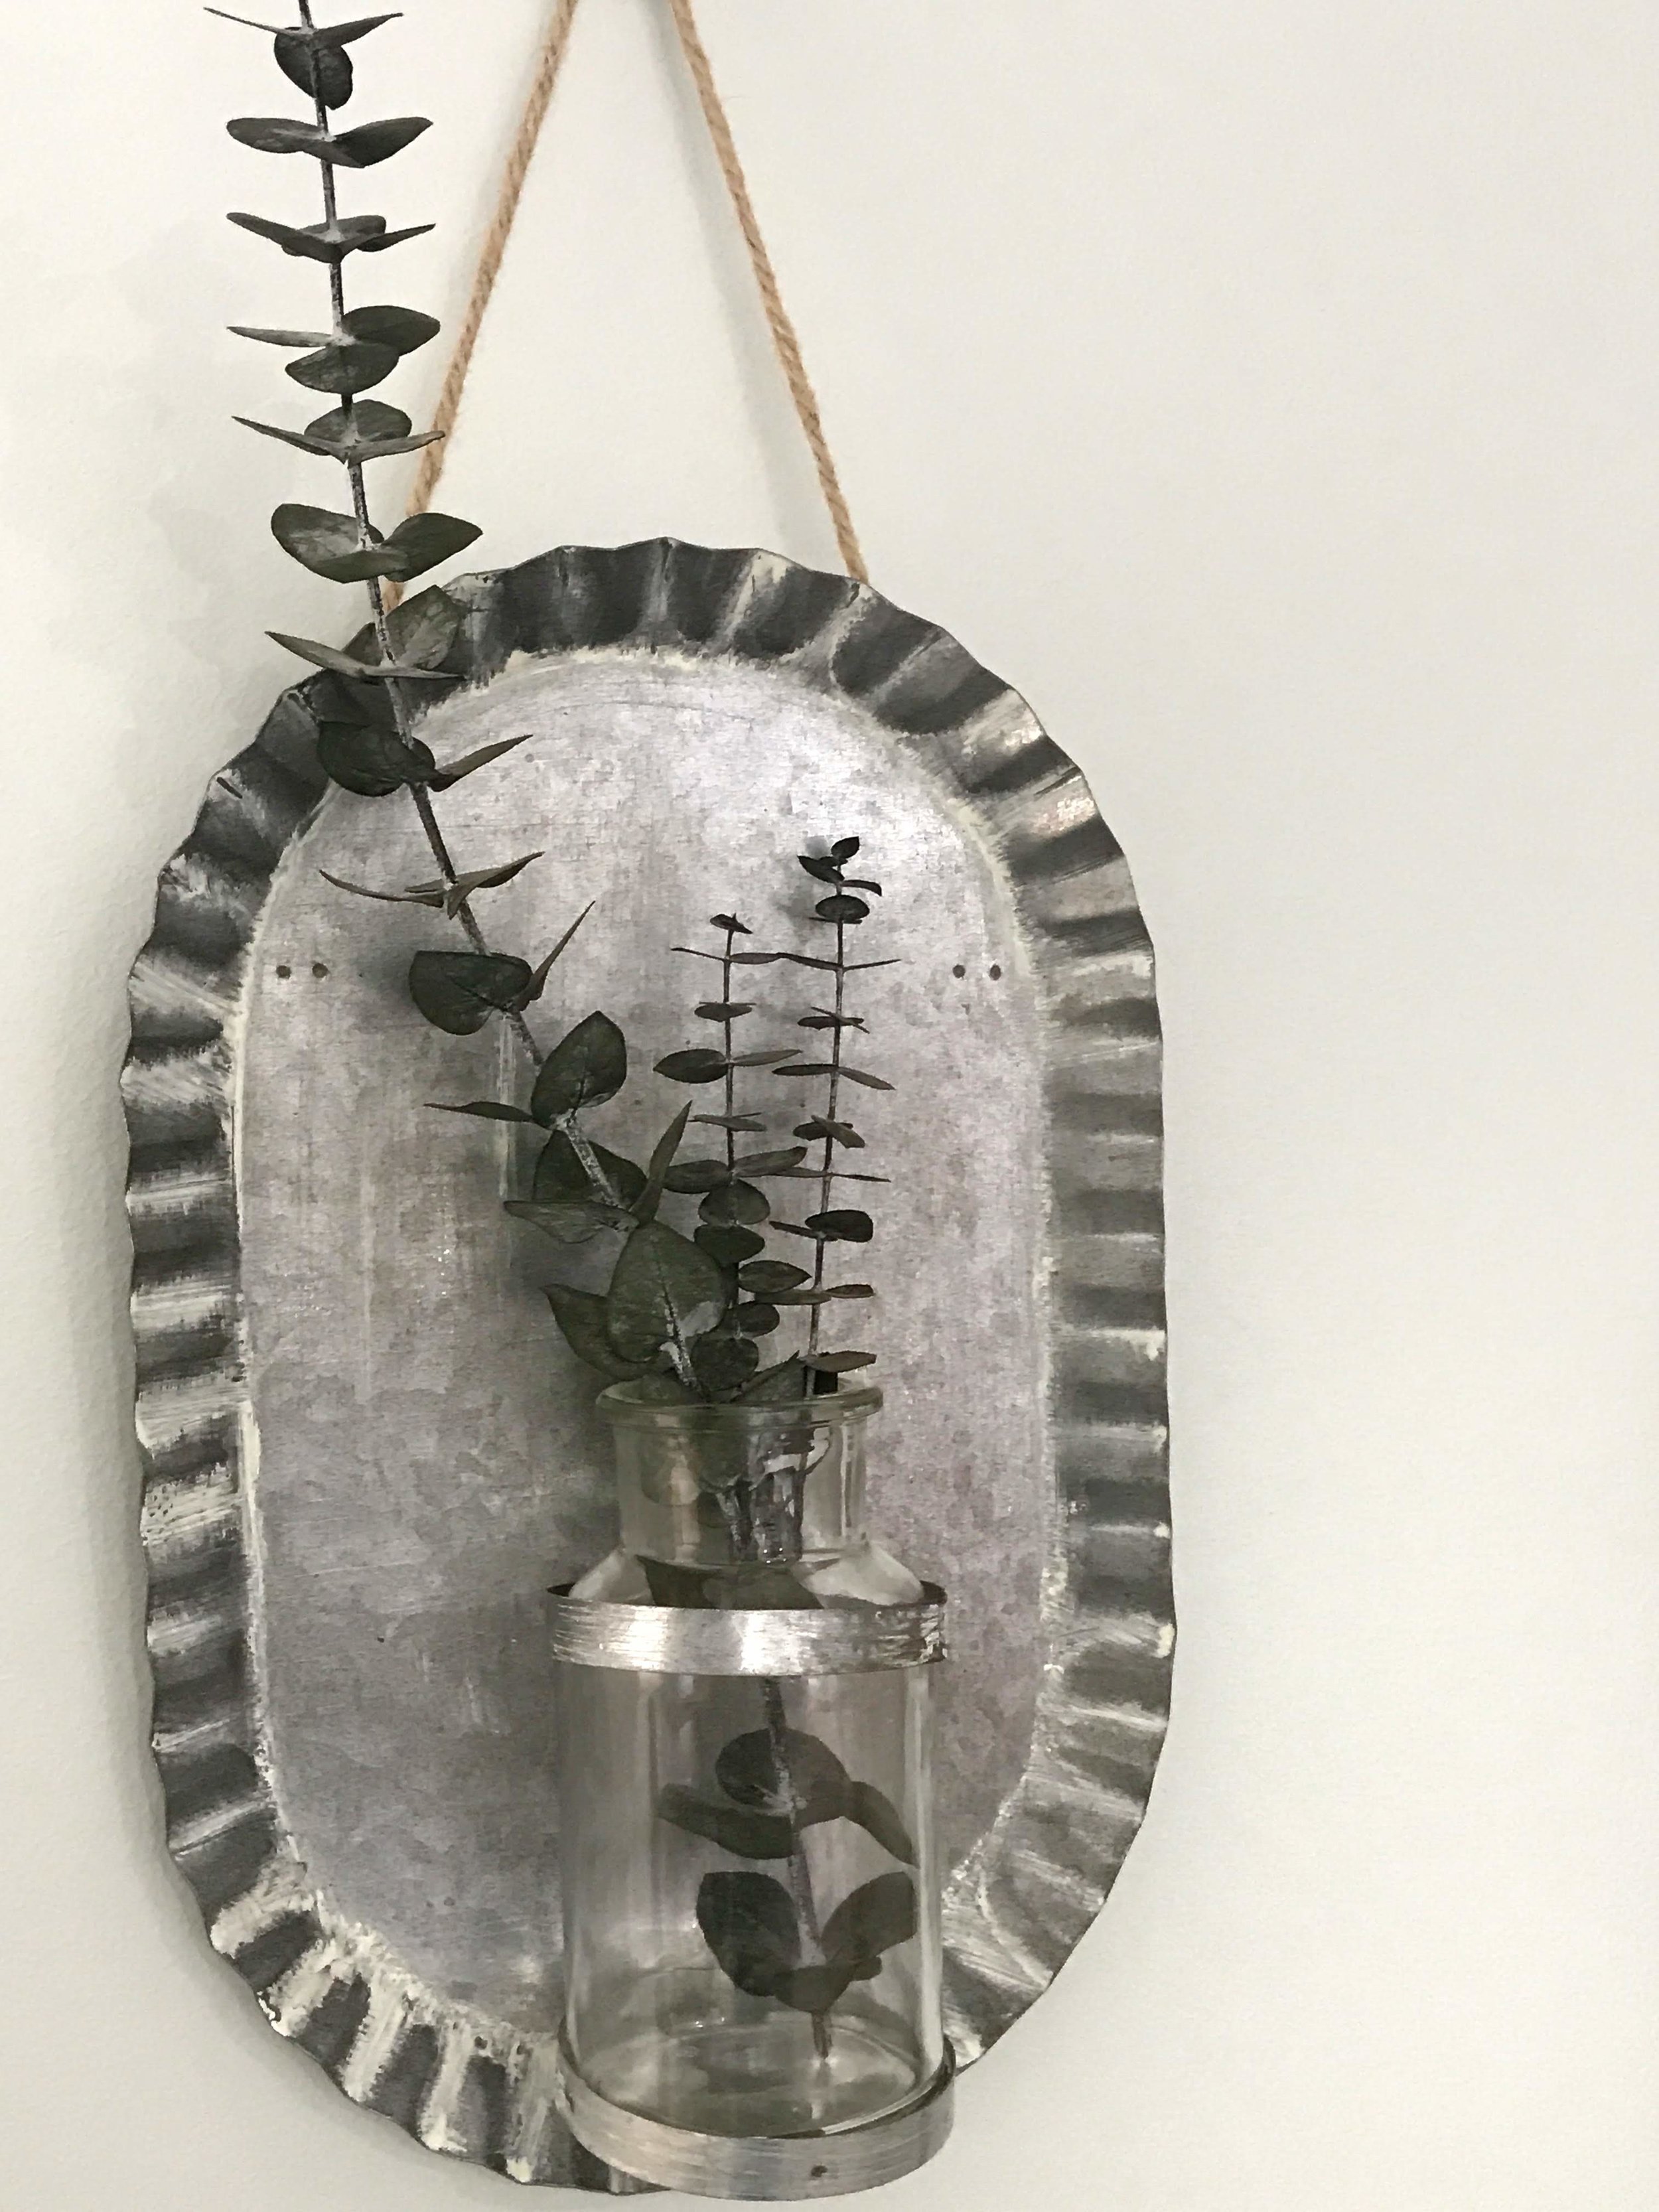
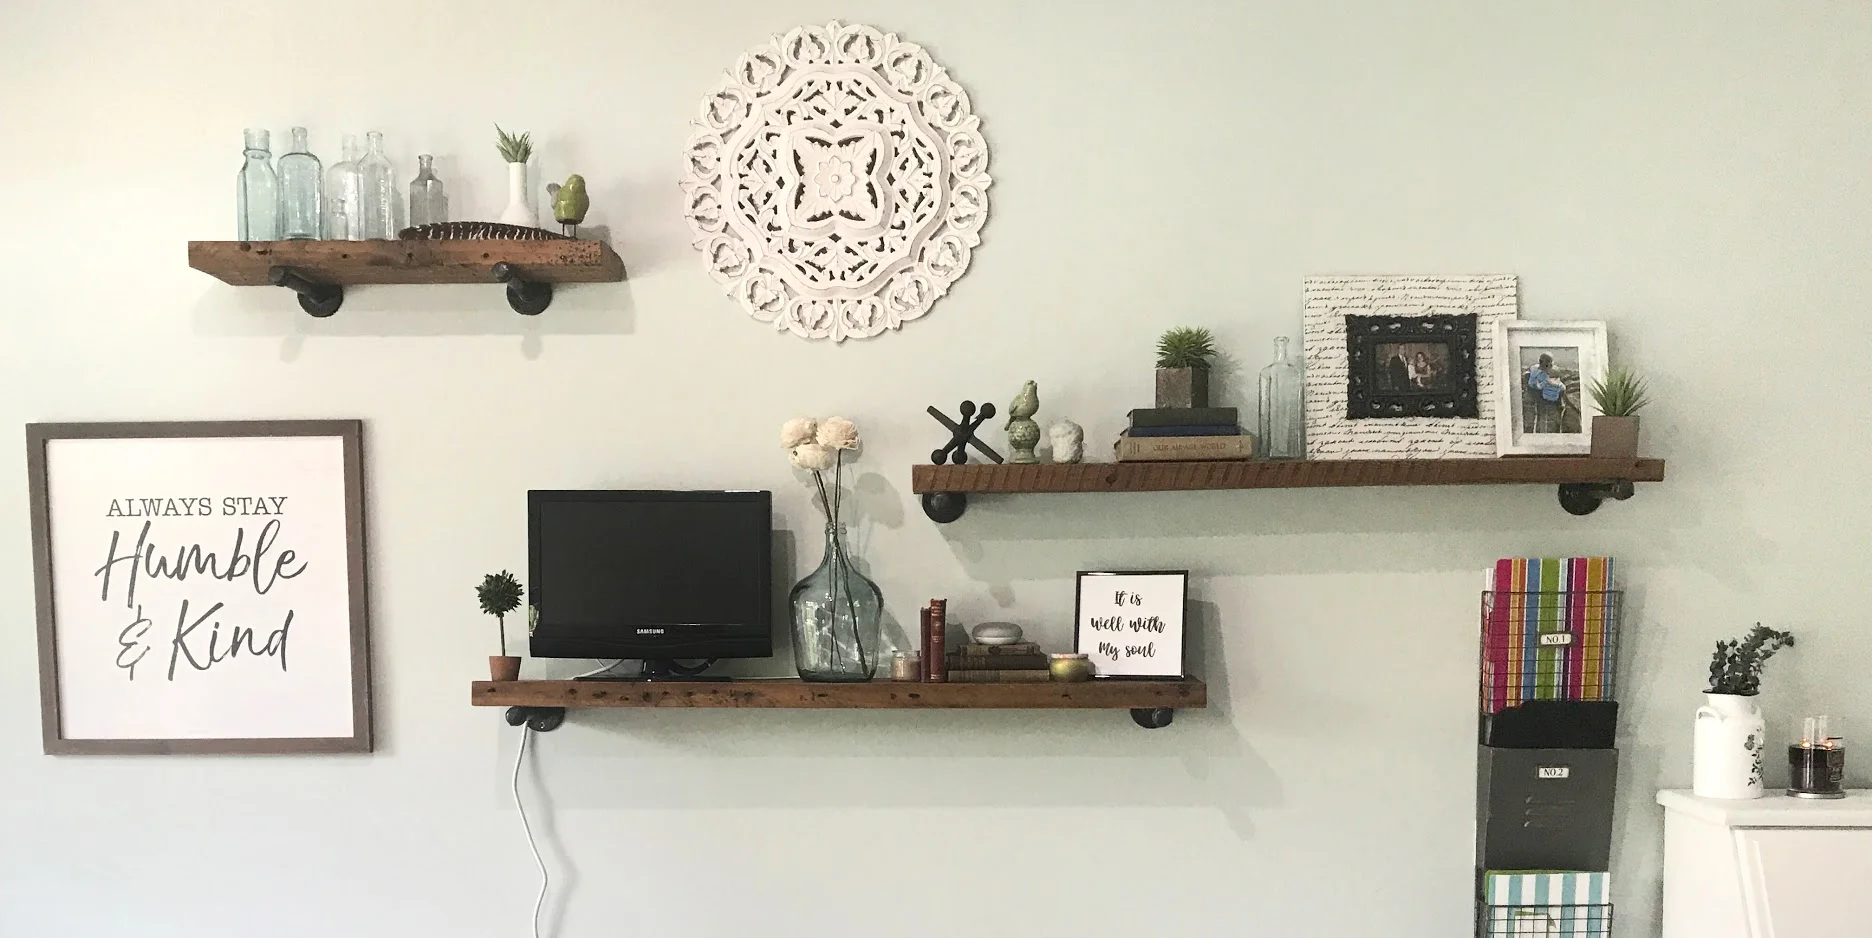
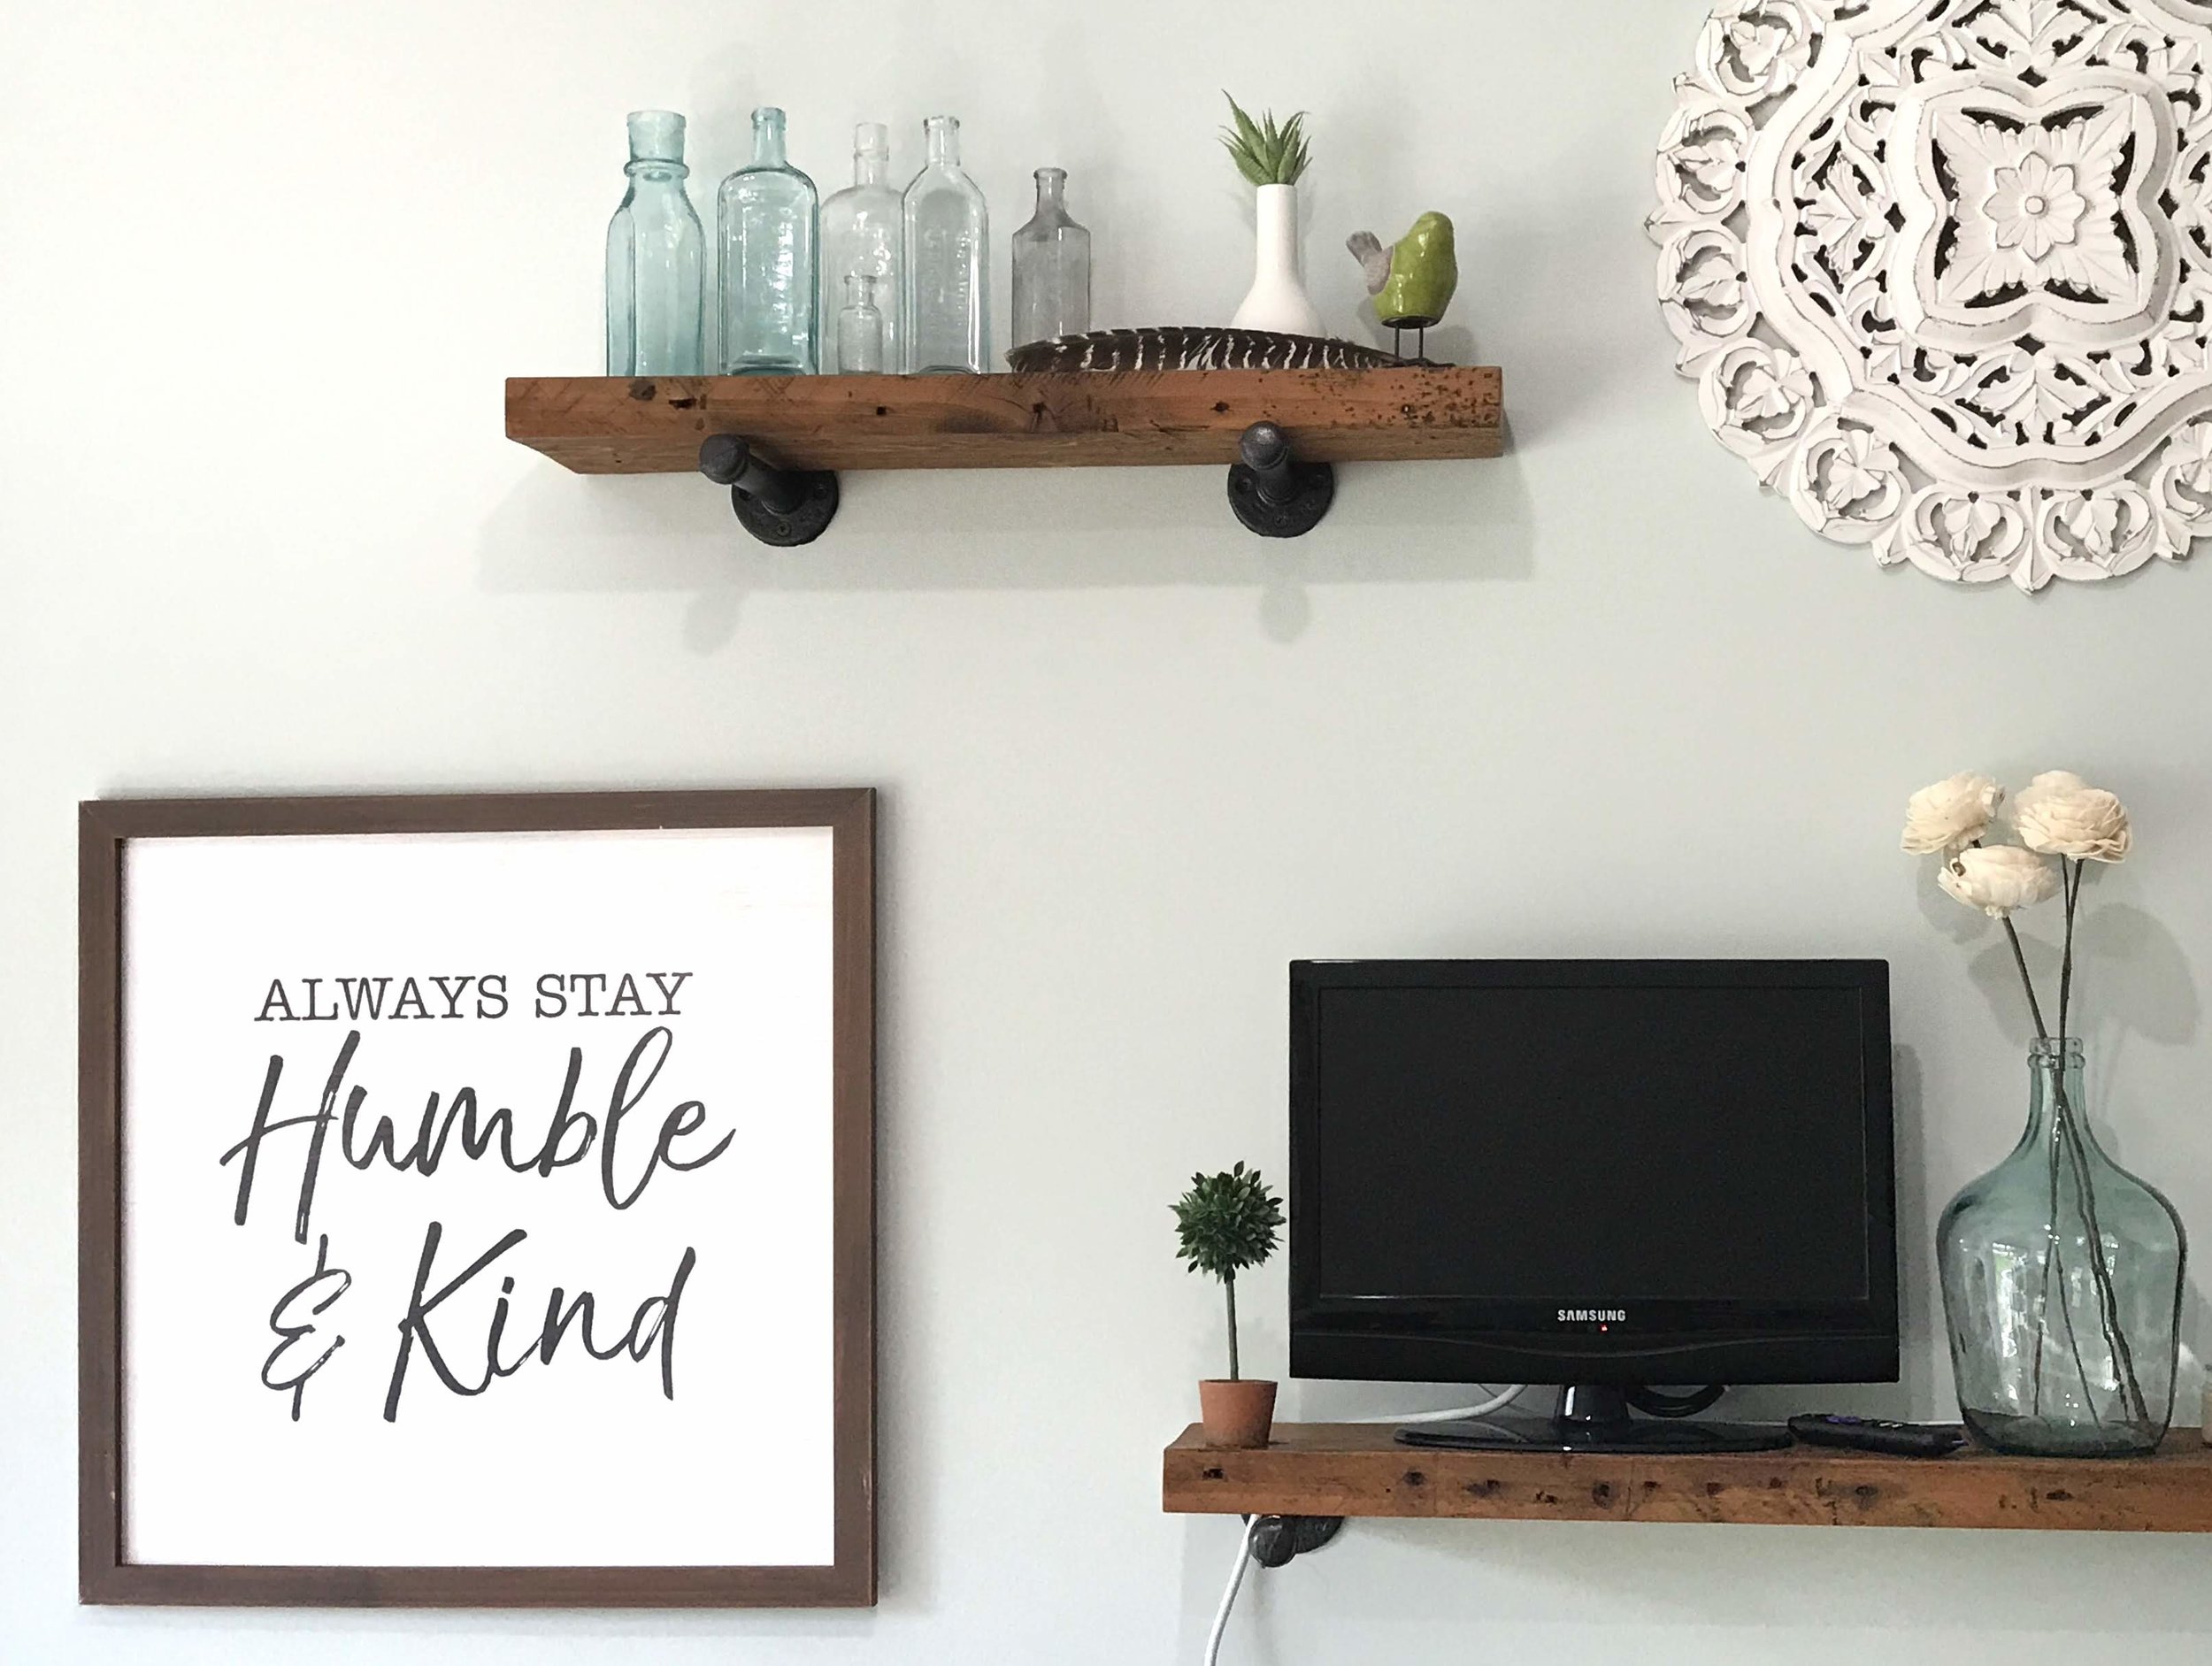
The back wall of the office is really large with no windows, so I filled it with both artwork as well as the bulletin board so that I can test out and take pictures of the bulletin board sets that I create for Teachers Pay Teachers.
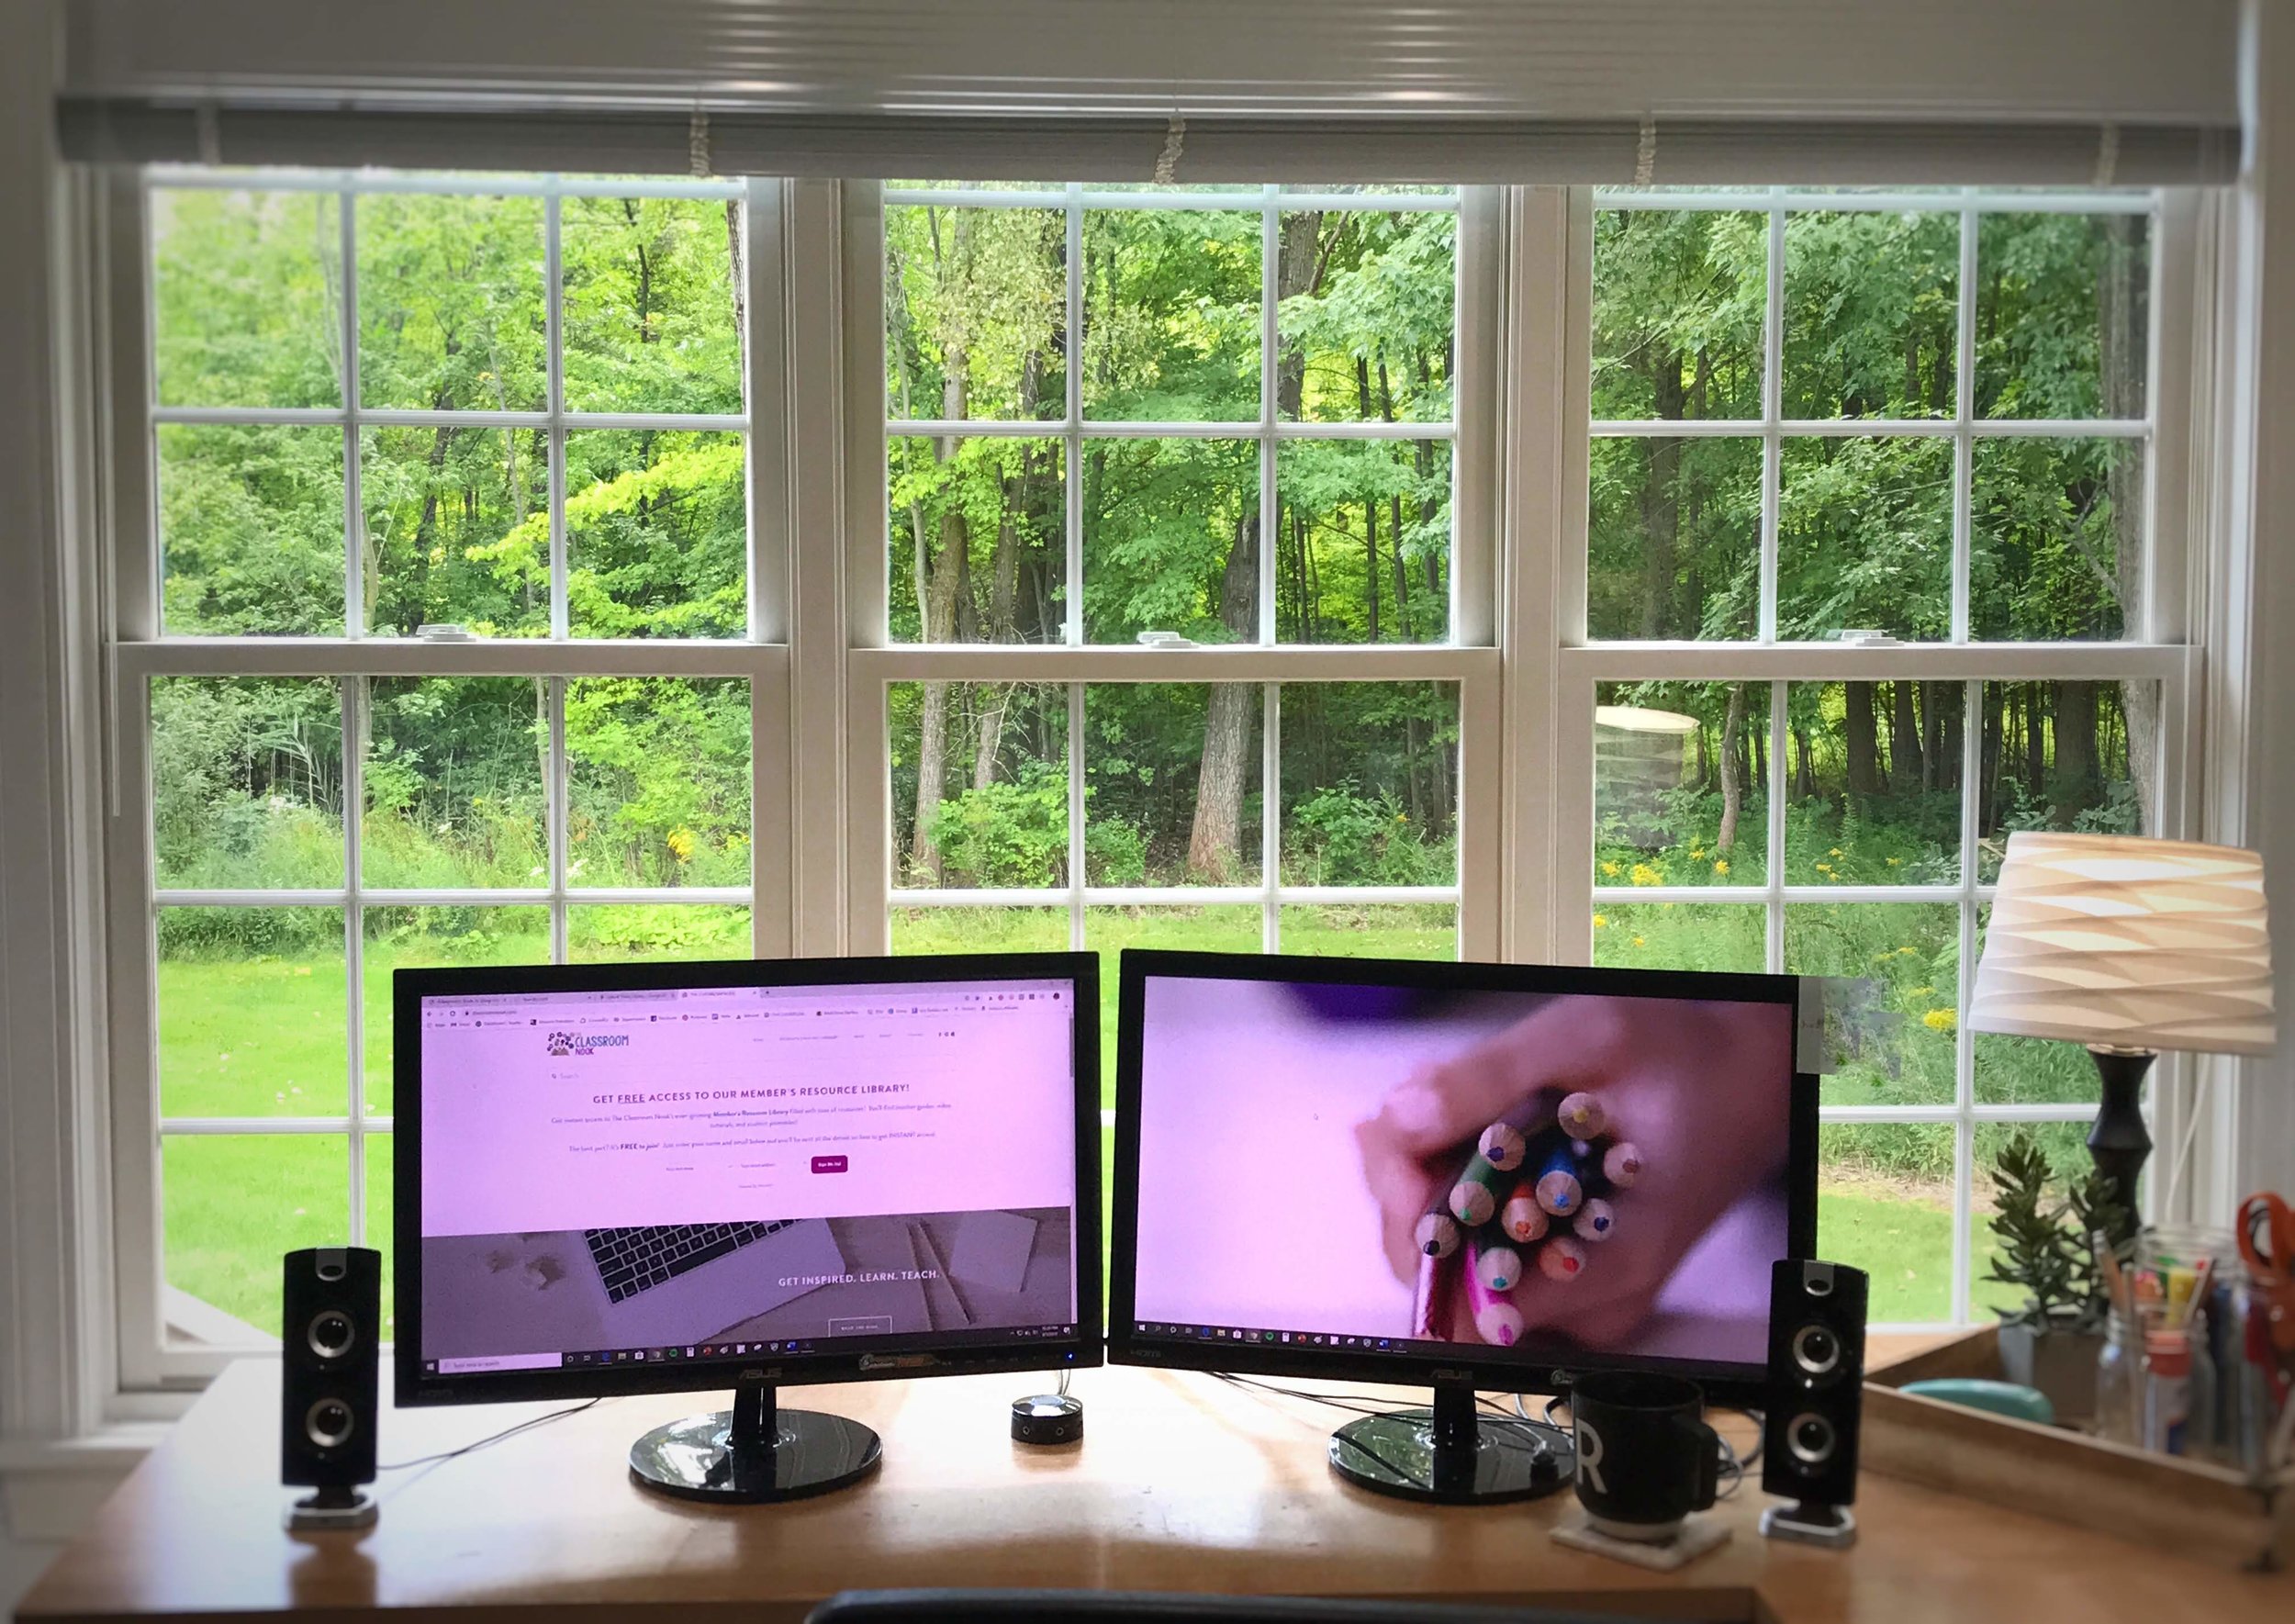
Aside from wallpapering the window wall, the only other large project I did for the makeover was painting the old desk that my parents gave me when I got married. We needed a desk for all of our family paper work (bills, papers to file…etc), and this desk was solid wood, so I hated to get rid of it. All it needed was some paint and new hardware to give it a fresh new look!

I actually used chalk paint from Home Depot to do the job. With chalk paint you don’t have to sand before painting, which was a plus and a huge time-saver. The finish of the paint is a little more textured than regular paint, which is typically smoother and shinier. You probably wouldn’t want that for just anything you would paint, but for the more rustic look that I have in the rest of my office, the textured look fit right in!
I also love the 3-basket wire storage that I got from Hobby Lobby to place on the side of the desk. It’s a nice way to store paper work that needs to be filed away instead of piling it all on top of the desk or shoving it in drawers.

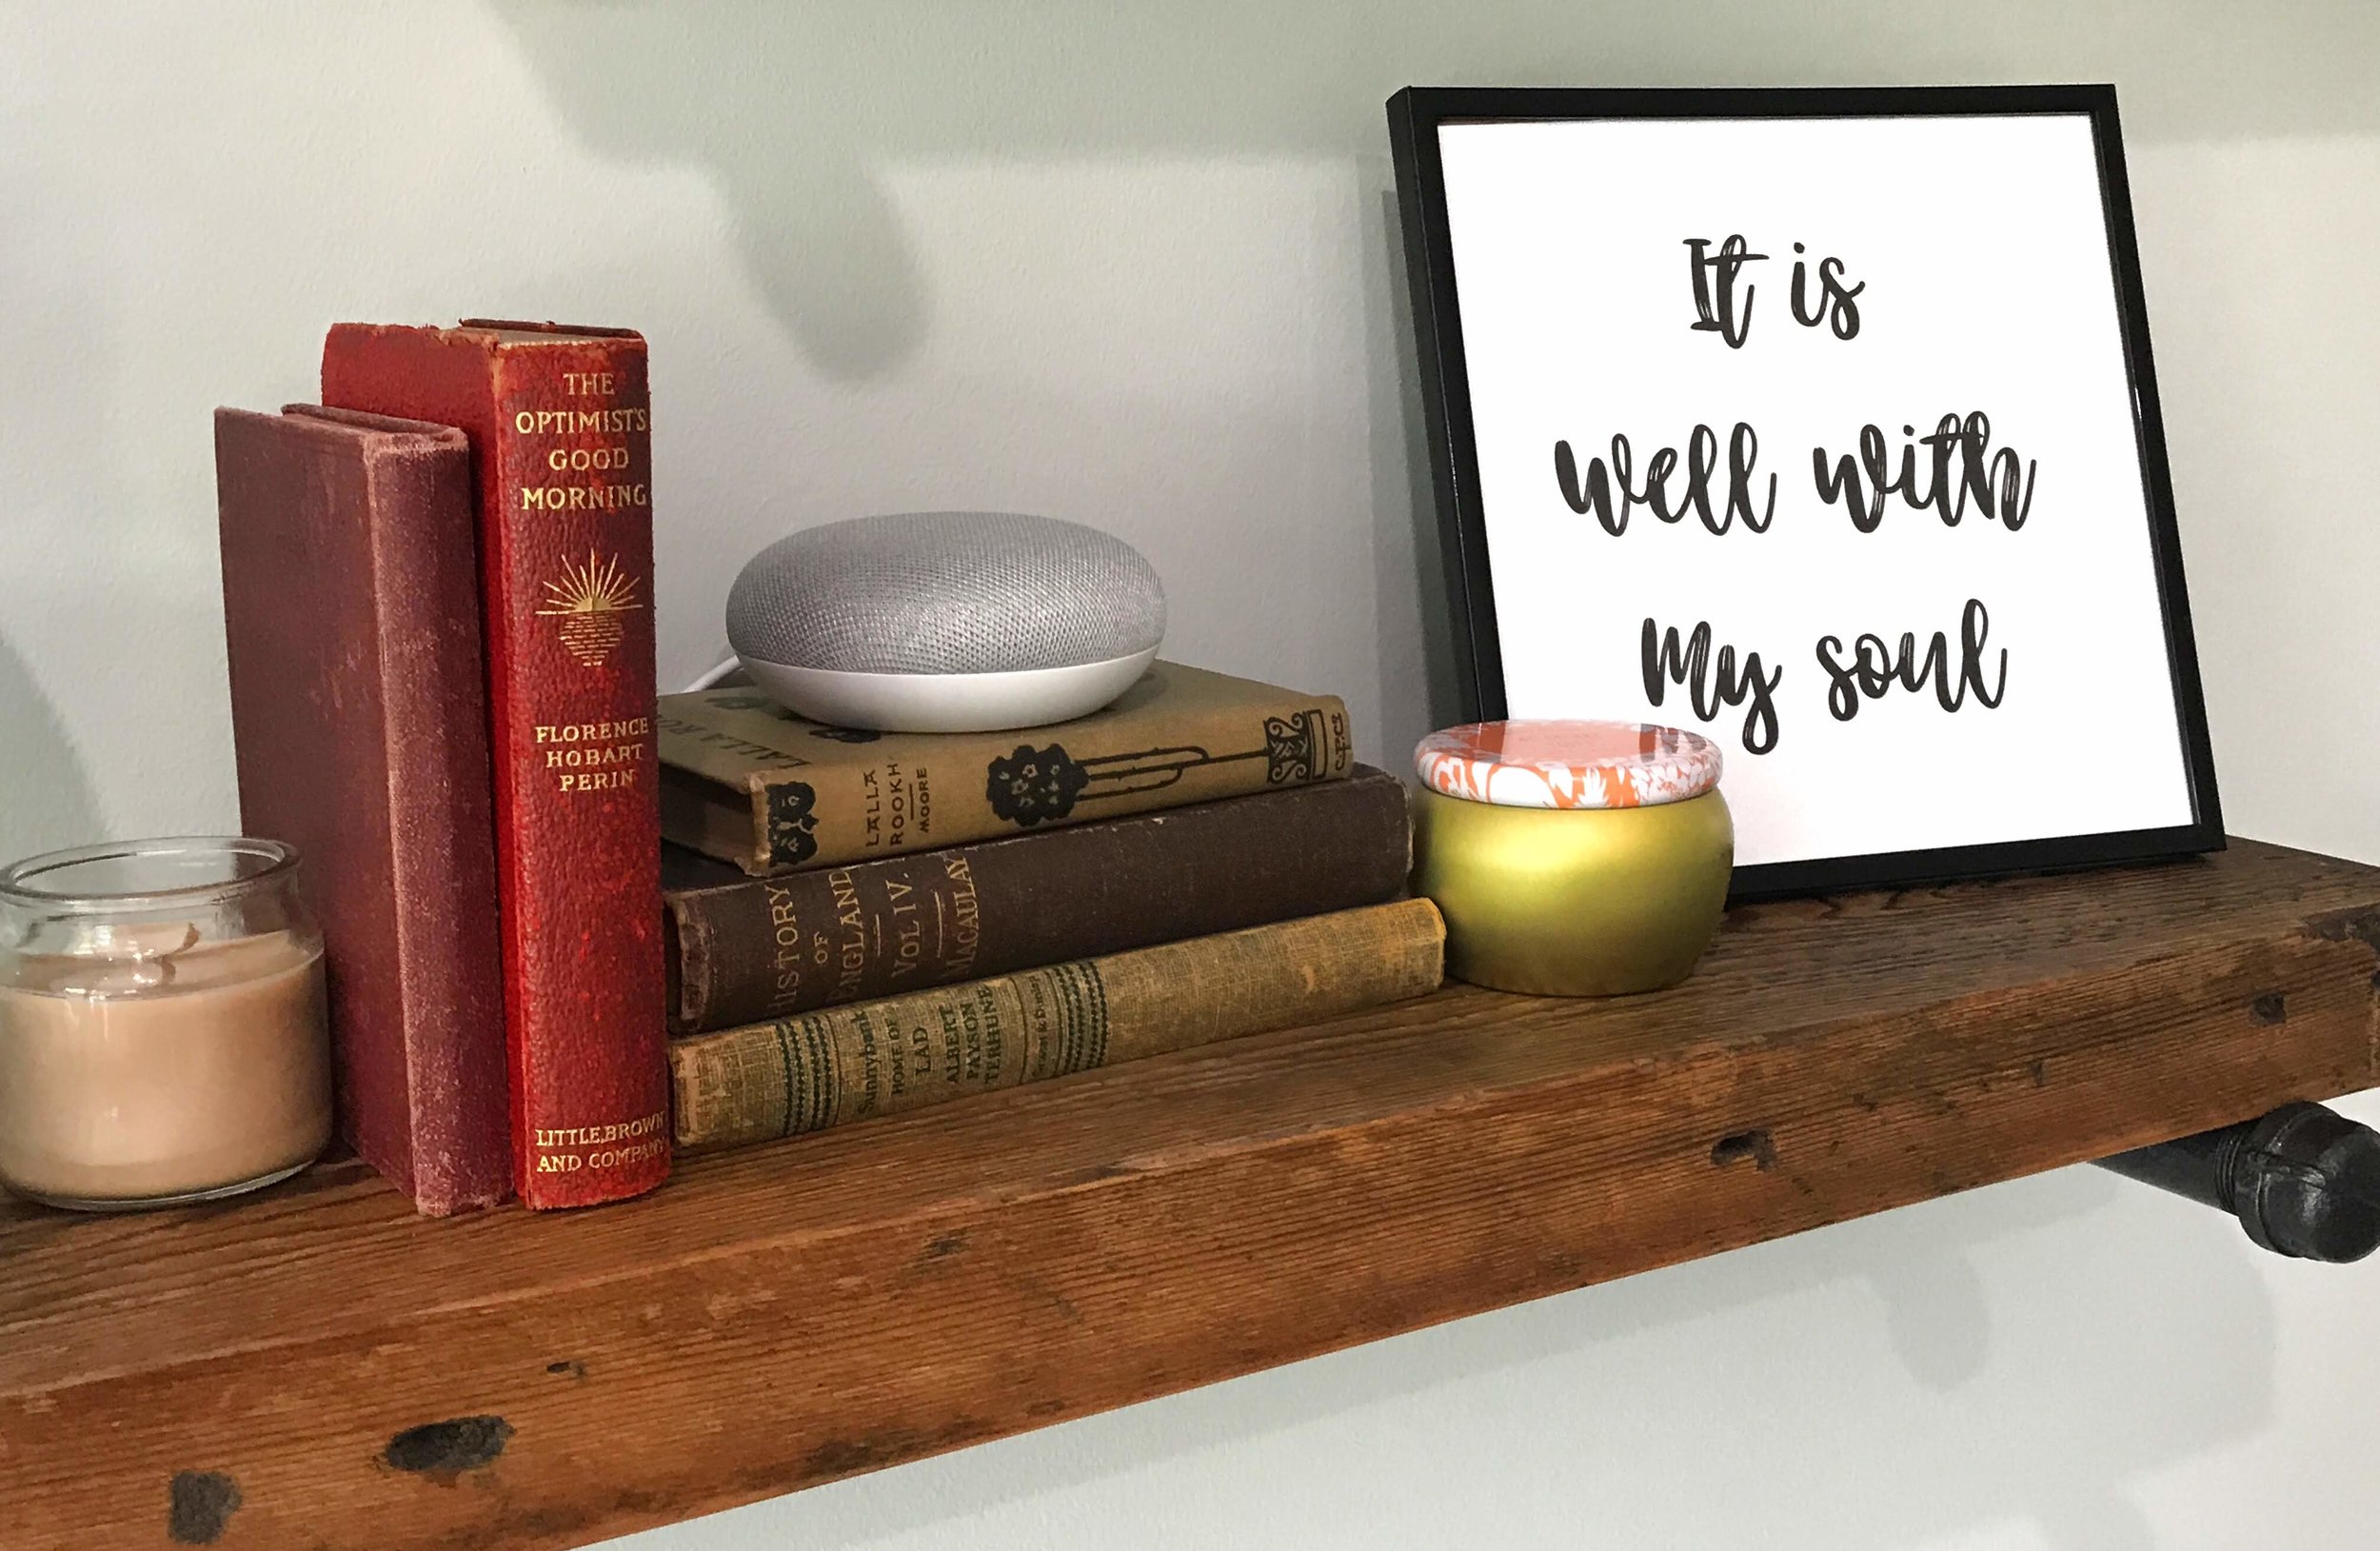
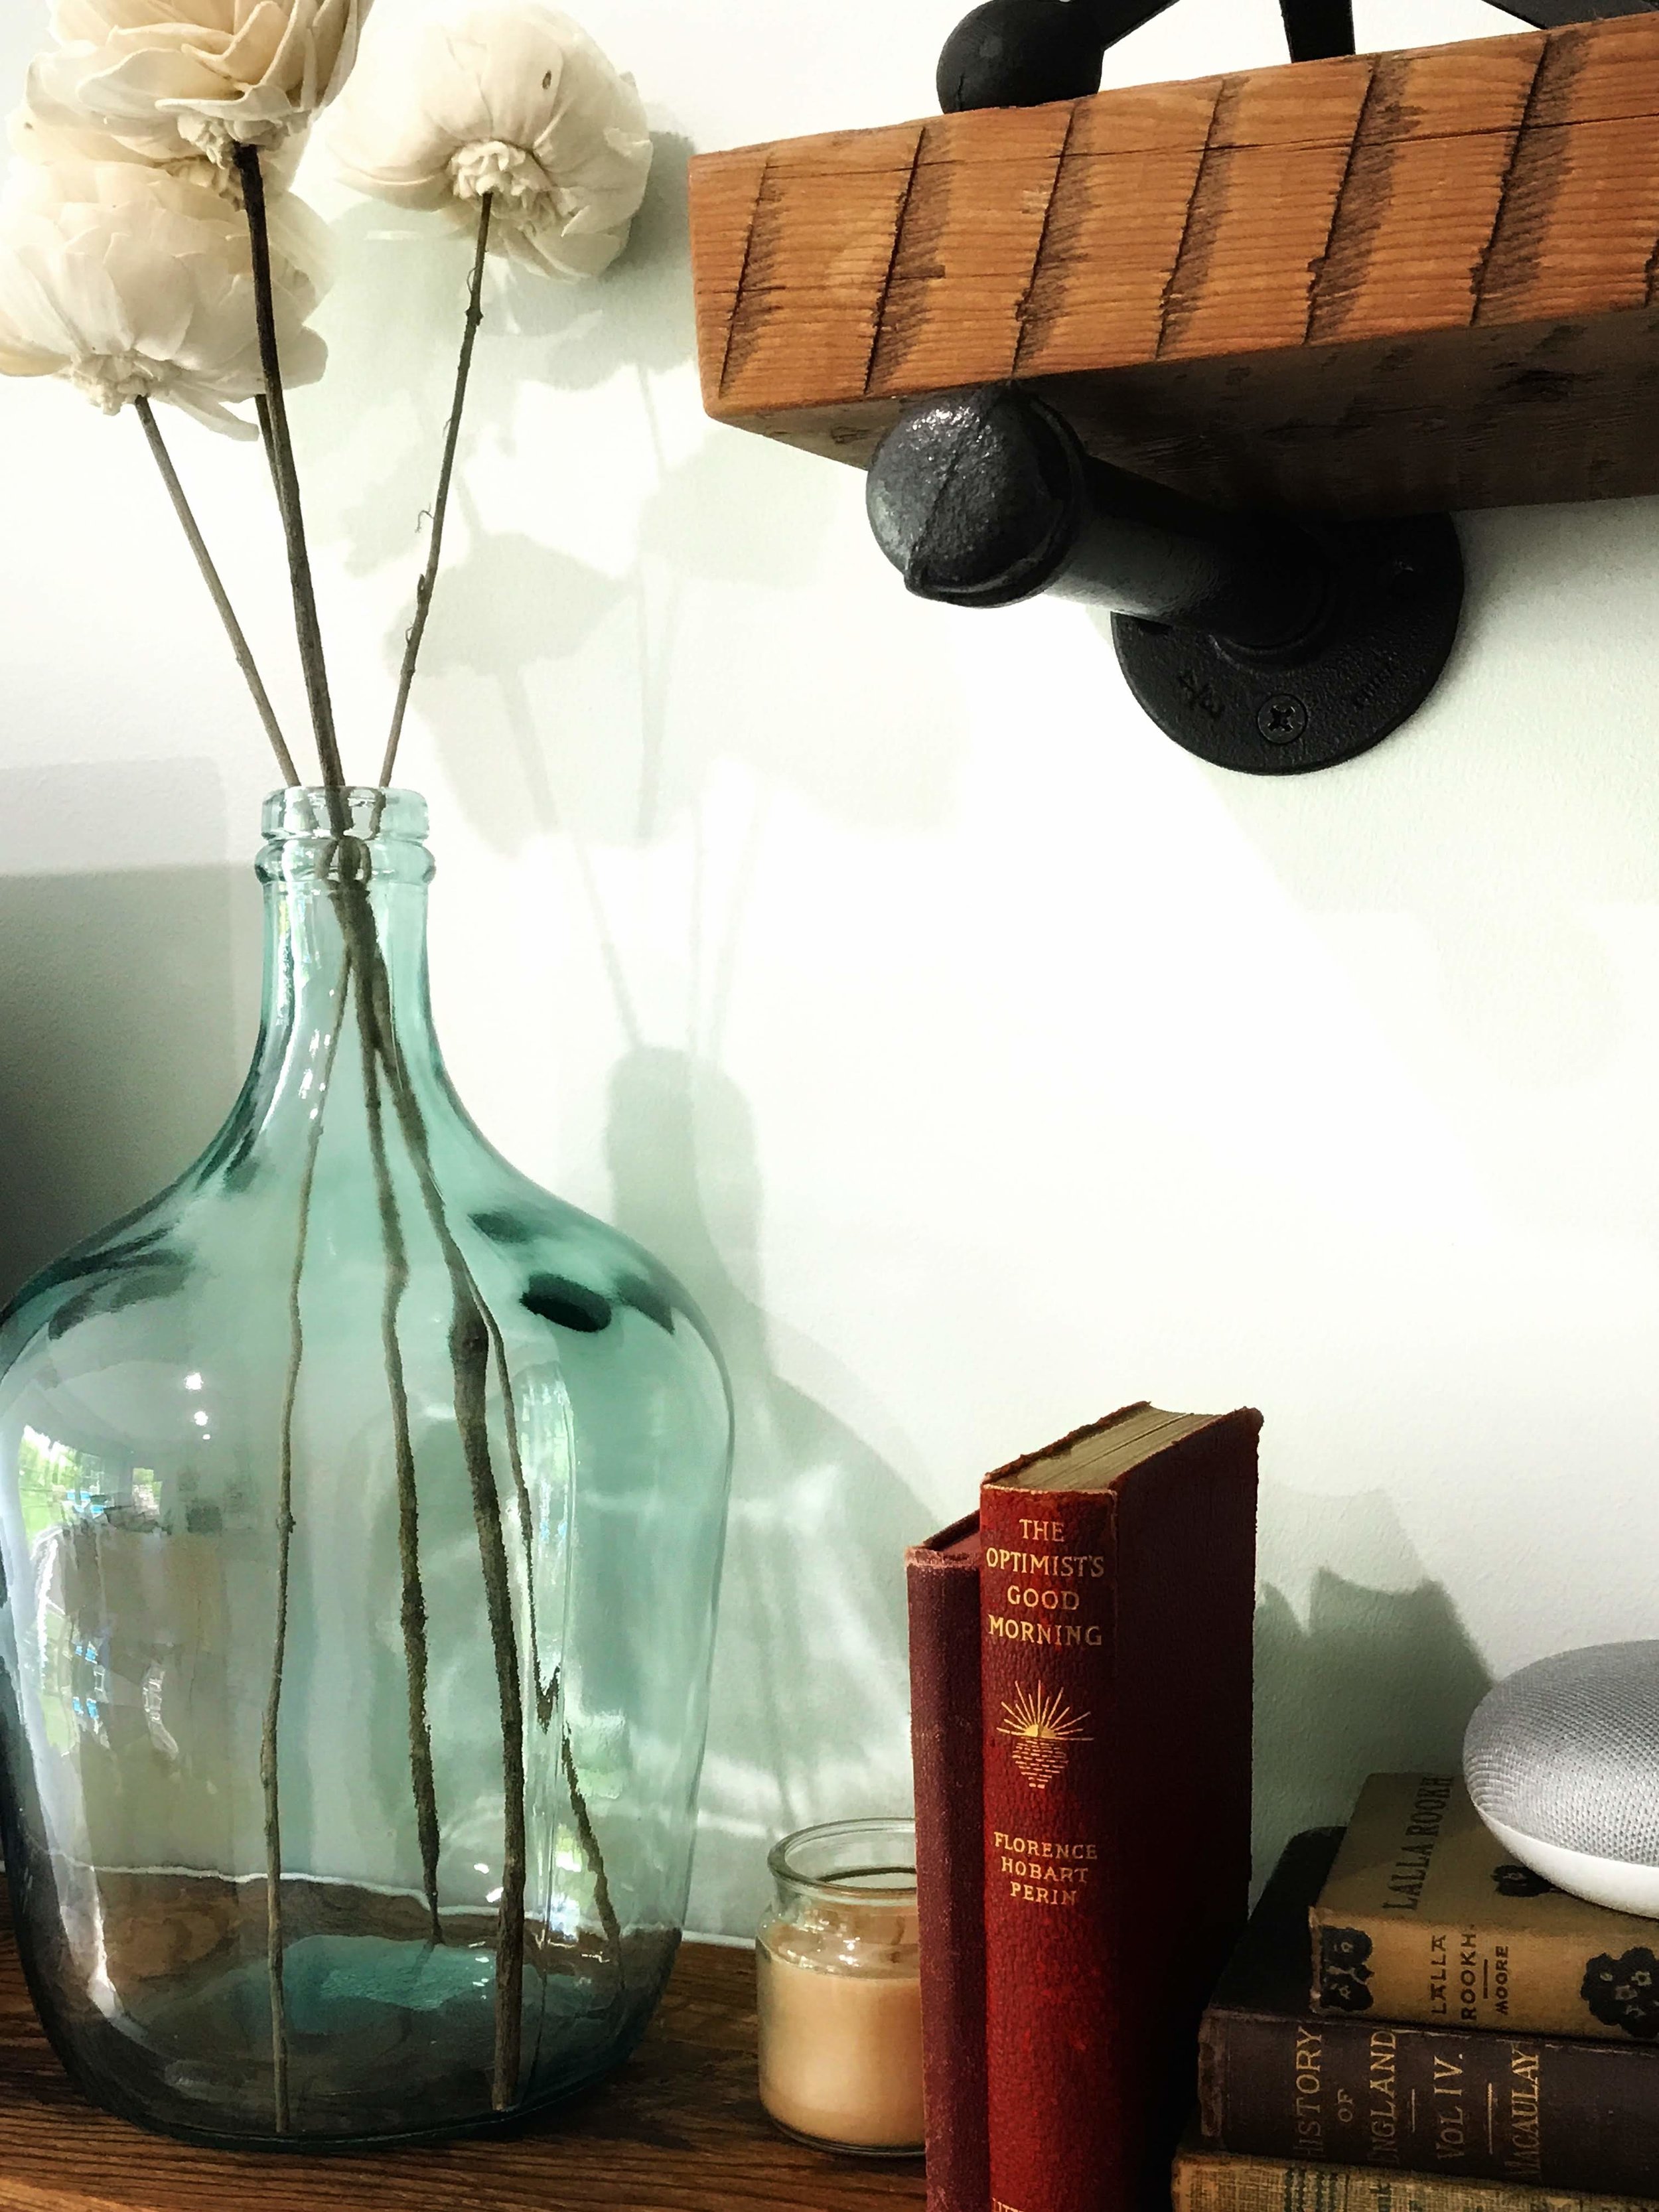
I think my favorite part of the whole office are the 3 shelves that my husband made out of old barn beams. They are placed on copper piping that we spray painted and mounted to the wall.
We had these in our old house, but didn’t have a great place to put them in our new house. They’ve just been sitting around in the basement and I hated to see them go to waste! Luckily they fit right in in my office. The wall we placed them on was another large blank wall that needed some character.
And finally, where all the magic happens - my desk.
I eventually want to get a new desk, but this one works for now. The biggest thing I want is a clean desk free of baby toys and 5 year old artwork :)

Thanks for hanging out in my office with me for a bit! Now back to work - those teacher resources won’t make themselves!