3 Easy Steps For Teaching Students to Use Nonfiction Text Features
Each reading genre that we teach to our students comes with its own set of skills and strategies for students to master. In fiction texts we teach students about character development, plot, and theme. In poetry, our students practice rhythm, rhyme and identifying mood and tone. When students read mysteries, they know to look for clues that the author gives throughout the story and seek out solutions to the mystery.
Mastering nonfiction comes with its own set of skills and strategies. Nonfiction books often look very different than any other book that students read. They’re structured differently and include other features that are not typically found in other genres.
Reading nonfiction texts can present challenges to many students if they are not taught how to read them differently.
In my own classroom, I got accustomed to 3 basic steps to teach students to use nonfiction text features.
Step 1: Get students to NOTICE text features
Step 2: Help students to know what each text feature will teach them
Step 3: Have students begin to use text features on their own
Let’s break these steps down so you see what I mean.
Step 1: Get Students to Notice Text Features
Text features like charts, graphs, photographs, labels, maps, and diagrams all are there to help the reader to better understand the information in the text. But, they will do the reader no good if he or she doesn’t even pay attention to them. You might be surprised (or maybe not), that many students put blinders on to text features found on the page and only focus on the body of the text. When they do this they are missing out on so much!
As simple as looking at text features may seem to seasoned readers, younger students often wiz right past them, giving no attention to what these features have to offer. That’s where this first activity comes into play.
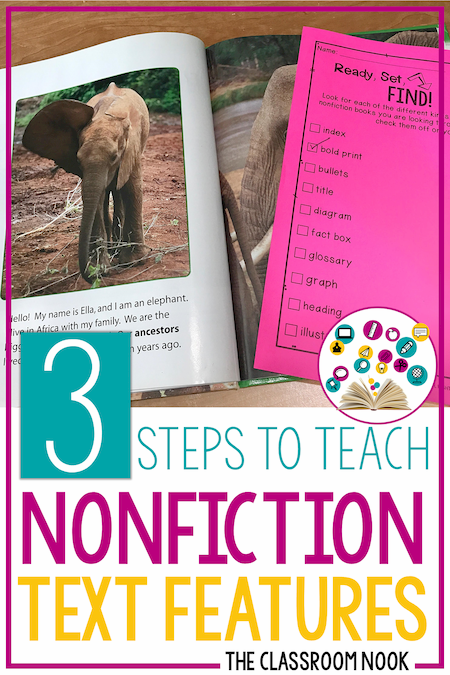
When I introduce nonfiction text features, my first goal is to just get student to actually SEE and NOTICE these text features in their books. I send them on a text feature scavenger hunt!

I begin by explaining what text features are (just a basic definition will do at this point) and show them some examples. I do this by previewing a nonfiction book or two that have several examples. We don’t go into too much detail at this point about what the text feature teaches us. I just want students to hear the names of the features and see what they look like. We also want students to know that text features offer additional information that may not be included in the text body, so it’s important that we don’t ignore them.
Then I allow students to get into small groups and go on a text feature scavenger hunt. Here, student pour over a stack of nonfiction books with multiple examples of each type of text feature. I’ve pre-select these books to make sure that there are multiple examples of each type of text feature. As students look through the pages, they stop when they find a text feature and check it off their scavenger hunt list (see above). The goal is to find at least one example of each type of text feature that is on their list. The more the better! Sometimes I have students place sticky notes on the pages where they’ve found text features so that we can discuss them later as a whole group.
This activity gets students into the habit of stopping and noticing text features when they come across them. At this point I’m not concerned with whether or not they can analyze the information given in the text feature. That skill is for another time.
You can easily make your own text feature sheet like the one above or grab this particular scavenger hunt sheet as part of my Teaching Nonfiction Reading Skills (Starter Kit).
Step 2: Help students to know what each text feature will teach them
Once students get into the habit of noticing text features when they come across them, the next step is to teach them what information each type of feature will give them. And - if you know me like I think you know me, I bet you can guess what type of activity I use to do this.
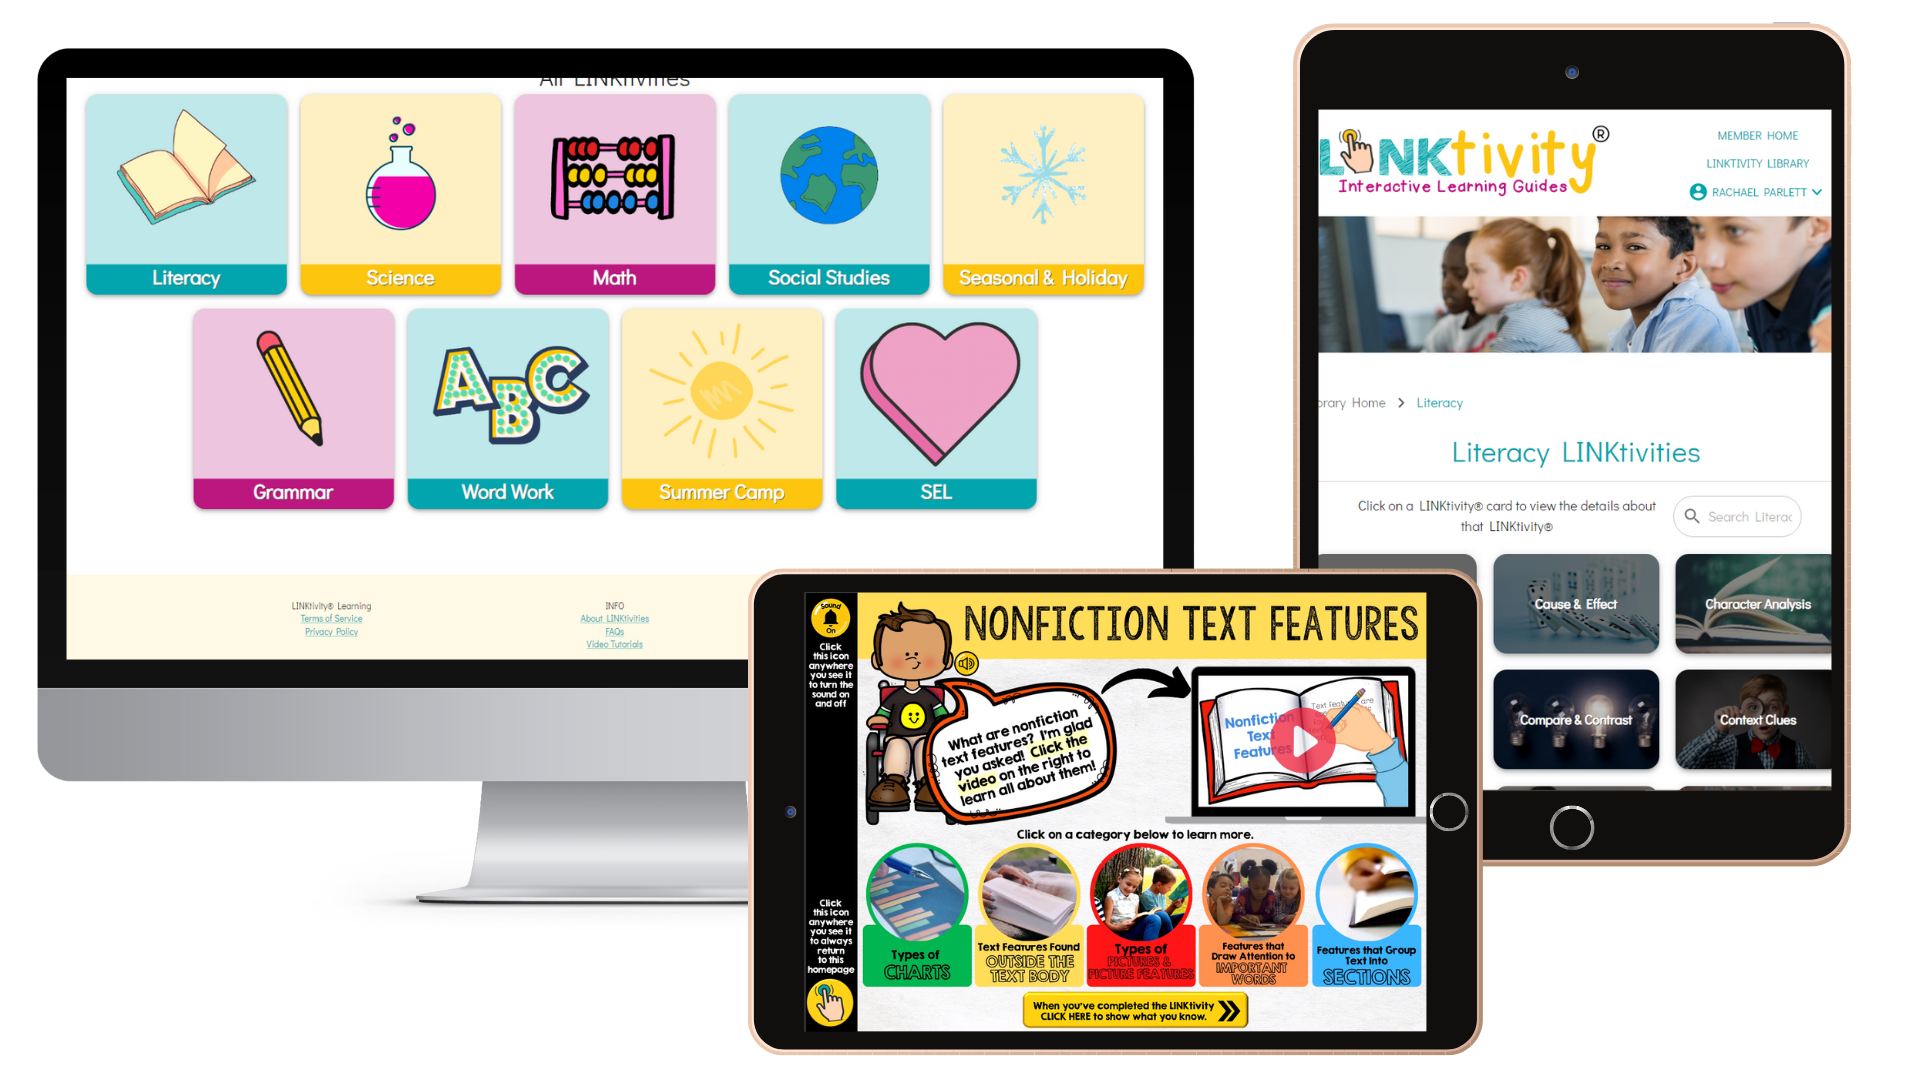
If you guessed a LINKtivity Digital Learning Guide, then give yourself a gold star! :)
You betcha! You know I think LINKtivities are just about the most fun and effective way to teach even the most boring of topics! I created a Nonfiction Text Feature LINKtivity for such a time as this!

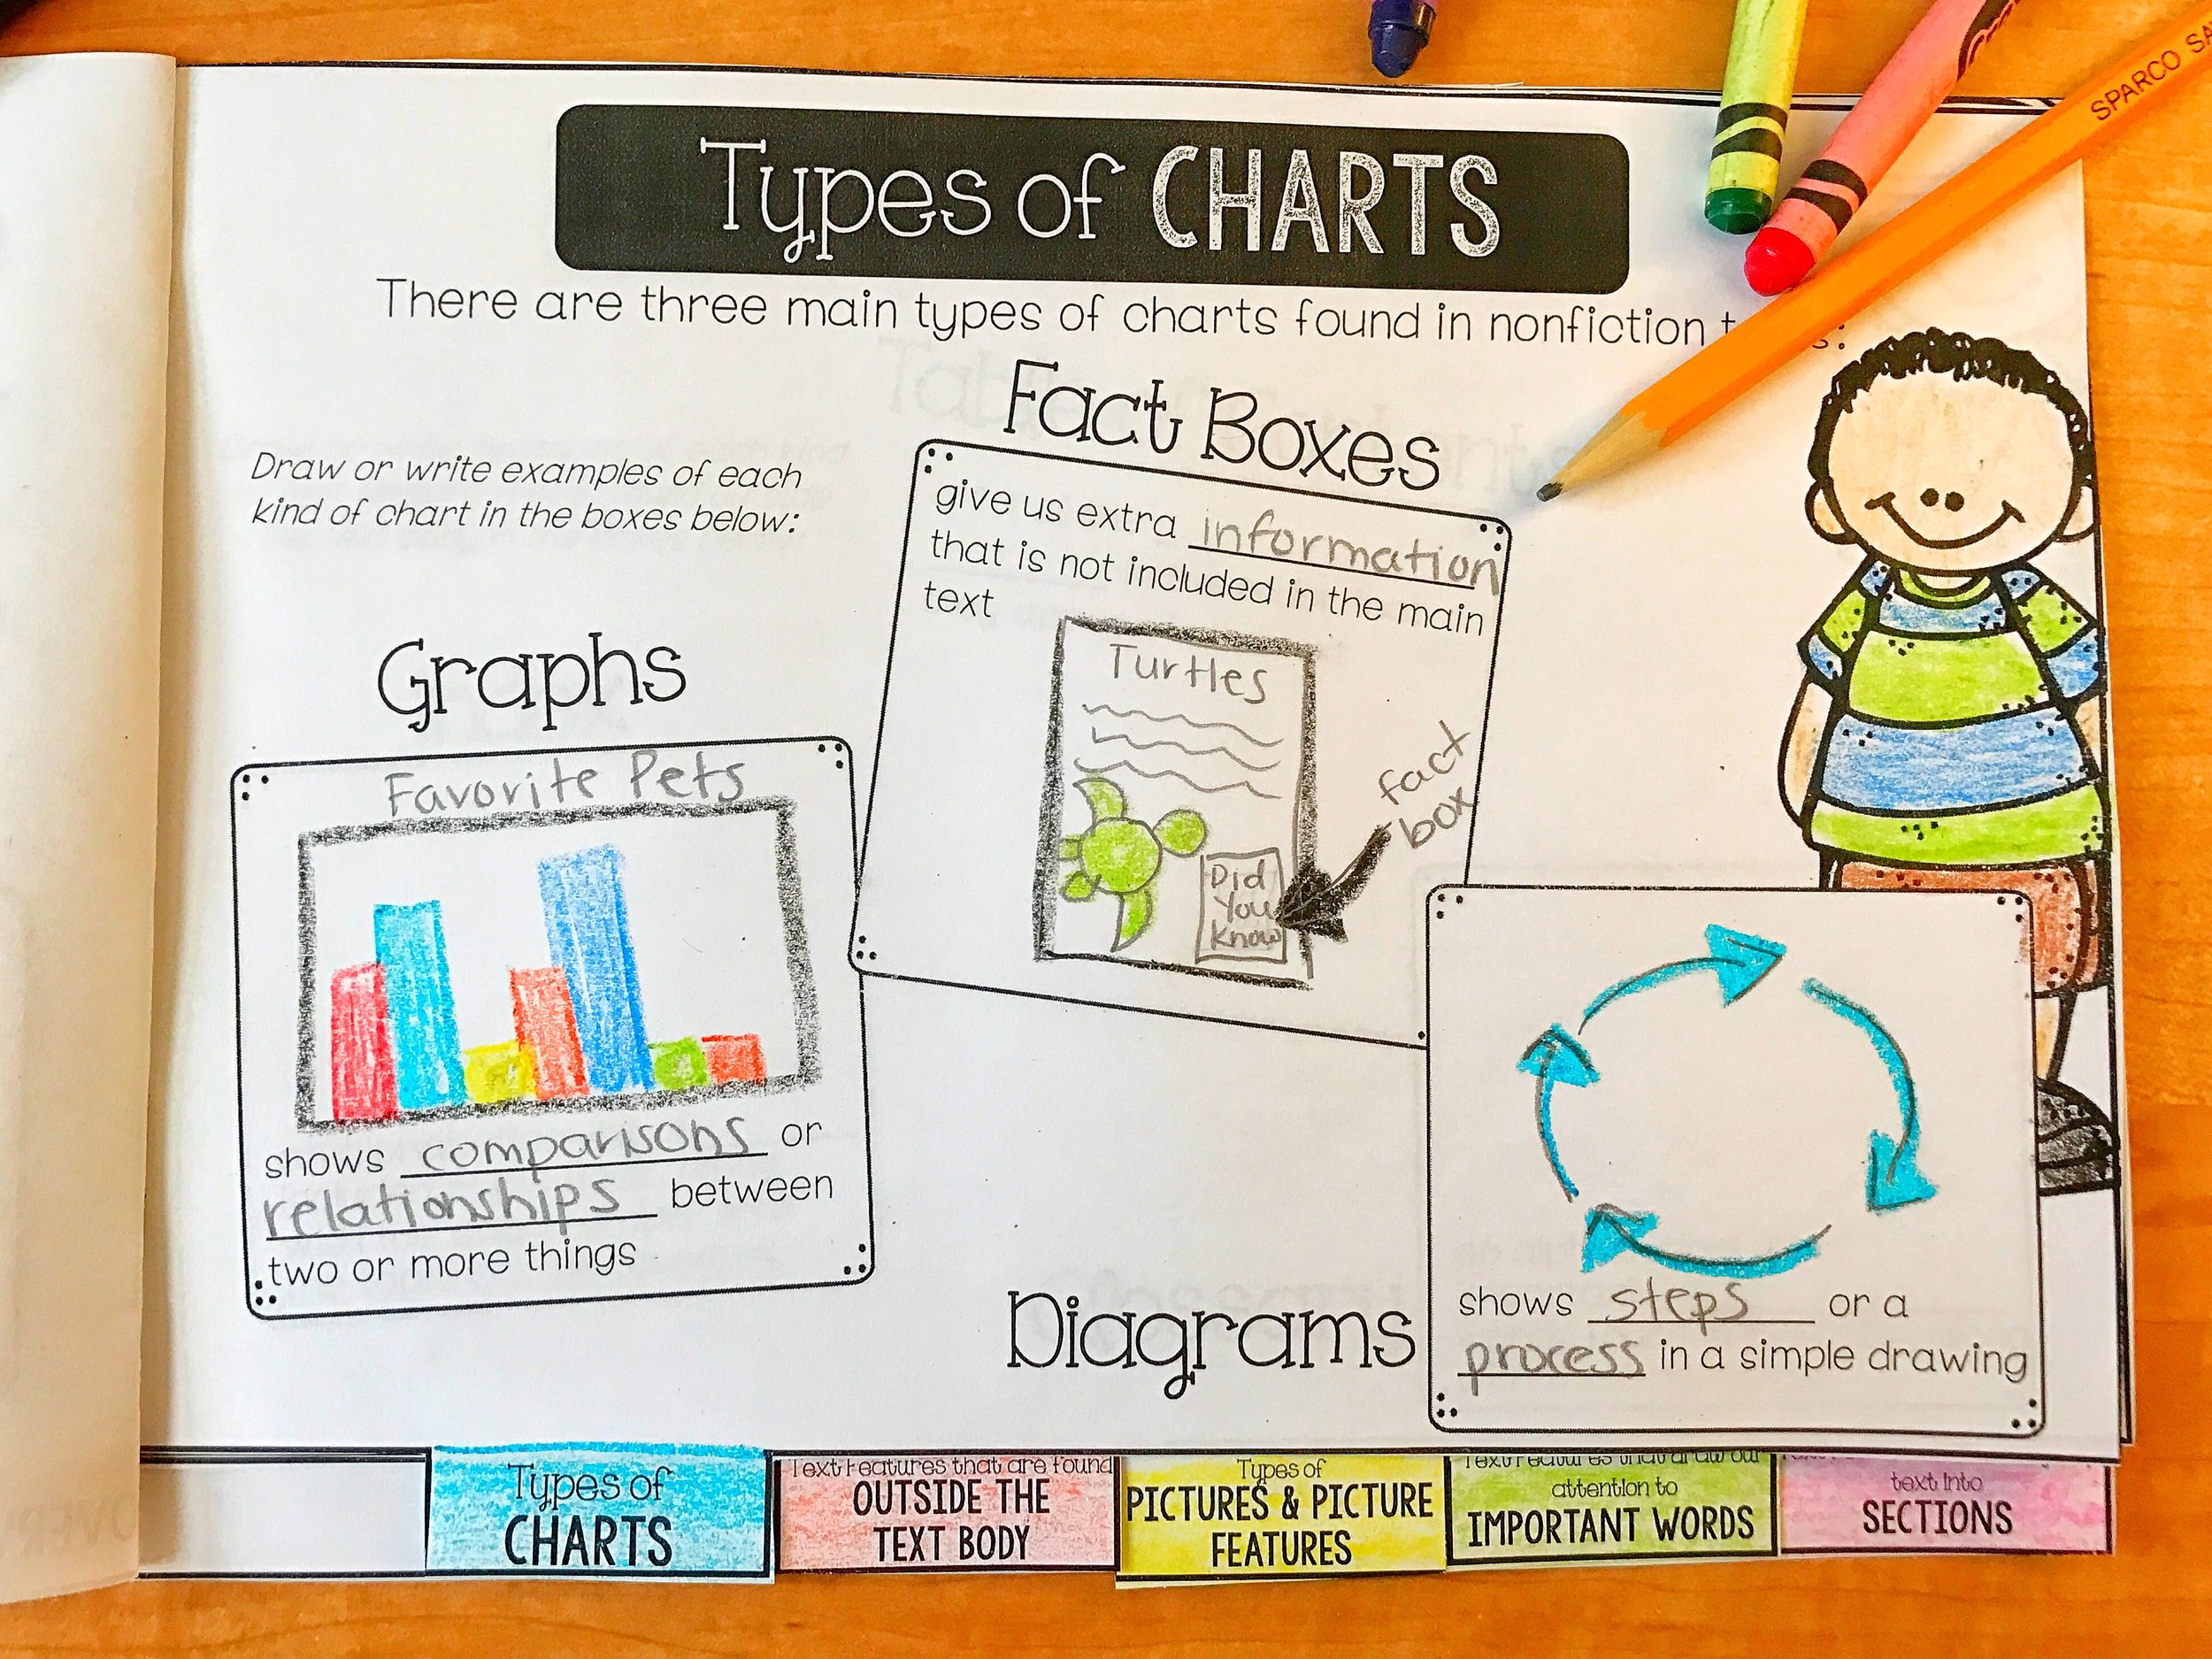
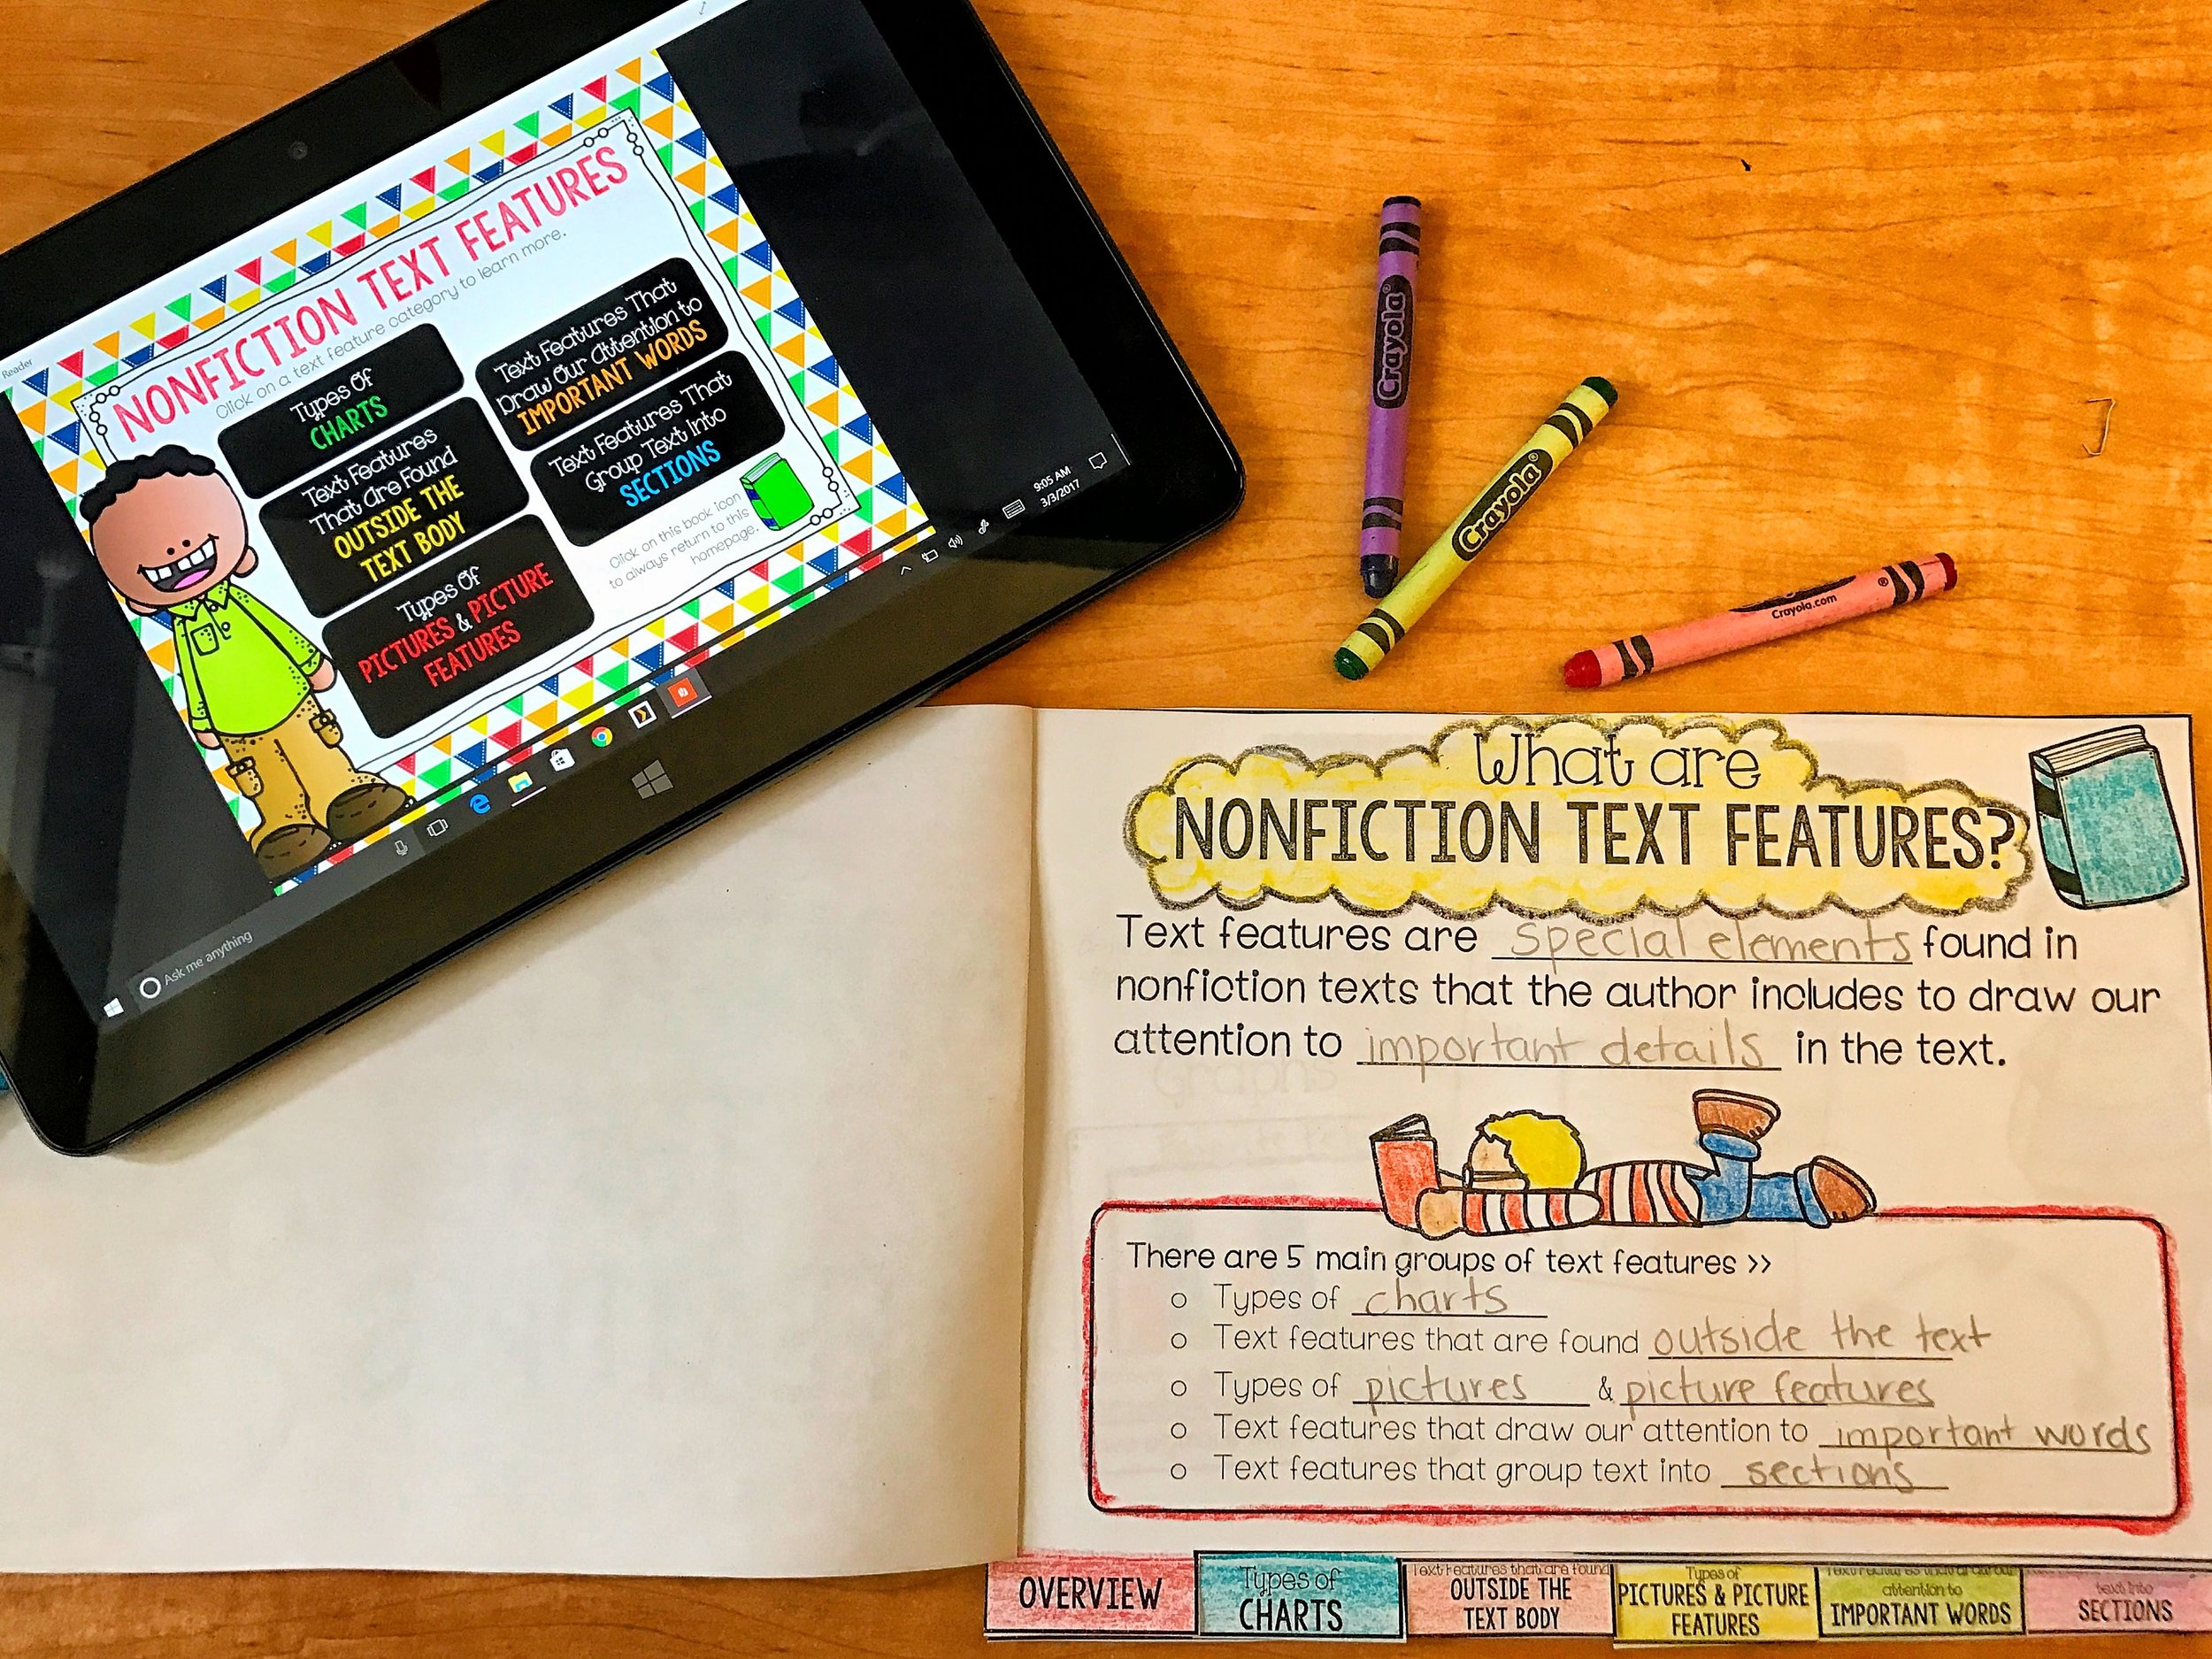
Inside this LINKtivity, students learn what text features are and will be introduced to several examples of them. They even watch a brief animated video to get started. The LINKtivity helps students to see the different kinds of text features that authors might include such as types of charts, photographs, features found outside the text body like glossaries, indexes, and table of contents, and many others.
While working through the LINKtivity, students create a flipbook to record all the important information.
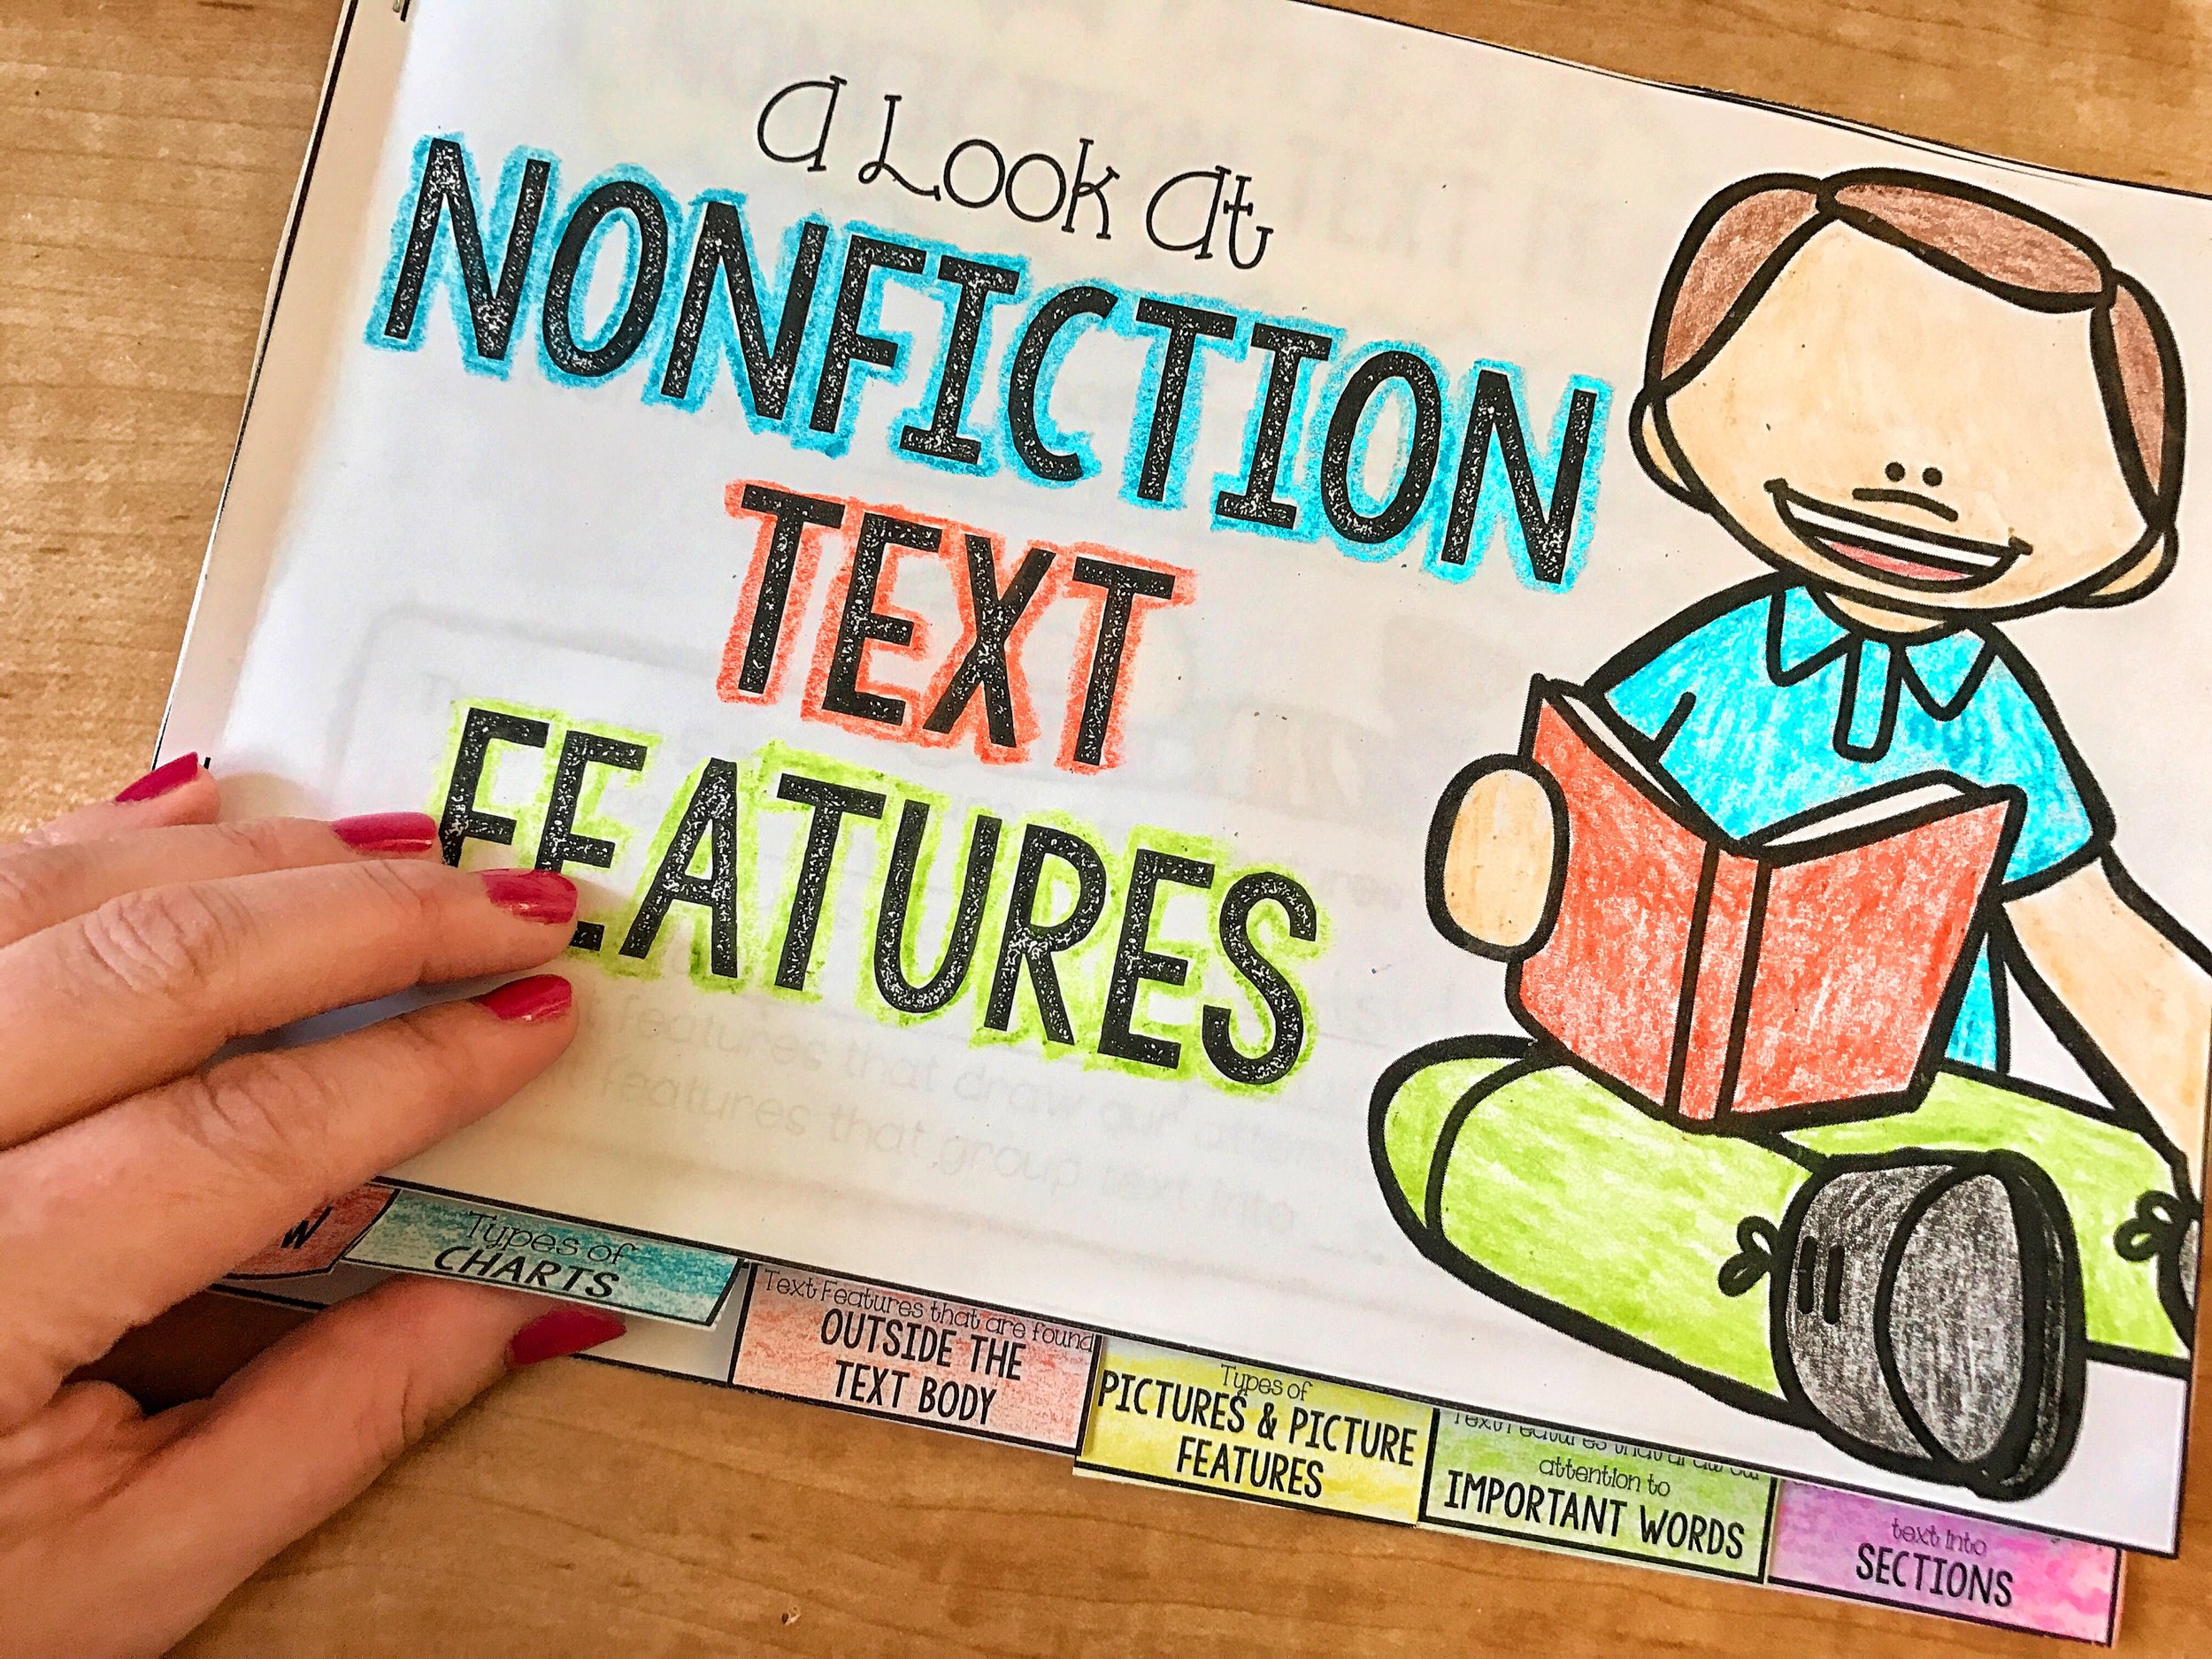
I love having this flipbook for students to refer to throughout our nonfiction unit.
PSSST….
Did you know that you can get an ALL-ACCESS pass to my entire vault of LINKtivity® Interactive Learning Guides (Including the Nonfiction Text Features LINKtivity)?
You can! Inside the LINKtivity® Learning Membership!
You May Also Like to Read: ENGAGING LEARNERS WITH LINKtivity DIGITAL LEARNING GUIDES
Step 3: Have students begin to use text features on their own
At this point in the game, students know to STOP and notice the text feature and they know what each type of text feature teaches the reader. Now it’s time to start learning from them!
The best place to begin is to model this skill, of course! Model how to use text features provided to gain new information in several read-alouds . Here’s an example of how you might model a text feature:
“In the text, the author said that rain forests only make up 2% of the earth’s surface. I’m noticing that this map text feature shows me exactly where rain forests are found in the world. This map gave me a better understanding of what 2% of the world’s surface looks like”
Use a variety of nonfiction texts so that students see how different books present information differently.
I also like to have students record the types of nonfiction text features that they are finding in their own individual books. I have students keep a simple chart where they record what text feature they found, what book it was found in, and how the feature helped their understanding of the text. You may want to model using the same chart (or whatever chart you have your students use) during your read-alouds as well.
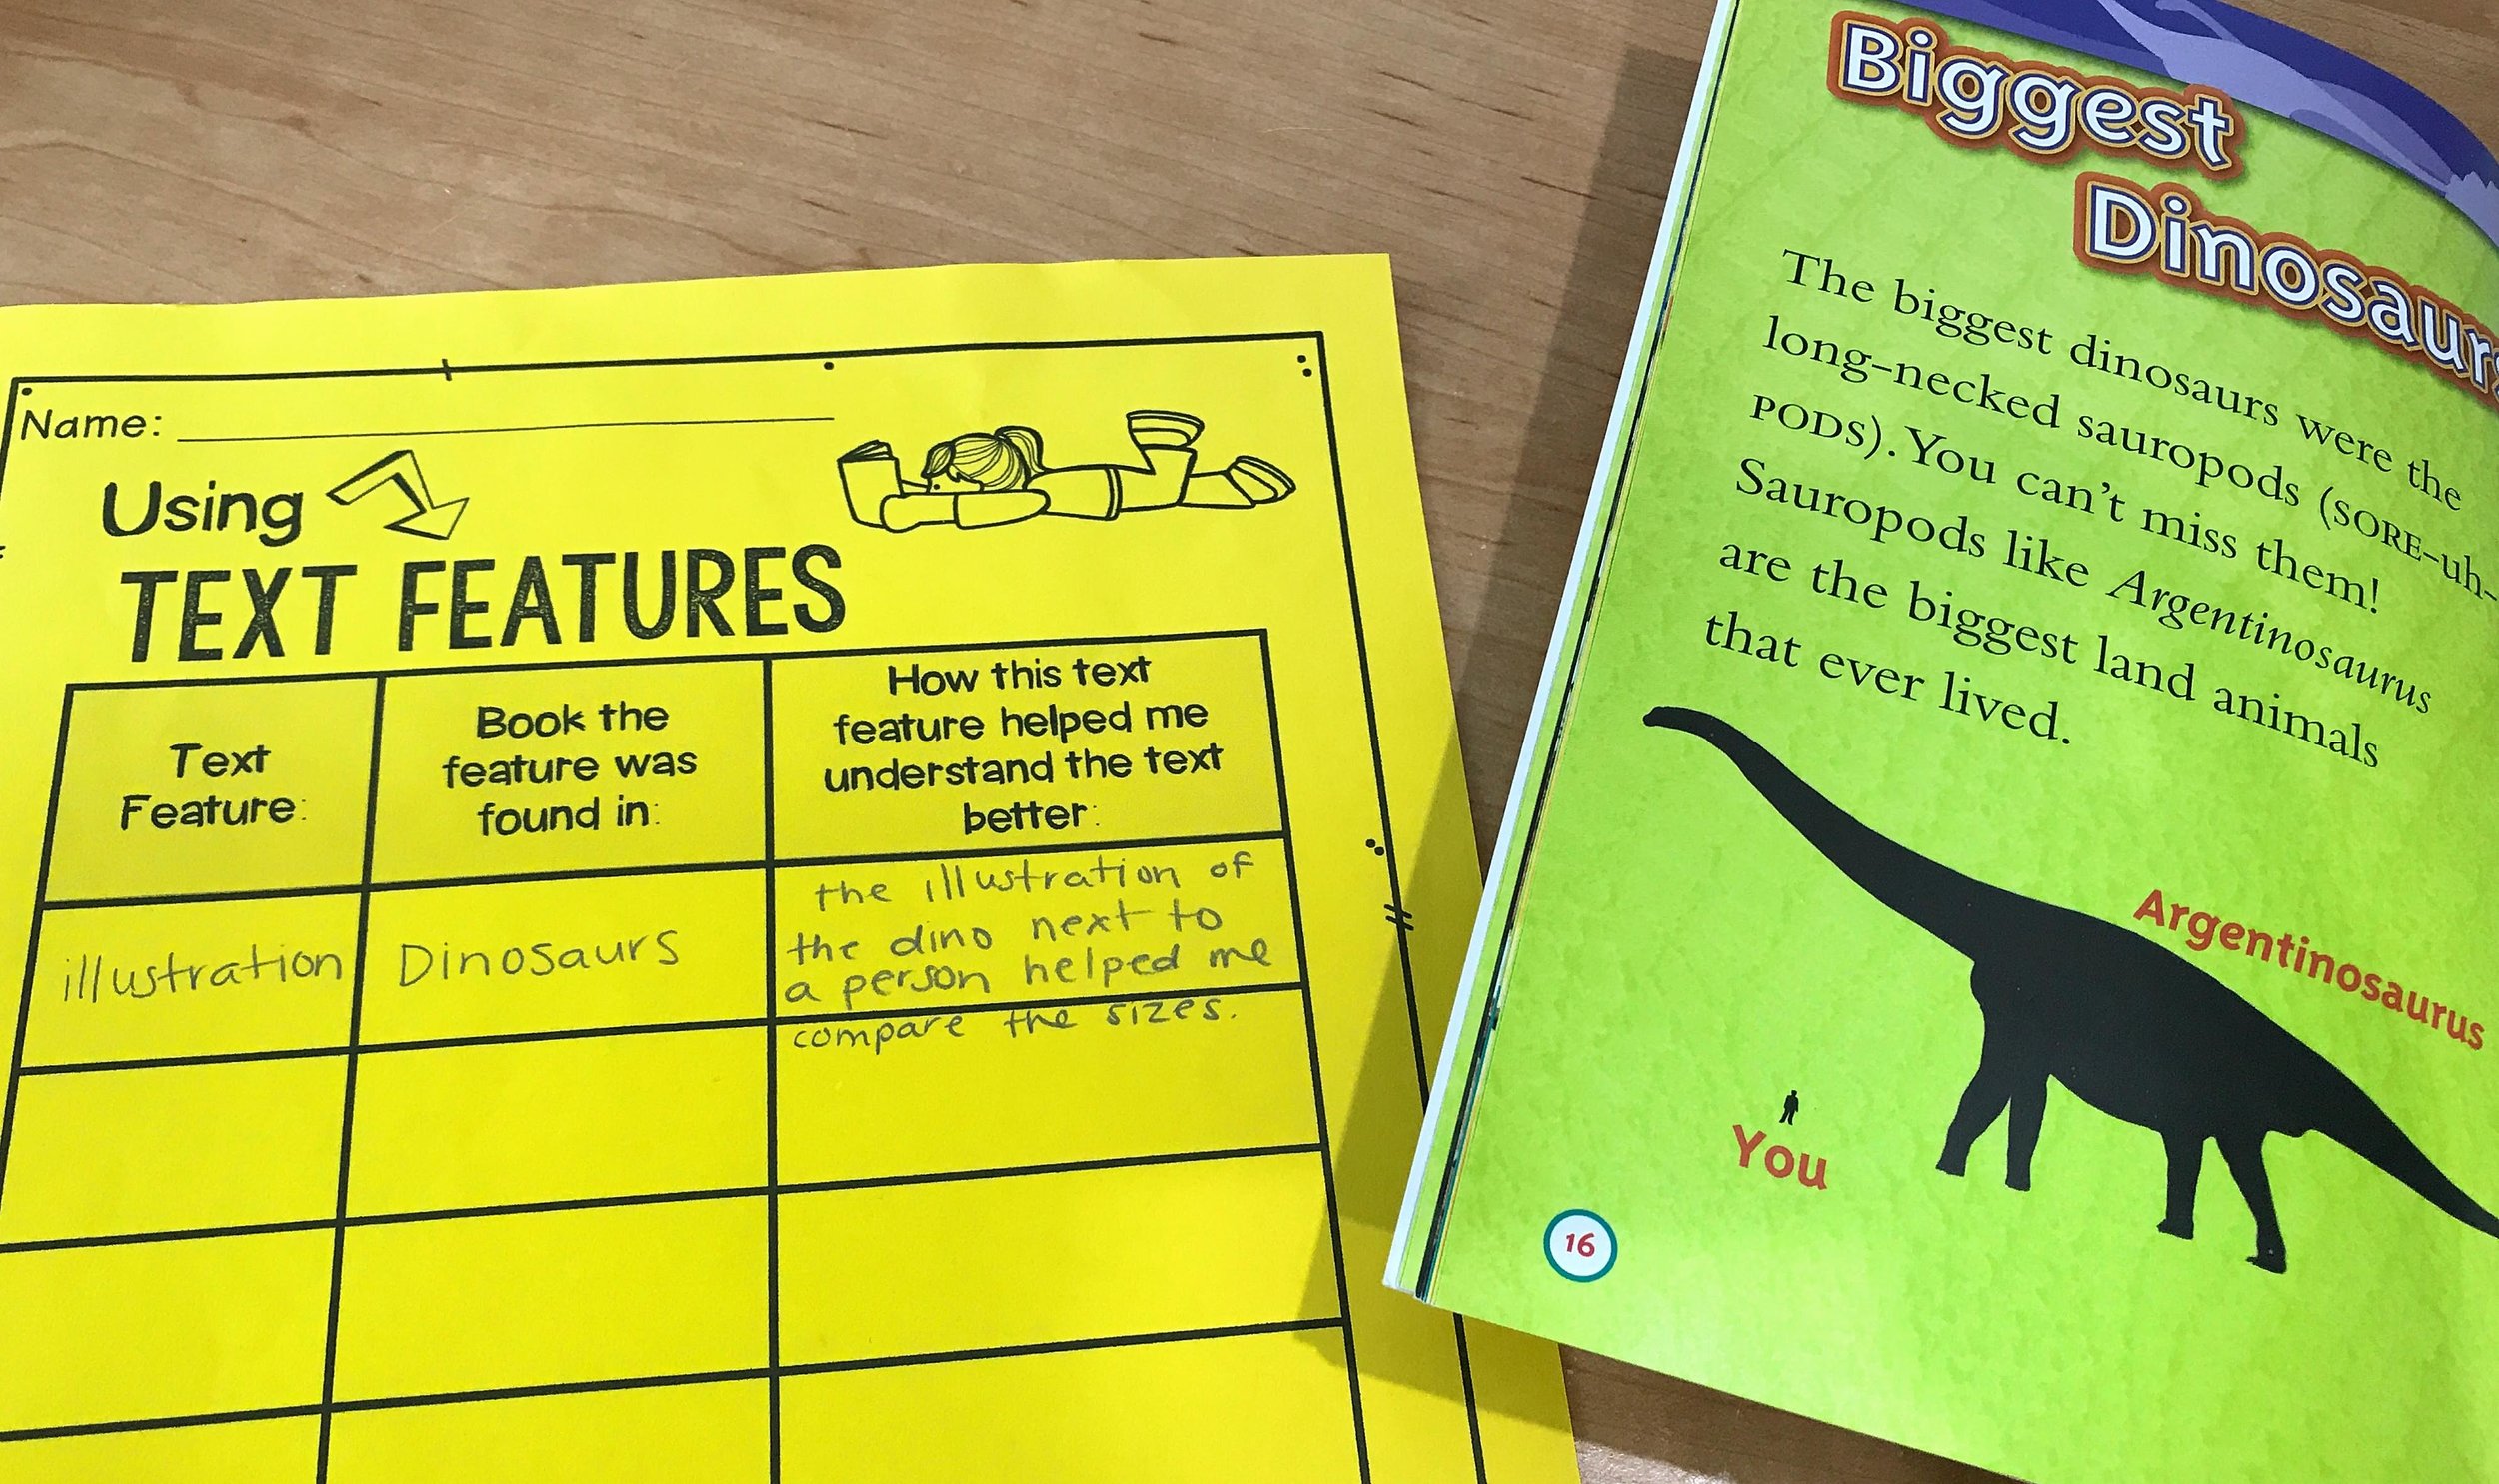
This chart is easy for students to keep in a reader’s notebook so that you can assess their understanding and application of text features in their own reading.
You can grab this student recording sheet as part of my Teaching Nonfiction Reading Skills (Starter Kit).
For long-term success of this skill, be sure to keep drawing students’ attention to nonfiction text features each time you read nonfiction. Tell students what feature it is and what it’s teaching you.
You May Also Want to Read: 5 IDEAS FOR TEACHING STUDENTS HOW TO READ NONFICTION
nonfiction resources for your classroom:
Click on each image below: