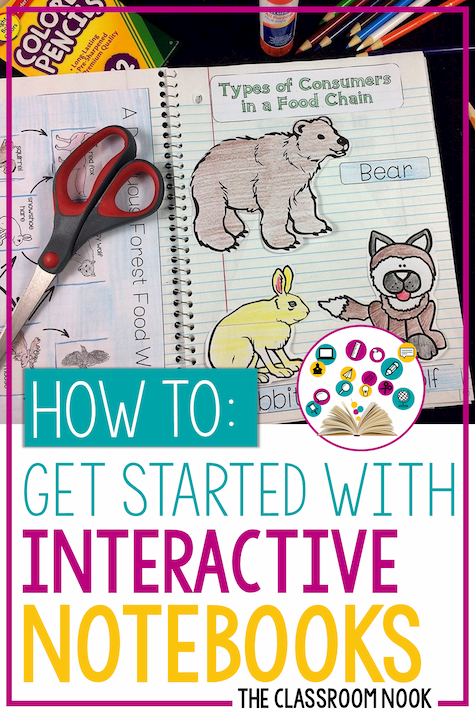
Getting Started With Interactive Notebooks
Love podcasts? Check out this post in the form of a podcast episode on The Classroom Commute
They're everywhere.
Interactive notebooks, that is.
And they aren't going anywhere!
Have you ever thought that you'd like to implement interactive notebooks in your classroom, but not sure how you'd get started?
Perhaps you're nervous to implement them with your students because you've heard horror stories from teacher friends who felt they took up too much instructional time, or that it was just chaotic and not worth the effort?
Well, stick around because I'm going to give you some tips for making them a success in your classroom.
WHAT ARE INTERACTIVE NOTEBOOKS?
I never like to assume any knowledge, so before we get too far into it, I want to make sure that we are all on the same page.
Interactive notebooks come in all shapes and sizes, but essentially, interactive notebooks are spiral or composition notebooks where students can organize their notes.

Traditionally, interactive notebooks were organized in such a way that the right side of a notebook had information given by the teacher (notes, discussions, handouts, etc.). On the left side, students personalized the information given by the teacher in forms of drawings, cartoons, personalized wording of vocabulary, etc...
As interactive notebooks have trickled their way down into the elementary level, interactive notebooks have evolved and don't always follow the right side/left side rule (although some still do and work great!).
Students now often glue in notes sheets, foldables, timelines, vocabulary flaps and more into their interactive notebooks. The notebooks can take on a variety of looks depending on the age level, abilities, and needs of the students. Many teachers use interactive notebooks for all subjects, while some use it for only one or two subjects.
And - although Pinterest may make you think otherwise - the elements that your students glue in to their notebook do NOT need to be fancy, overly creative, or crazy complicated.
WHAT MATERIALS WILL YOU NEED?
To set up your interactive notebooks, you will need:
spiral/composition notebook
white glue (I think white glue works better that glue sticks as the adhesive lasts longer)
scissors
crayons or colored pencils (not markers - they will bleed through the pages)
START WITH THE STANDARDS & SCOPE AND SEQUENCE:
As with anything in teaching, we must start with the standards and the scope and sequence/curriculum map. It is not suggested to design the elements of your interactive notebooks as you go through each unit. Instead, use the standards and your scope and sequence outlines to planning out the pages of your interactive notebooks for each unit BEFORE you teach that unit. Each page within your interactive notebooks should aim to cover your standards and evaluate your students understanding of those standards.
Planning ahead of time will also help your interactive notebooks to have a stream-lined, cohesive look and will help you plan out a variety of interactive notebooks cutouts and elements.
SETTING UP ROUTINES AND PROCEDURES For Interactive Notebooks:
When I used interactive notebooks for the first time in my classroom, it was chaotic to say the least. Learn from my mistakes. Take time to teach (and reteach) and practice (and practice some more...) not just the information going into your interactive notebooks, but how to actually use their interactive notebooks.
Spending ample time at the start of the year (or whenever you begin using interactive notebooks with your students) setting up routines and procedures for using their interactive notebooks.
You May Also Like to Read: SETTING UP CLASSROOM ROUTINES & PROCEDURES
Here are some routines and procedures you'll want to cover:

Designate an area in your room where the interactive notebooks and needed materials (printables, glue, scissors, crayons...etc) will be kept in your classroom. Teach students how you want them to gather their notebook and materials each time you need them.
You might consider storing your students' interactive notebooks in baskets (organized by student groups) and the papers needed for the interactive notebooks each day stored in a paper bin near the IN. When it comes time for gathering the materials, have one student from each group go and get the notebooks and materials.
Choose a glue method.
At first glance, glue sticks may seem like the best, less messy option. However, over the course of the year as the notebooks are opened, closed, dropped, and well-loved, papers that have been glued in using glue sticks don't tend to hold up. I suggest using the white drip glue, as it is stronger and holds up longer.
That being said - you will need to explicitly teach your students HOW to apply the glue so that they don't end up with a soppy mess. If you're working with primary kiddos, this technique may be helpful. In all cases, demonstrate for the students exactly how to use the glue to properly glue in components in the notebook. Do not assume that even 4th or 5th graders have mastered proper gluing technique. Never assume :)
Go over grading procedures with your students. Many teachers will complete a rubric at the end of each unit in the interactive notebooks to give students a grade for that portion.
Express your expectations for the quality of student work. Be sure your students are aware of what you consider to be quality work when it comes to their interactive notebooks. Going over your grading procedures (like going over the rubric above, or something similar will help with this) Since students will be drawing and coloring often in their notebook, you will need to model for students your expectations for how much time and effort they need to be putting into their interactive notebooks.

Be clear on how students should be arranging elements on each page to make the most of the space. You will most likely need to do this continuously with each new page in the interactive notebooks, however, students will begin to learn how you like each page to look and your preferences on arrangements.
Model how to clean up after working in the interactive notebooks. Give clear instructions on things like:
When should students throw away the scraps?
How do you want students to hand in their interactive notebooks after each lesson?
Will every student put their materials away or will a group leader be in charge of this?
HELPING your students set up their interactive notebooks:
When you're ready to get started, there are a few things you can do right away with your students to set them up for success all year.
Number the pages: Have your students go through and number EVERY PAGE of their notebook. Yes, every page. Might I suggest doing this orally with your students. I know, I know, you teach 4th grade, right? Maybe even 5th? They can easily count into the hundreds. Yes, they can, but they will still make mistakes when numbering the pages. Save your sanity and do it together as a class. Call out "ONE!" and everyone write the #1 in the corner of the first page. "TWO!" students write 2... and so on. Remind students to be careful when turning pages so that they don't stick together. Is it tedious? Yes. Helpful? Most definitely! They will use these numbers in their table of contents (we'll talk about that in a moment), and when you want students to quickly reference a page in their notebook.
Have students glue in a table of contents. You can do a table of contents at the beginning of the entire interactive notebooks outlining the pages where each unit starts, or a table of contents at the beginning of each unit within the interactive notebooks outlining the pages inside that unit (or both!). If putting a table of contents at the beginning of the interactive notebooks, students will glue this in right away and add to it all year. If students are using a table of contents at the start of each unit, they will glue this in at the start of each unit and add to it throughout the unit.
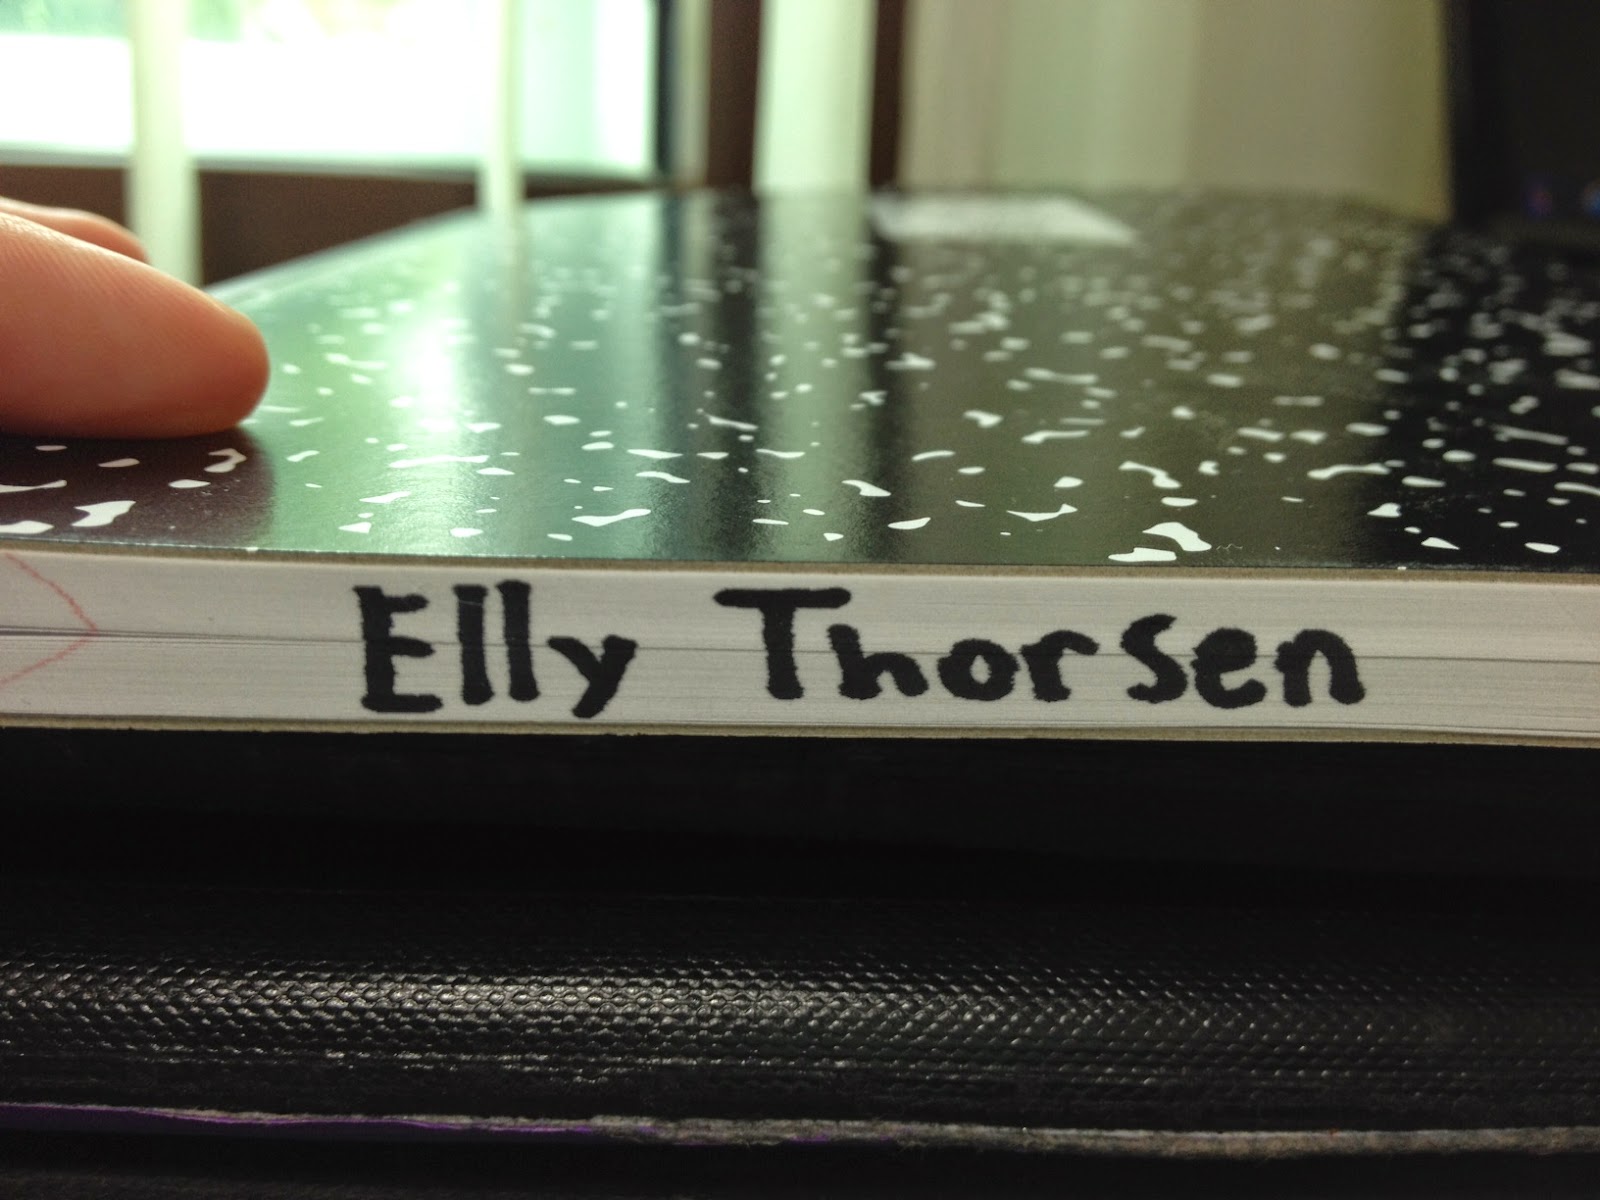
Label the sides of the interactive notebooks. Have students (or you!) write their name on all edges of their interactive notebooks with a Sharpie so that they are easily identified when stacked.
OTHER TIPS FOR SUCCESS:
Here are some GREAT tips, tricks, and hacks from other teachers and myself who have used interactive notebooks in their classroom with success.
Glue a large envelope on the back of the notebook for pieces that students still need to glue into their notebook.

There will always, always be students who don't get all of their pieces glued in before time is up. Save yourself the headache by establishing this strategy for keeping unfinished pieces in a safe place. This will be especially helpful at the beginning of the year as students are getting the hang of it. If students have pieces that have yet to be cut out and glued into the interactive notebooks, they can be stored in this pouch and will not end up on the floor or in the trash. Students can then complete that portion of the interactive notebooks during another time.

Tape a short ribbon in the back of the interactive notebooks that can be used to mark where they left off, like a bookmark.
This will keep your students from wasting precious classroom minutes from thumbing through their notebook to find the next page in their interactive notebooks.
Prepare model notebook pages for your students so that you can have an example to show them.
This will also help you plan out the positioning of your notebook pieces on each paper prior to having your students complete them. However, instead of doing your interactive notebooks in a spiral notebook, do your interactive notebooks on loose-leaf pages in a binder so that you can easily take a page out to display on the board or hand out to a student who was absent to take to their seat for reference.
Have students glue several days/a week's worth of pages/pieces at a time while all materials are out.
This can be done as part of morning work at the beginning of the week, say each Monday. Have your example pages out so that students can see exactly how to glue everything in. Students will not need to fill out or complete any of the writing or drawing portions of each piece yet, but having them glue all pieces in at once saves time when you're ready to dive right in to the content later on in the week.
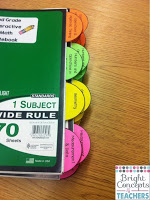
Have students glue tabs into their interactive notebooks to divide out each unit.
This will help you and your students easily refer back to previous units/topics/concepts taught earlier in the year.
Use free time for adding coloring.
Maybe this is something they can do at the end of the day while waiting for the bus, or as they return from lunch...etc.

Something to Remember:
Interactive notebooks can definitely present their challenges when you're just starting out. Be patient with yourself and your students. interactive notebooks help students to really take ownership of their learning, and you'll love seeing how proud they are of their notebook!
Would you love a little boost in getting started with interactive notebooks? Check out these ready-made interactive notebooks that you can use right away with your students! (click on any image for more details!)