Author Study Series: [Part 2: Selecting Books]
Love podcasts? Check out this post in the form of a podcast episode on The Classroom Commute Podcast:
Welcome back to this mini-series on author studies. If you missed part 1 of this author study series, check that out first to get you up to speed.
In part 1 we talked about the 4 major things to consider when choosing an author for your study.
We also discussed the idea of choosing an author that writes picture books vs. an author that writes chapter books. If you haven’t chosen an author yet, don’t worry. After going through this whole series, you’ll have a better idea of how an author study will look in your classroom and you’ll be more confident to make a decision.
The next step after choosing an author will be to choose the books by the author to include in your study. Now, in most cases, you won’t be able to read EVERY book your selected author has written, so you want to make sure you pick the best of the best from that author to really meet your curriculum needs.
Here’s what we’ll cover in this post:
First, we’ll discuss the amount of books you should choose for your study.This is going to vary depending on your grade level, but I’m going to give you a guiding range.
Well talk about the 3 steps you need to do to organize your book selection process.
From there we will focus on how to choose books based on different book elements such as similar or reoccurring characters, story plots, topics, illustrations or text features, and common themes.You’ll want to show the connections between books by the same author and I’ll show you how you can do that.
I’ll take you inside one of my own author study units to show you this book selection process in action.
Once you've chosen the author, the fun begins!
HOW MANY BOOKS SHOULD YOU INCLUDE IN YOUR AUTHOR STUDY?
Well, that depends on a few factors. Let’s break it down into 3 questions you want to ask yourself:
1) How old are your students? If you’re doing your author study with younger students, you’ll most likely want to choose a fewer amount of books because you’ll spend more time on each book.
For example, you may choose to use one book in a read aloud to teach a skill or strategy, and then use that same book again on another day in a partner or small group setting for fluency/listening center practice, and maybe even a third time in an activity based on the book.
Older students on the other hand may be able to handle more books and get through them a little faster, completing the reading portion and activity in the same day.
2) How long do you want your author study to be? This one is kind of obvious – if you have more time available for an author study unit, then you’ll be able to get through more books. But you’ll want to decide how long you have BEFORE choosing the books and how long you’ll want to spend on each book so that you don’t find yourself trying to cram too much in to the time you have.
3) Are you using picture books or chapter books? Here’s where I’m going to break it down into numbers. Taking the first two question into account (how old are your students and how long will your study be), I recommend somewhere between 10 and 20 books by your author if you are using picture books. If you have younger kids or less time to do your author study, you’ll probably be closer to the 10-book mark. However, if you have more time or are working with older students, you could be closer to the 20 books range. I know 20 books seems like a lot, but that doesn't mean each student is reading each book. In some cases, students may break up into smaller groups, each group reading a different book. We'll talk more about this in part 3 of this author study series.
For chapter books, it’s a whole different ball game. The numbers come way down because it’s going to take you a lot longer to get through a chapter book vs. a picture book. If you’re using chapter books, then you’ve got a couple options.
One- you can break students into small groups and have each group read a different book by your author (kind of like literature circle style), and then, once groups have completed their book, have different members from each group meet to compare their books and the author's writing style.
OR —-
Two- spread your author study over the course of your whole year and have an on-going read-aloud of books by the same author. This is a more passive approach to an author study, but it can definitely become meaningful, and I'll show you how. I promise to get into a lot more detail about all this in part 3!
HOW TO CHOOSE THE RIGHT BOOKS FOR YOUR AUTHOR STUDY

The book selection process can be a little overwhelming when you first start choosing books, especially if you have an author that has written so many books. It can be hard to narrow it down. So, I’ve come up with a 3-step process to help walk you through this daunting task.
STEP 1: RESEARCH
The first helpful thing to do when beginning your book selection process is to just explore all the book titles written by that author. The simplest way to see which books the author you’ve chosen has written is to google it.
I always find it helpful to google “books by _______” and then choose the “images” tab at the top of the page so that I can actually see the book covers by the author. For me, it’s easier to focus if I’m looking at the actual book cover rather than just reading the title text in a list form.
You can also look to see if the author you’ve selected has a website where they showcase the books they have written. You might even be able to find a summary of each book right there on the site to help you narrow it down. Take note of the books that are award winners – those are typically good choices for an author study. And, with your students in mind, find which book titles stand out to you. Look for those topics or themes that you think will really engage your students.
Select several titles and head to your school or local libraries to check them out so that you can have them all in one place.
STEP 2: READ
Obvious, right? But there’s a little more to it than just reading. After you’ve checked out your possible selections at your library, you’re going to spend some time seeing what each book has to offer and how it might fit into your unit.
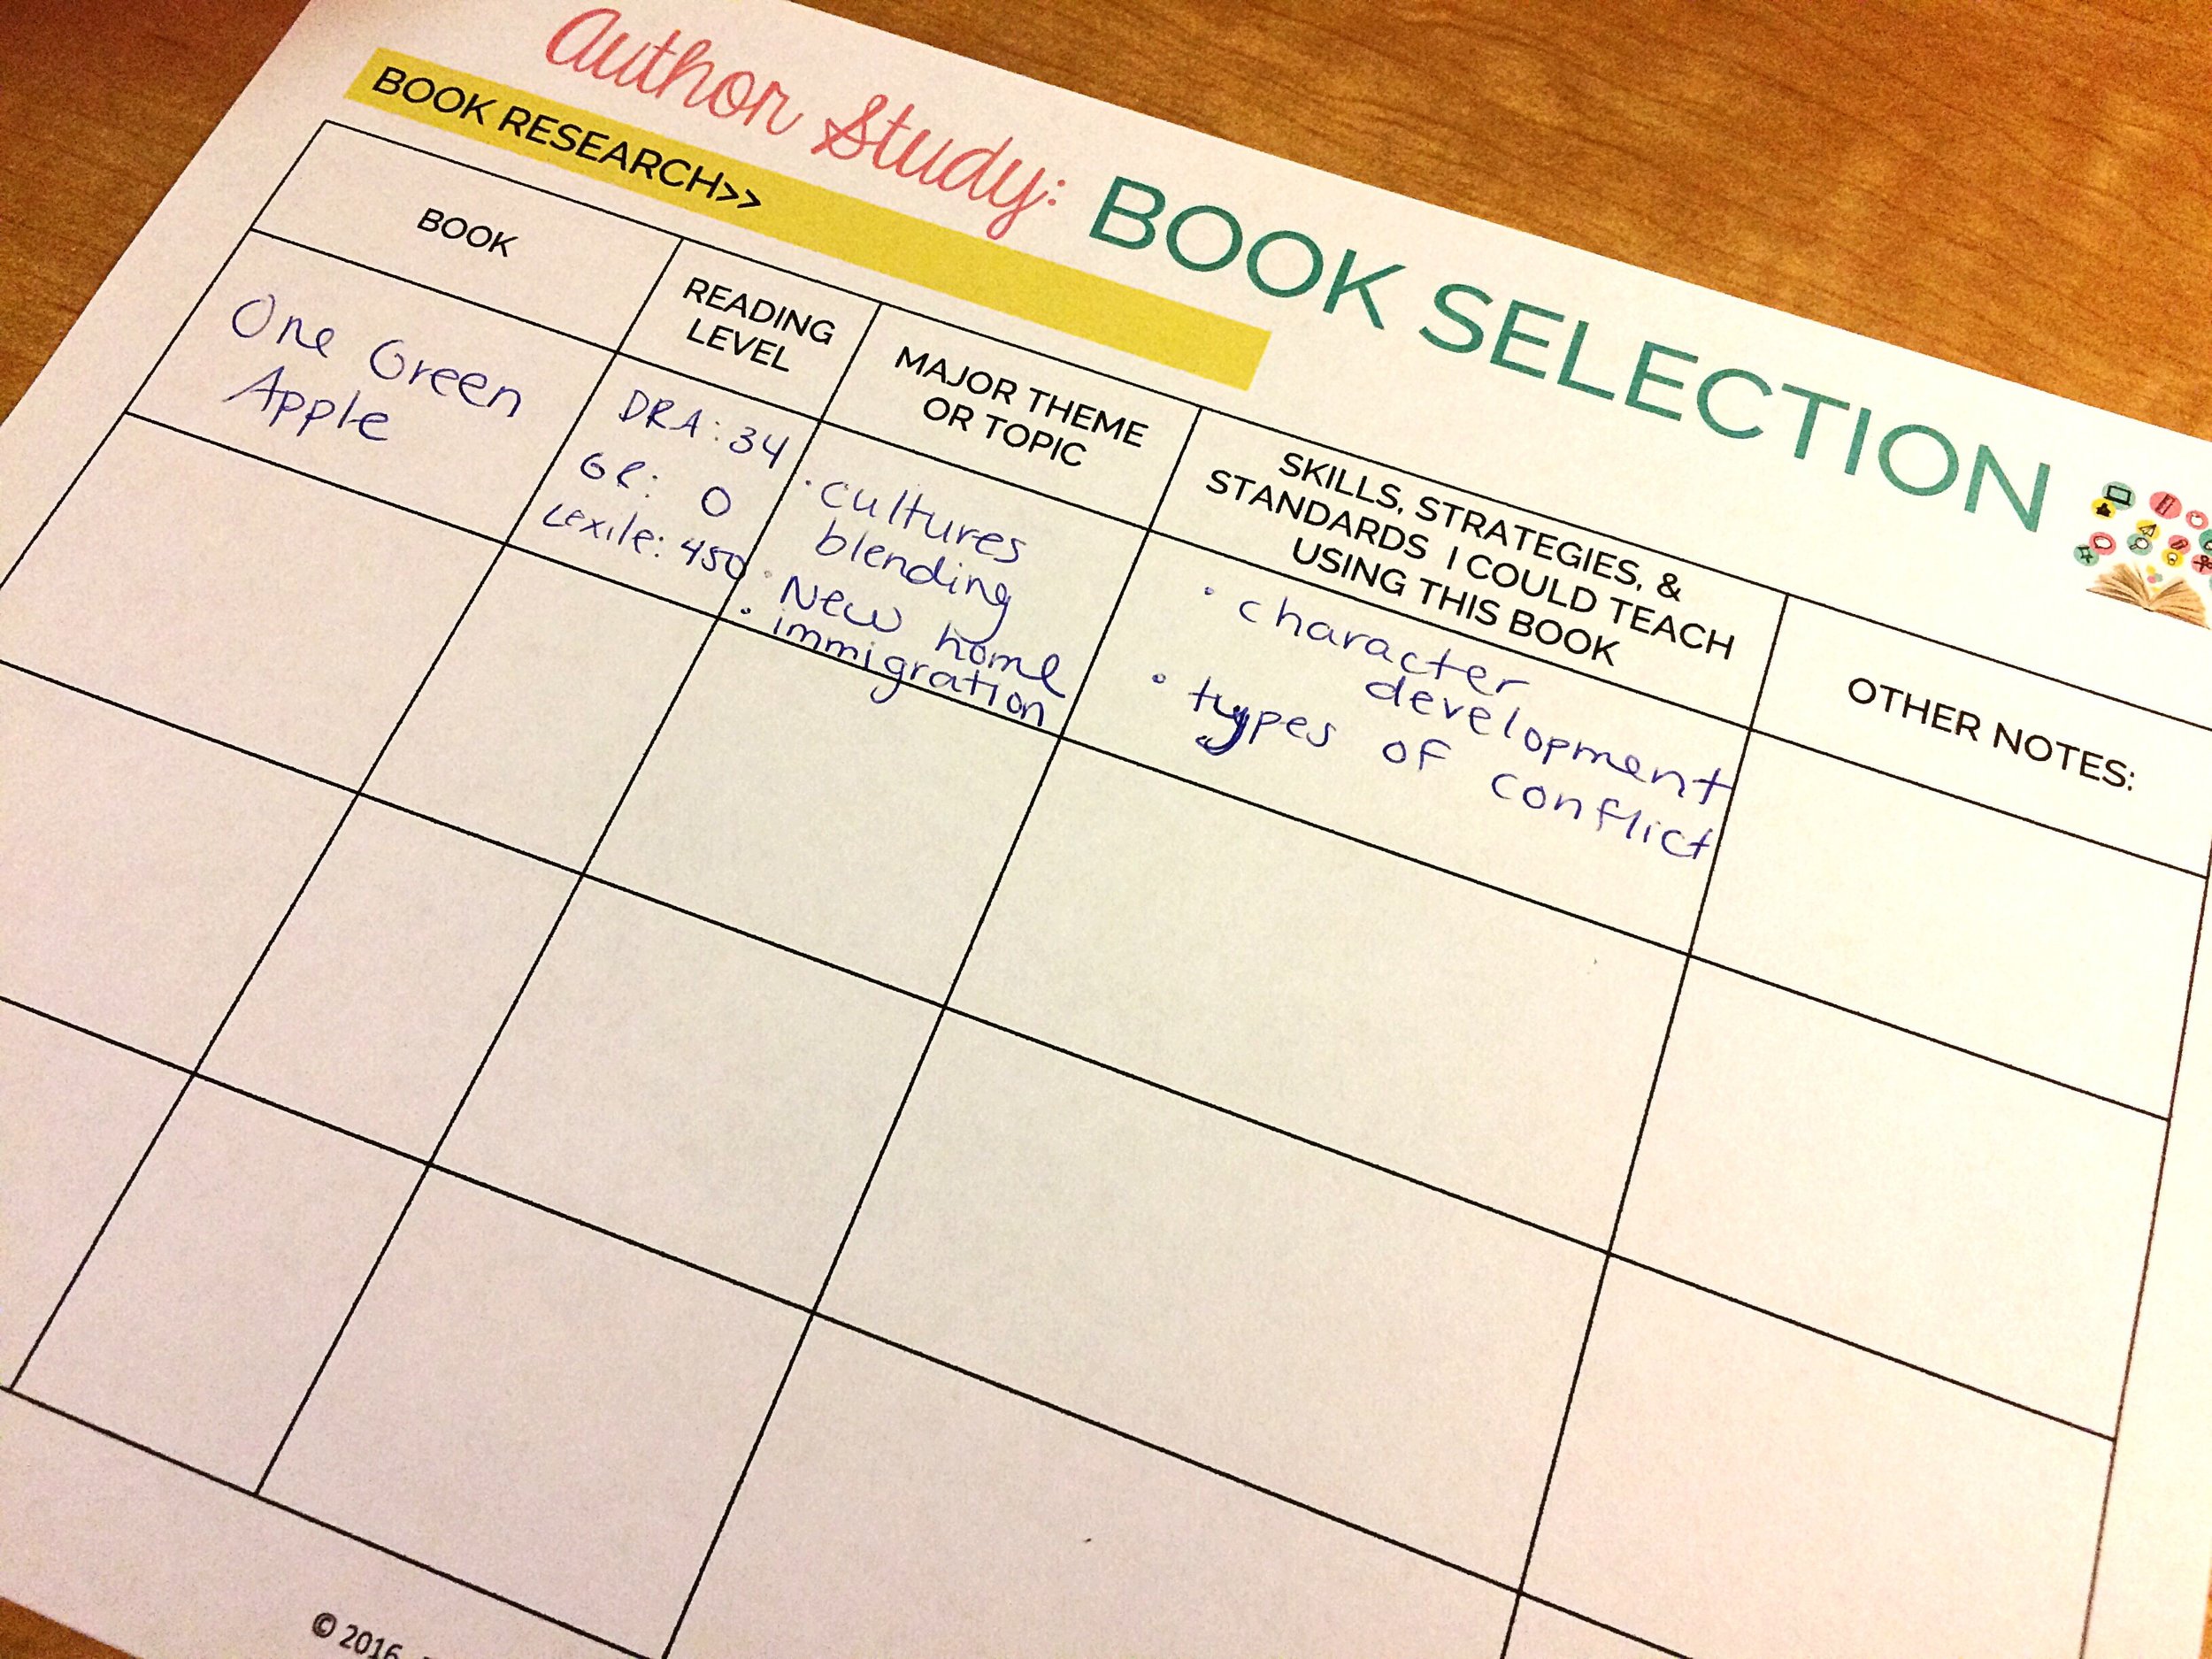
When you read, you're going to take note of a few specific things. Write them down on the planning sheet I've provided for you, if you'd like.
The first thing you’re going to be thinking about as you read is what themes or main topics appear in each book. When you go to write your lessons, hopefully you’ll be able to group some of your books together based on their common themes or topics.
Next, take note of any skills, strategies, or standards that the book might help you teach. Maybe you see great character development in the story and can focus a lesson or group of lessons around character development. Maybe you have a few books that will be great for teaching visualization or making connections (other reading strategies). If working with nonfiction, you might pay attention to text structures and features. Mark these thoughts down as you read so that you can start seeing which books might work well together.
Record things that you start noticing about characters, story plots or other unique features such as illustrations or story structure and formatting. When you have all these elements about each books in one place, it will help you pick learning targets for each of your lessons throughout the unit.

Speaking of learning targets...
STEP 3: GROUP YOUR BOOKS INTO CATEGORIES AND LEARNING TARGETS
After you’ve read through several books by the author, start thinking about how you can chunk your books into different learning targets or categories.
Here’s what I mean:
Let’s say you look over the notes that you took on each book and you notice you have several books that have really strong characters, or even the same reoccurring character. Create a series of lessons that teach about character traits or character development. Perhaps you really want to focus on theme in your author study. Look for ways to group your books based on theme.
Maybe your focus for the study is to help your students use reading strategies such as making connections, visualizing, main idea/details, summarizing, and so on. How can the books you’ve chosen support that? Remember, your author study will be molded by your curriculum and student needs. Creating these categories will help you plot out the lessons of your unit.
You May Also Like to Read:
TEACHING THEME TO UPPER ELEMENTARY STUDENTS (…SO THAT THEY ACTUALLY GET IT!)
You might also find that as you begin chunking and categorizing your books, there is a book or two that you had originally picked that just doesn’t fit in with the others to help support your purpose for the author study. You’ll want to being eliminating those books from your author study at this point. However, feel free to keep these eliminated books in a basket in your classroom library during your study for students to explore on their own. With that said, if there is a stand-alone book that you feel your students could benefit from, it's completely your call to keep it in your study. I simply suggest the idea of groups and categorizing books because it helps to give your unit a organized flow and focus.
It’s important to note here that there really isn’t a right or a wrong way to grouping your books. It all comes back to what your reading goals are and the purpose for your author study. If you have specific skills or standards that you need to cover, then choose books that will meet those needs.
If you need a little help to get you started on how to organize your books, here’s a list of sample categories to chunk your books into.
You can organize and group your books based on:
common themes/topics
similar or reoccurring characters
similarities and differences (can you compare the settings, or characters, or story plots?)
specific fiction or nonfiction reading skills (character development, types of conflict, story elements, text features, comparing and contrasting)
specific reading comprehension strategies (making connections, visualizing, predicting...etc.)
story structure or format (which books share similar structure or format?)
focus on illustrations (how do the illustrations help the reader understand the story)
differentiation needs (For example, choose 2 or more books that will help teach the same skill, strategy, or standard but are varying in reading levels to help you differentiate your instruction.
Finally, as promised, I want to give a back stage pass to how I put these 3 steps of research, read, and categorize into action with one of my own author studies by Eve Bunting. Eve Bunting has written over 250 books, so there was obviously a LOT of narrowing down to be done. Most of her books are picture books, but she’s also written a fair amount of chapter books as well. My author study, however, used only her picture books. I was creating this unit to target grades 3-5, so I made sure that the books I chose fell into that reading level.
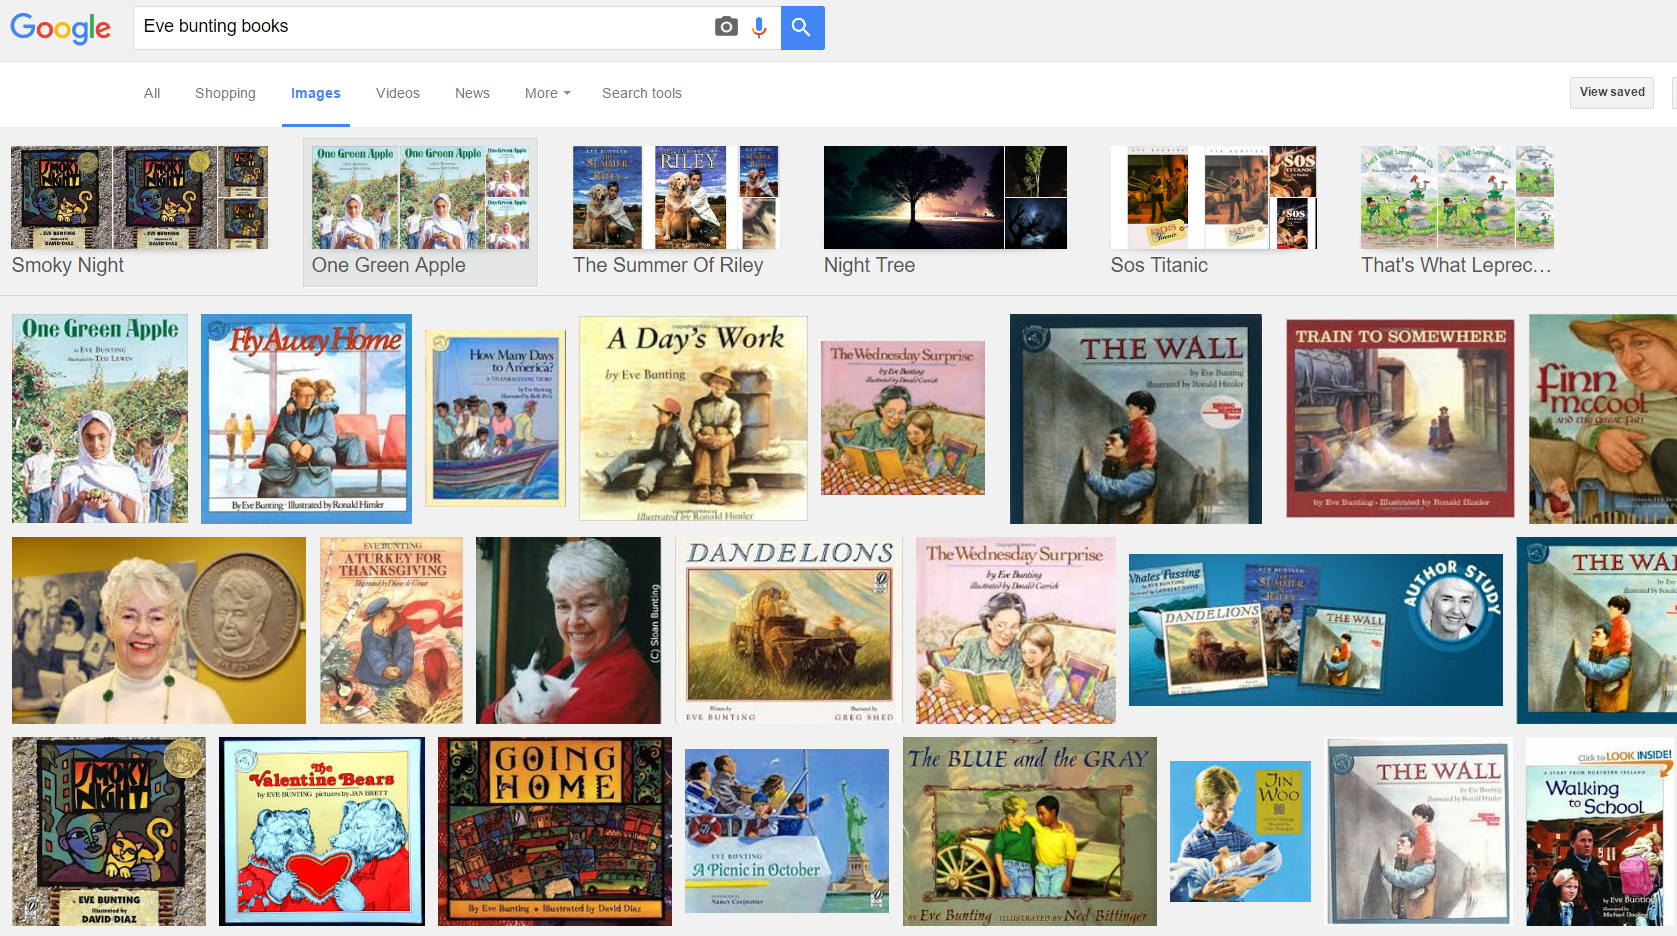
I first began my google search, just as I said before, by typing in “books by Eve Bunting” and then choosing the “images tab” to view the image covers. Some books I recognized right away, but I also realized she had written way more than I had ever guessed. Through reading and eliminating, I ended up choosing 20 books.
I first started with the book titles I was familiar with and then also chose other titles that looked interesting or cover illustrations that caught my eye.
I had to go to a couple of my local libraries, but I brought tons of books home to read. Now, when I did this, I hadn’t created my planning sheets like I have provided for you, but I wish I had! Instead I used TONS of post-it notes (and if that’s you’re style, go for it) But, on each post-it note, I wrote down the same types of things that I’ve included on the cheat sheet. I wrote down themes, and things I noticed about characters and settings and so on. And as I read, I’d have thoughts like “oh, that character is just like the one I read in….so and so” or “This book and that book have the same ________”
I wrote all my findings on post-it notes (which at the time looked a little chaotic, so that’s why I created the planning sheet for you to help give you better focus). I also began creating piles of books that I thought might work together. These were fluid piles that I changed often as I read the books and new ideas for grouping came into my head.

After all my reading, I noticed that Eve Bunting had a lot of books that shared similar themes. I ended up choosing 20 books and dividing those books up into 4 themes. Since I went the “theme” route, I had to eliminate several books that didn’t fit into those themes, even though they were excellent books. These eliminated books could have been used to create an additional basket in my classroom library for students to explore on their own.
Here are the 4 themes that I focused on (and the books that went into each theme):
You can click on any picture to learn more about each title. (affiliate links)
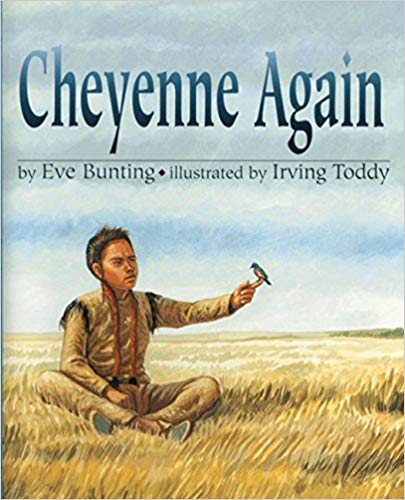
THEME: CONNECTING CULTURES


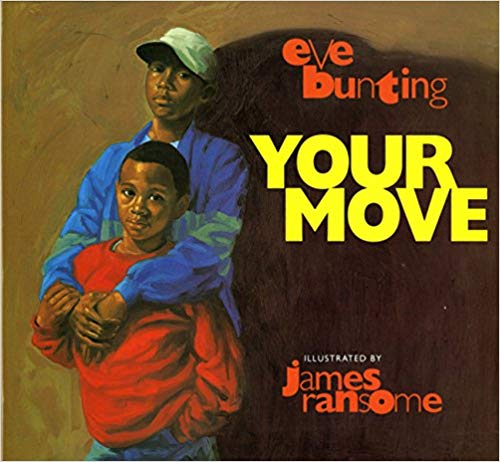
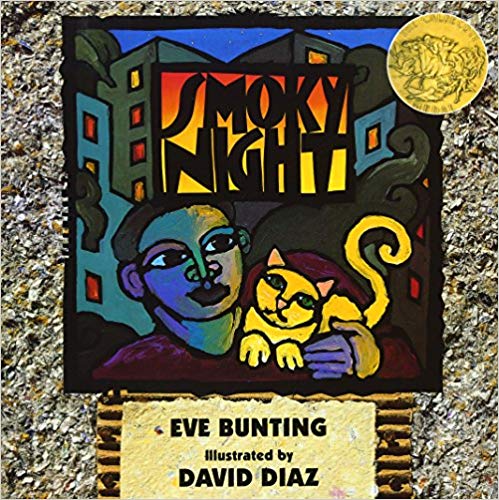
THEME: OVERCOMING HARDSHIPS
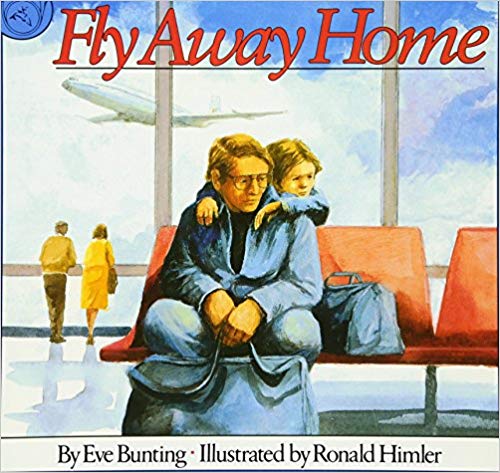
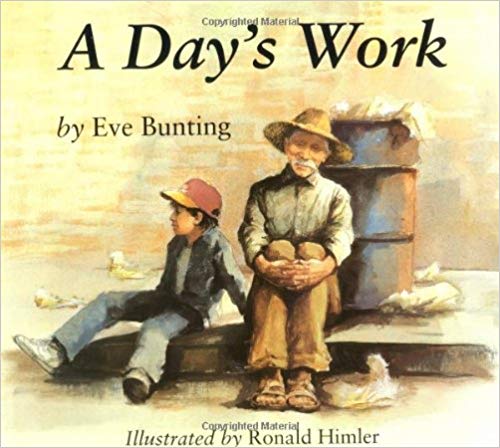
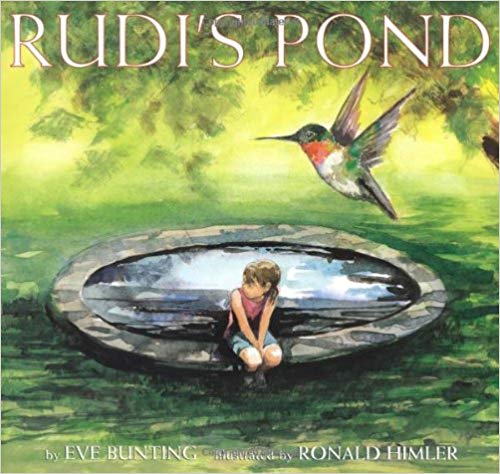
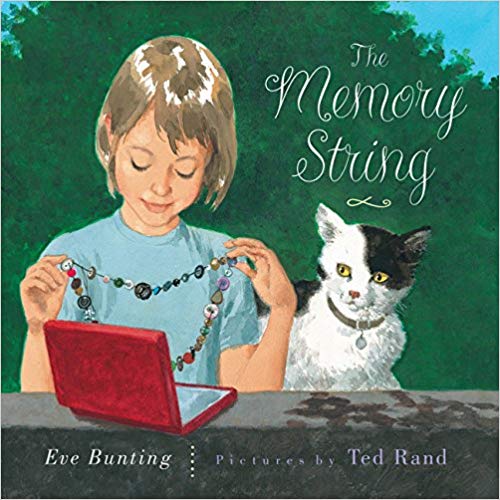
THEME: MAKING MEMORIES


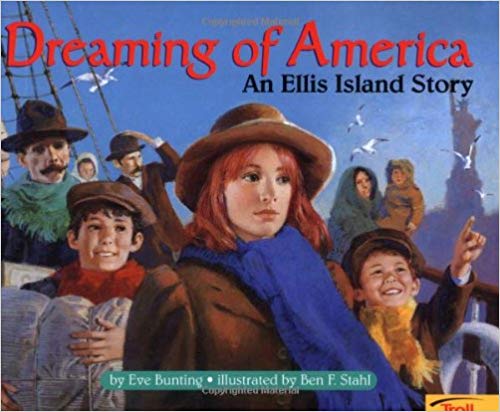
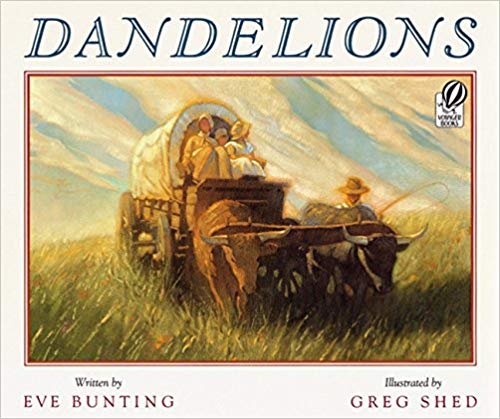
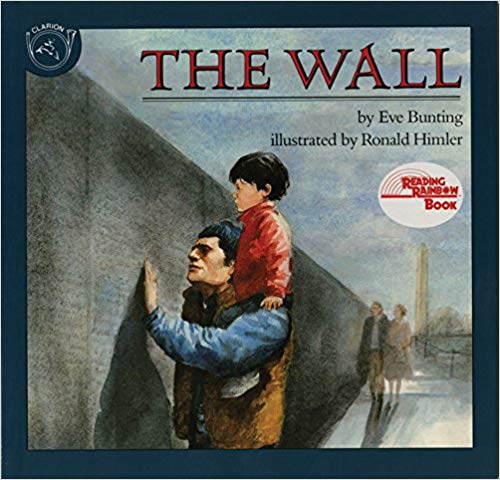
THEME: A LOOK AT AMERICAN HISTORY

To set the stage for my students, I began the entire author study unit by having students explore what a theme was. The lesson defines theme, the teacher models how to find a theme and how to support a theme using evidence from the text. Since this is a beginning lessons in the unit, the teacher can refer back to talked about theme throughout the unit, students would already know what it was and how to find it.
Now, once my books were broken up into 4 theme categories, I was able to teach several skills and strategies within each theme.
Let’s take a look at one specific lesson to give you a clear picture. In theme 1 on “connecting cultures,” students read a book called One Green Apple (affiliate link). It’s a story about a girl, Farah, who comes from another country to live in America. She doesn’t speak English, she dresses differently, and she has a hard time fitting in at her new English-speaking school. The story goes on to tell about how Farah feels alone in her new world until one day her class goes on a field trip where she starts to make connections with the other students and begins to feel like she belongs.
This story was perfect for teaching the skill of character analysis and development. The students read the book, connected it back to the theme (connecting cultures), and also completed an activity on the skill of character analysis.
The organization of my unit allowed me to cover a lot of content. We always came back to the idea of themes being found in the books that we read, but we were also able to focus on target skills and strategies in each book. Make sense?
We didn’t always already ready the same book together as a class. Sometimes, I divided the class into small groups to read different books.

For example, in the same theme of "Connecting Cultures," both the books Cheyenne Again and Moonstick (affiliate links) were about Native Americans. I had half the class read Cheyenne Again and the other half read Moonstick.
They then came together at the end to complete the same project about their assigned book and share it with a student who had read the other book. This was one of the ways I was able to get through so many books in our author study.
In the next part of this author study series, I'm going to give specifics on how to format your author study to fit your current teaching style. Specifically, we'll take a peek at what an author study might look like in action in your classroom; including whole-group and small-group instruction.
OTHER POSTS IN THIS MINI-SERIES: (click each image)